Thursday, November 30, 2017

Basil Flavoured Oil | 九層塔油


Basil Flavoured Oil
九層塔油

Ingredients:
2 cups Basil Leaves
1 cup Extra Virgin Olive Oil
1 cup Grape Seed Oil


材料:
2 杯   九層塔葉
1 杯   初榨橄欖油
1 杯   葡萄籽油


DIRECTION:

Pumpkin Almond Granola | 南瓜果仁燕麥片


Pumpkin Almond Granola | 南瓜果仁燕麥片

Ingredients:
Mashed Pumpkin:
2/3 cup Fresh Pumpkin
1 cup Water


Granola:
4 cups Old fashioned Oat
1/2 cup Pumpkin Seeds
1 cup Cranberries
1/3 cup Mashed Pumpkin
1/2 cup Sweetened Coconut
1/2 cup Sliced Almond
150 gram Honey
1 teaspoon Pumpkin Spices
1/3 cup Canola Oil
2 tablespoons Water


DIRECTION:

Thursday, November 23, 2017

Baked Coconut Cake | 焗椰子年糕


This coconut cake is actually a popular dessert in Hawaii, but somehow it also became a hit for the Chinese New Year in Toronto here.  Racks of racks of freshly baked cake were laying on the isles waiting for people to buy.  The glutinous flour gives a soft and chewy texture to the cake, with the very flaky topping.  It has the mix of custard and coconut flavour that you will find it is hard to stop eating.


Baked Coconut Cake | 焗椰子年糕

INGREDIENTS:
2 cups Glutinous Flour
1/4 cup Butter, melted
400 ml Coconut Milk
1/2 cup Milk, homogenized
2 Eggs, beaten
1 cup Sugar
1 tablespoon Vanilla Extract
1 teaspoon Baking Powder

材料:
2 杯  糯米粉
1/4 杯  牛油,熱溶
400 毫升  椰奶
1/2 杯 牛奶,全脂
2 隻  雞蛋,攪拌
1 杯  糖
1 湯匙  雲呢拿油
1 茶匙  泡打粉


DIRECTION 做法:
1 In a mixing bowl, combine coconut milk and milk.

1. 在一只碗內,加入椰奶和牛奶。


2. Add beaten eggs, butter, and vanilla extract; whisk it together.

2. 拌入雞蛋、牛油和雲呢拿油。


3. Add glutinous flour, baking powder, and sugar.

3. 加入糯米粉、泡打粉和糖。


4. Continuously mix until the mixture is well incorporated.

4. 繼續攪拌直至其完全均勻。


5. Pour the mixture in a container lined with parchment paper; about 1.5 cm deep.

5. 把混合物倒入已舖好焗紙的盤內;若1.5厘米深。


6. Bake it at a pre-heated oven at 360 F for 45-60 minutes, depends on the depth of the container.

6. 放入已預熱至360F 的焗爐內焗若45-60分鐘,似乎焗盤的深度而定。


7. Insert a toothpick into the cake and the cake is ready if the toothpick comes out clean.

7. 把一支牙簽插入取出,如牙簽沒糯米漿黏著便是焗好。


8. Allow the cake to cool slightly before slicing it.  It is totally normal if the cake collapses a little after cooling.

8. 待糕放涼便可切件;糕放涼後會稍為下陷。


Keep the remaining cake in an air-tight container and store it in the fridge.  Before serving it, reheat the cake in microwave for about 20 seconds.

把糕存放至密封盒內,再放到雪櫃。放到微波爐翻熱若20秒便可食用。

Thanks for stopping by.  I hope you enjoy this coconut treat.

謝謝收看,希望您會喜歡這個食譜。


Saturday, November 18, 2017

Lemony Barley with Sautéed Swiss Chard and Roasted Golden Beet | 檸檬大麥配瑞士甜菜和金菜頭


This time of the year is the best time to hang around farmer's markets because there are always so many colourful root vegetables sitting on the shelves accompanying the seasonal greens.


At St. Lawrence farmer's market

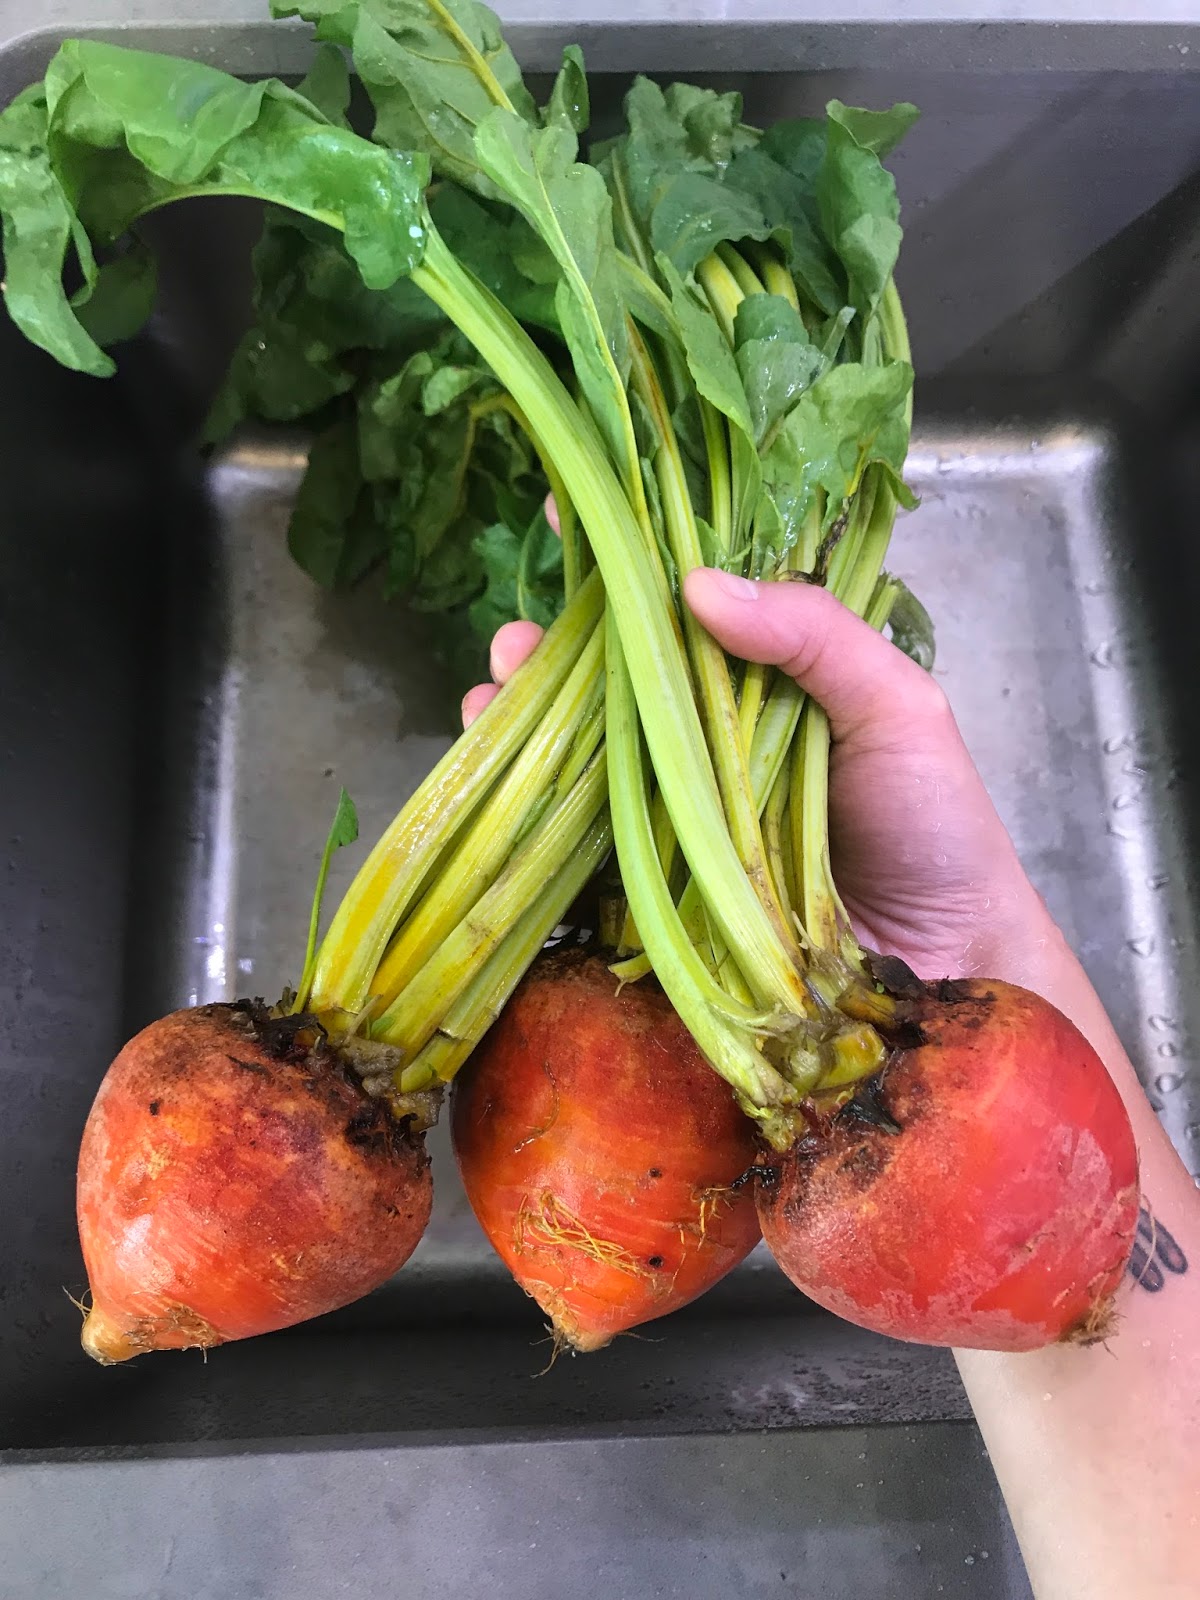
Today I went to look for golden beets.  Golden beets taste much less earthy than the common red beets, but they have the similar sweetness and jewelry looking beauty.  I just love them.  At the market, I also found some prime seasonal Swiss chard.  A whole bundle of Swiss chard sold only $1.99 and it looked amazingly fresh.  So it was how I pulled my healthy vegan dinner together tonight.


Lemony Barley with Sautéed Swiss Chard and Roasted Golden Beet
檸檬大麥配瑞士甜菜和金菜頭


(Ingredients for roasted beet):
3 Golden Beets (red beets are fine too)
Olive Oil
Sea Salt


(Ingredients for sautéed Swiss Chard):
1 bundle Swiss Chard
5-7 Garlic Cloves
5 tablespoons Vegetable Oil
2 tablespoons Chinese Rice Wine (optional)
1/2 teaspoon Sugar
1/2 teaspoon Salt


Ingredients for barley:
2 cups Barley
1.5 teaspoons Salt (for boiling barley)
1/3 cup Pine Nut
1/3 cup pumpkin Seeds
1/3 cup Cranberry, dried
4 tablespoons Olive Oil
1/3 Lemon of juice


 How to make it:
Roasting beets takes the longest time, so we can prepare them first.

I enjoy eating the beet greens so I bought the ones with a top.  I would sauté it with the Swiss chard later.  If you just want to use the beet roots, it is totally fine.


1. Remove the green tops from the beets and rinse off the dirt.


2. Place a beet on a piece of foil, and drizzle olive oil and sprinkle salt on it.  Repeat the process until you finish the beets.


3. Wrap the beets individually with the foil, and place them on a roasting pan.

4. Roast the beets in the oven at 400F for about 30 minutes.  (Cooking time may vary according to the size of the beets).


5. Remove the beets from the foil and allow to cool slightly.  Remove the skins and cut the beets until chunk size.  Set the beets aside for later use.


6. Rinse the beet greens thoroughly.  Tear the leaves into bite sizes.  Snap the stems into about 3 cm sticks and also peel off the hard fibre along the stems.  


7. Separate the stems and leaves for even cooking later.


8. If you use Swiss chard, repeat the process as you would do for the beet greens.


9. Heat up about 5 tablespoons of vegetable oil over high heat.  Add garlic; fry until it is fragrant and slightly brown.


10. Add the beet greens and Swiss chard stems.  Sauté until the stems slightly give in; about 2 minutes.


11. Add the leaves, and sauté for another 2 minutes.


12. Add rice wine and sugar.

(Wine is optional and you can skip it if you don't have it on hand.  The sugar is to mellow the bitterness of the dark greens; the amount of the sugar should not be tasted in the dish.)


13. Continuously sauté for another 30 seconds.  Remove it from the heat and set it aside until later use.


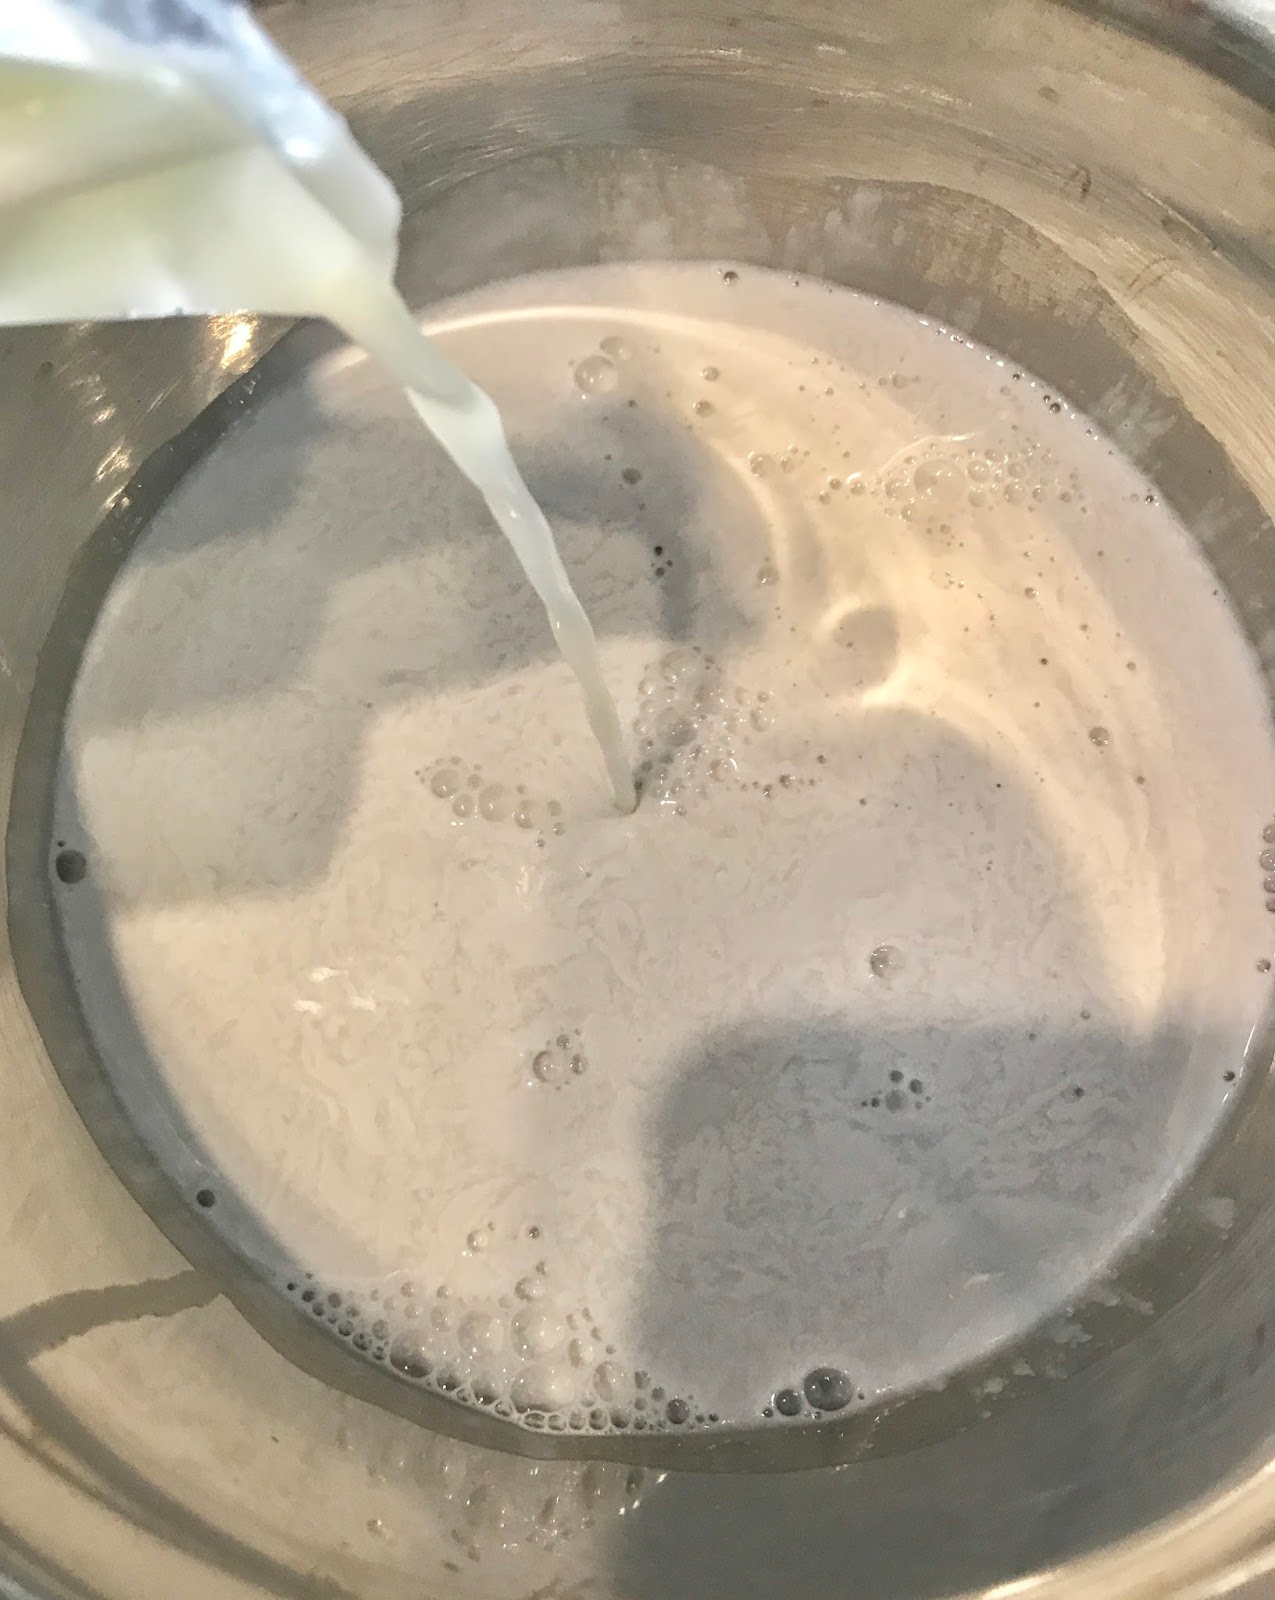
14. To cook barley, first rinse it in a few changes of water until the water is slightly clean; drain it.


15. Bring a pot of water to a boil.  Add salt and barley.


16. Cook the barley over medium-high heat until it is softened; drain it well.


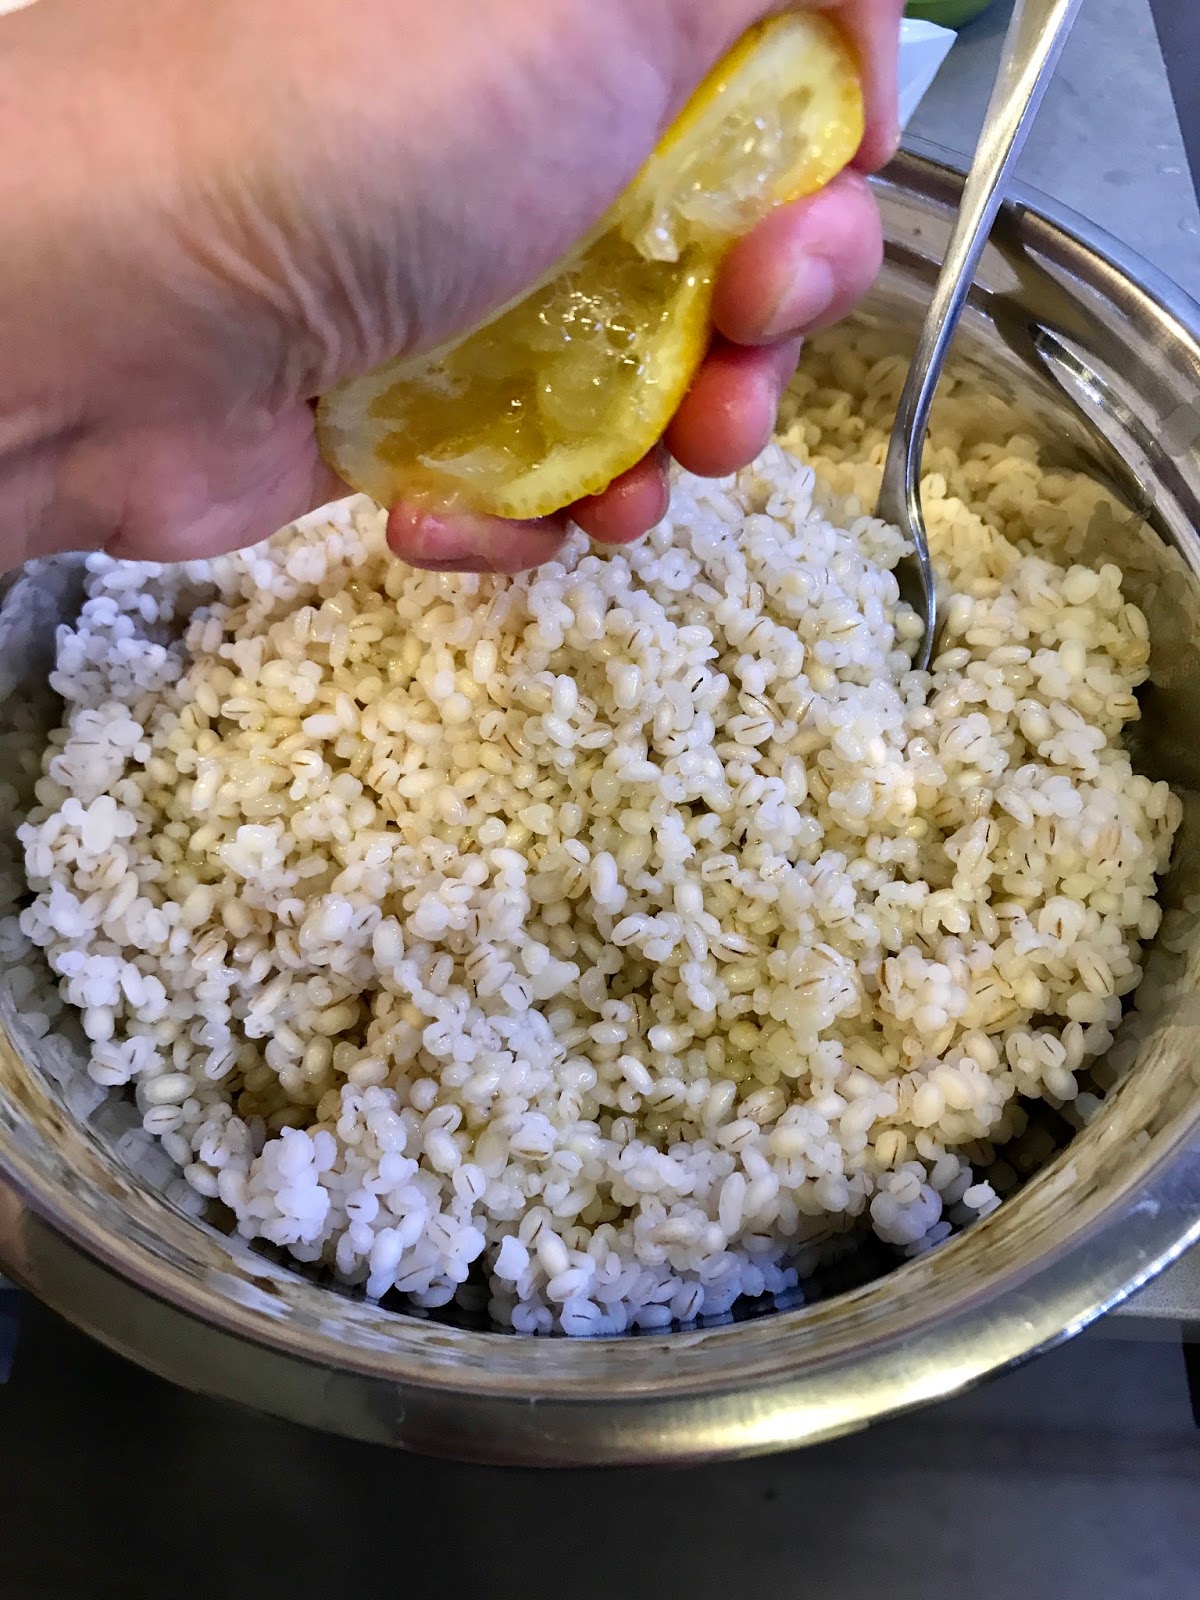
17. Squeeze lemon juice and add olive oil.  Season it with salt if needed.


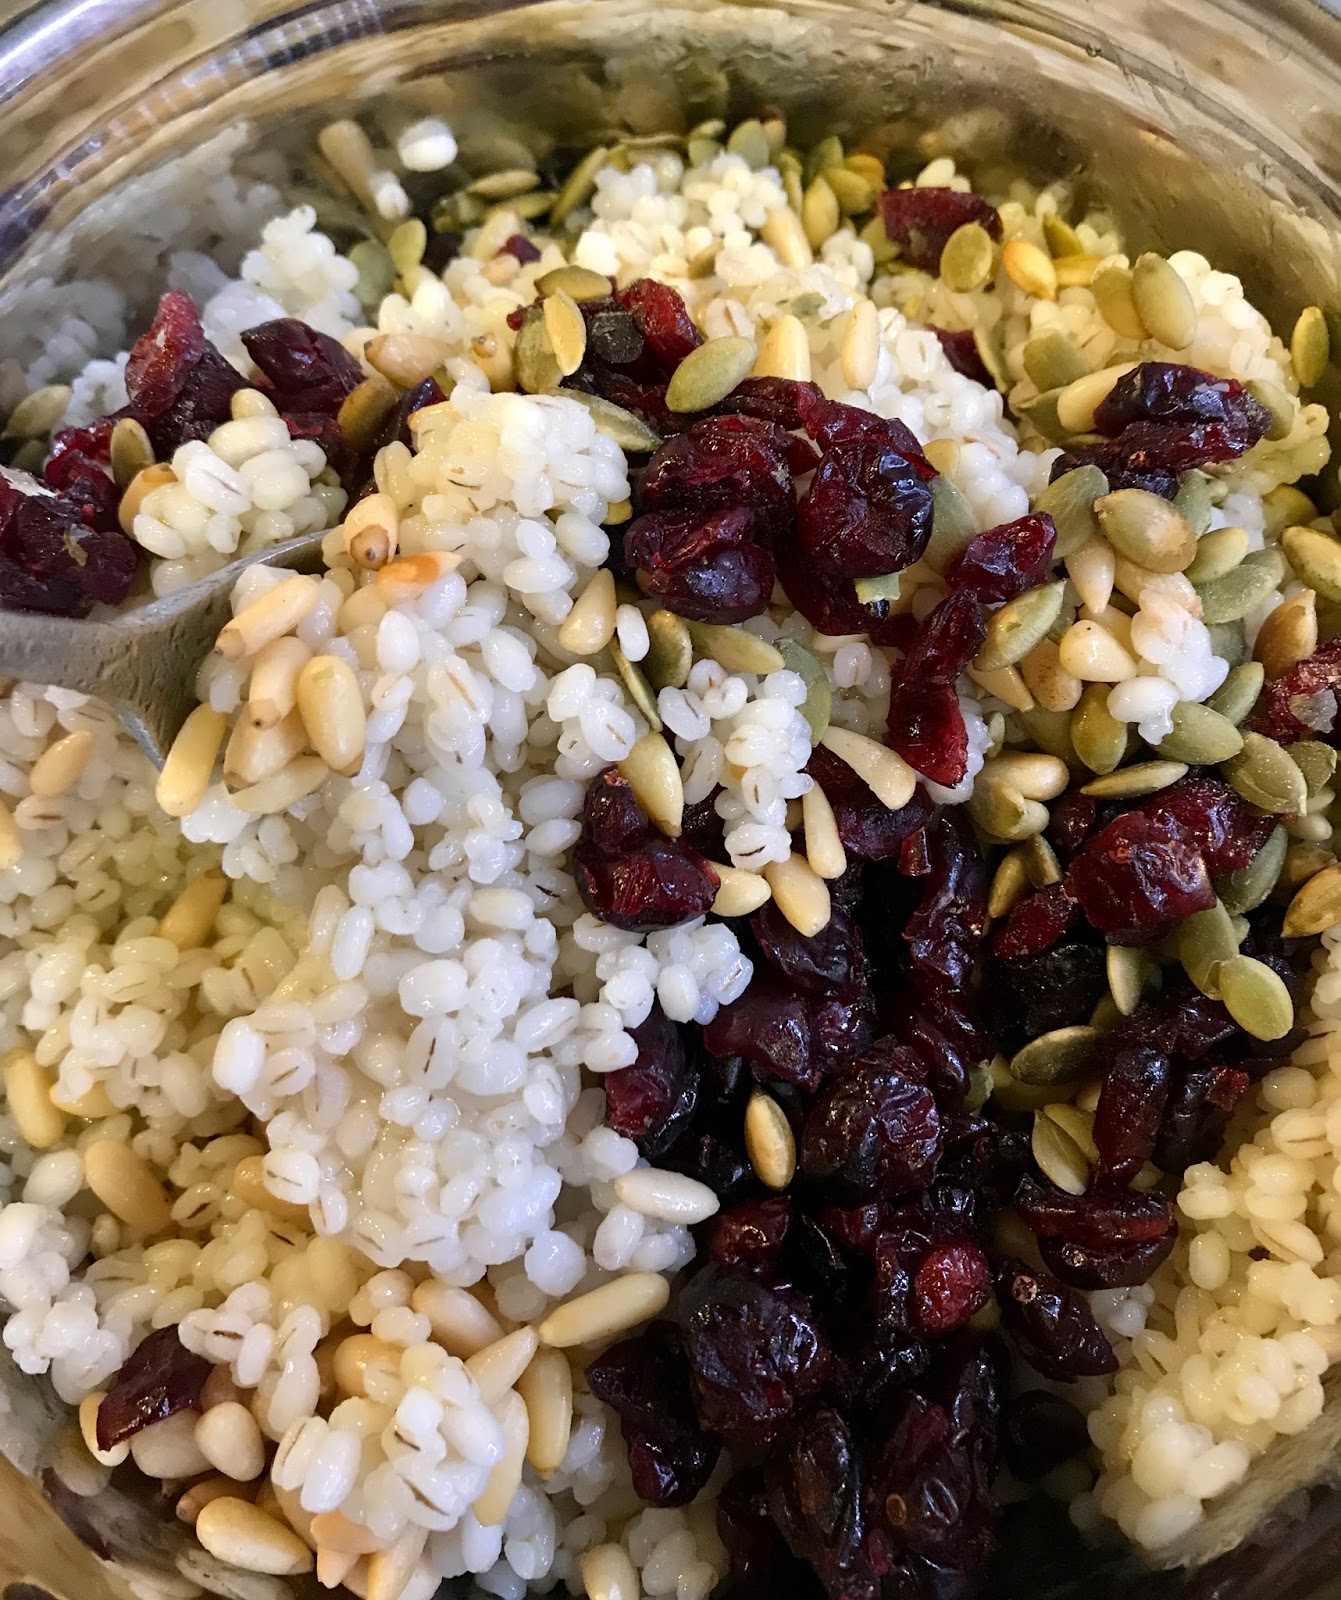
18. Add pine nuts, pumpkin seeds, and cranberries; mix well.


19. Place the food on a serving plate.  Then, the dinner is ready.

I hope you will like this recipe.  See you next time.


Homemade Strawberry Jam without Pectin |自製草莓果醬 (不含果膠)


Strawberry is almost the first fruit to welcome summer in Ontario; many of the local farms will open to the public for pick-your-own strawberries.  Every year my husband and I will bring our son to a strawberry farm to learn where the food comes from while picking some of the freshest fruit home.

Like many other children, my son always has fond memories of going to a strawberry farm, sampling those fresh fruit right on the field.  He will walk up and down the aisles, finding the biggest and the best looking strawberries between the leaves and shoving them into his mouth.  "It's so juicy! Mommy, look!" my son says happily.  His content face is usually covered with delicious juice.


The 30 pounds of strawberries we picked this summer.

This summer, we brought home thirty pounds of strawberries.  It was a little crazy.  I spent a full two and a half hours hulling them to prepare for the jam making.  It was a mind-over-matter job indeed.

There are two common ways to make strawberry jam.  One is using pectin and the other one without.

Pectin is extracted from high pectin fruit, like apple, through heat and acid.  It is a thickening agent that helps gelling jam or other preserves.  By adding pectin, the jam can solidify without too much reduction in the liquid.  So, it generally helps speed up the cooking process, also resulting in a larger portion of jam.  Though, pectin may cause stiff jam and may also leave some off flavour in the product.

Strawberries contain high amounts of pectin naturally; therefore, it's not necessary to thicken the jam with extra store-bought pectin.   My strawberry jam recipe is the traditional way without pectin, which means that it requires longer cooking time to reduce the liquid to the right consistency.  The finished product is usually about half of the amount of the fruit.  However, the jam is much more fruity and has no off flavour from the pectin.

Thanks for dropping by.  I hope you will enjoy this recipe.


Homemade Strawberry Jam without Pectin
自製草莓果醬 (不含果膠)

INGREDIENTS
8 cups Strawberries
3 cups Sugar
1/2 Lemon of Juice

DIFRECTION:
1. Gently rinse the strawberries.

2. With a chopstick, hull the green leafy top of the strawberries.  Discard the tops.


3. Pour the strawberries in a big deep pot.  Mash them with a potato masher until lumpy.

4. Add sugar and lemon juice.  Mix together over high heat until the sugar is dissolved and the mixture starts to boil.  Reduce the heat to medium.


5. Continuously boil the mixture until it becomes thicker.  Reduce the heat to simmer.  Skim off the foam and stir the mixture occasionally.


6. When the mixture reduces to nearly half, test the jam by dipping a cold spoon in the jam.  If the jam coats the spoon without falling, the jam is ready.  Remove the pot from the heat immediately.


I tested my jam on a cold plate.

7. Bottle the jam in hot sterilized mason jars immediately.

8. Seal the jars in water bath for 10 minutes.  The jars need to be totally submerged.  Leave the jars to cool and check carefully to see if the lid is moving.  The lids should not be movable.  Once cool, store them in a dark cool place.


The best part of making jam for my son was that he got to lick the spoon after I finished the jam.  Another lovely memory!  He said it was a big strawberry lollipop. 


The batches I made this year.  They should be enough to last until next summer.

Yum!


Mama's Fermented Sweet Rice Wine | 媽媽自家甜酒釀做法


This summer when my parents came to visit, I asked my mom to teach me how to make sweet rice wine.  The fermented sweet rice wine sold in stores can never be as good as the one mom makes at home.

There are so many different ways to make fermented sweet rice wine out there, but they all sounded so complicated or vague.  This time, when my mom came and we did two batches from start to finish.  Both batches were a success.  I saved one batch for drinking as it is and saved the other one to make tang yuan.

All the ingredients listed should be possible to find in old style Asian stores.


Mama's Fermented Sweet Rice Wine
媽媽自家甜酒釀做法
My mom was showing the first batch of our successful  rice wine.


Ingredients:
2 cups White Glutinous Rice
4 Wine Yeast Balls


How to make it:
1. Blend the yeast into powder; set it aside.


If you don't have a processor, using the back of the knife to smack the yeast balls until they become granulate.


2. Rinse the glutinous rice in two changes of water; drain well.  Pour the rice in a dish evenly and then sprinkle about 4 tablespoons of water over it.


3. Cook the rice in a pre-heated steamer over high heat for 30 minutes, or until the rice is totally soften and cooked.

4. Remove the rice from the steamer; allow it to cool until luke warm.  (yeast needs the warmness to ferment, but hot rice can kill the yeast).


5. Sprinkle the yeast over the rice a few times while stirring the rice.  Make sure they incorporate very well.


6. In a sterilized jar, add the rice to fill half of the container.  Cover the bottle with a kitchen paper towel and close the lid. 

(I used spaghetti container to ferment my wine and they came out just fine)


7. Leave the bottles in a dark place.


8. After about three days, you will see some wine starting to form on the bottom.


9. Stir the rice once, and continue to allow it ferment for at least three weeks before drinking it. 

Both the wine and rice residue are edible.  You can use the rice to make sweet soup or steamed chicken.


The wine after three weeks.
10. To store the wine, remove the paper towel and close the lid tight. Store it at room temperature for up to a year.


Roasted Butternut Squash Soup | 烤葫蘆南瓜湯

Compare to the non-roasted version, roasted butternut squash instead brings a tremendous different in the flavour.  The caramelized s...