Showing posts with label milk. Show all posts

Thursday, April 30, 2020

Creamy Garlic Vegetable Dip | 蒜香美乃滋沾醬


INGREDIENTS:
6 tablespoons Mayonnaise, low fat
1 head Garlic, peeled and minced
1/4 cup Milk, 2%
1 tablespoon Dijon Mustard
1 teaspoon Oregano, dried
 sprinkle of Sea Salt

材料:
6 湯匙  美乃滋,低脂
1 頭  蒜頭,去皮,磨蓉
1/4 杯  牛奶,2%
1 湯匙  芥末醬
1 茶匙  奧勒崗,乾燥
少撮  海鹽

DIRECTION 做法:
1. Whisk all ingredients together until smooth and well combined.  Chill it before serving.

1. 把所有材料攪勻至幼滑。雪凍後才享用。


Monday, April 20, 2020

Potato Leek Soup | 薯仔京蔥湯


INGREDIENTS:
2 Leeks, rinsed, cut into 1 cm rounds
3 Potatoes, peeled, cut into small cubes
5 cups Water
1/3 cup Greek Yogurt, plain, 2%
1/2 cup Milk, 2%
2 tablespoons Chinese Cooking Rice Wine
Salt to taste

材料:
2 支  京蔥,切成 1cm 塊
3 個  薯仔,去皮,切成小塊
5 杯  水
1/3 杯  希臘乳酪,原味,2%
1/2 杯  牛奶,2%
2 湯匙  米酒
鹽  調味


DIRECTION:
1. In a soup pot, add potatoes, leeks, and water.  Bring it to a boil over high heat until the potatoes are totally soften and starting to fall apart; about 20 minutes.  Add more water if needed.

2. Use a smasher to break apart the softened potatoes and leeks.  Reduce the heat to medium.  Add milk, yogurt, cooking wine and salt.  Continue to boil until the soup reaches to the desired consistency.

做法:
1. 在一只湯鍋內,加入薯仔,京蔥和水。用大火煮至薯仔完全軟身;若20分鐘。如需要可加水。

2. 用壓薯器把軟身的薯仔和京蔥壓散。把火調至中火。加入牛奶、乳酪、米酒和鹽。繼續煮至濃味和湯變濃;關火。

Stewed Milky Chicken with Date and Lotus Seed (Instant Pot Version)|紅棗蓮子鮮奶燉雞 (壓力煲版)


It is the very nutritious soup that is very good for skin or post-natal nourishment. I made it every winter to boost up our energy. 


Stewed Milky Chicken with Date and Lotus Seed
紅棗蓮子鮮奶燉雞

INGREDIENTS:
2 pcs Chicken Legs, skinless
3 cups Milk, homogenized
1 cup Water
4 tablespoons Chinese Cooking Rice Wine
4 Red Dates
12 Lotus Seeds, cores removed
Salt to taste


DIRECTION:
Red Dates are on the left and lotus seeds are on the right.


1. Soak the dried lotus seeds in water until soften.  Remove the green core in the middle of each with a toothpaste, if there is any.


2. Remove and discard the pit in each red date.


3. In a heat-proof container.  Add chicken, dates, and lotus seeds.


4. Pour in milk.


5. Add water and rice wine.  Cover the container with a lid.


6. In an instant pot, add 3 cups of water and place a low rack on the bottom.  Carefully put the covered container on the rack.

7. Put the lid on the instant pot.  Put the venting knob to seal.  Press the "Manual" button once, and then press the "Pressure" button to adjust the pressure to high.  Press the "+" or "-" button to set the time to 10 minutes.  When the cooking process is done, allow the pressure release naturally.  Remove the container from the instant pot right away.


8. Season the soup with salt.  Serve immediately.


Friday, October 12, 2018

Matcha Latte


Although it is called matcha latte, it doesn't really contain any coffee.  It is the hot beverage composed of foamy hot milk with fragrant matcha powder.


INGREDIENTS:
1 cup Hot Milk, 2%
1/3 teaspoon Matcha Powder
1 tablespoon Sugar

DIRECTION:
1. Combine sugar and milk in a glass bowl.  Heat it in a microwave for about a minute; stir until the sugar is melted.

2. In a tall cup, combine matcha powder and 1/4 cup of the milk.


3. Whisk it together with an electric milk frother wand until foamy.


4. Slowly add in the rest of the milk in the cup.


5. Serve immediately.


Friday, June 8, 2018

Basic Cornbread | 玉米麵包


Cornmeal is made of a type of corn called dent corn. Unlike the sweet corn we usually use for salad or barbecue, dent corn has little sweetness and contains higher starch. After drying and various grinding processes, dent corn becomes cornmeal that is fine to coarse in consistency, depending on the range of grinding. Cornmeal is widely used for making cornbread, polenta, or tortilla, and it comes in yellow or white colours.

Actually, cornbread originated with Native Americans. Before the European settlers set foot on America, the Natives had already had a long history of using the dried cornmeal to make cornbread as their staple.  But the original recipe is very basic, combining just cornmeal and water, or sometimes lard.  So the taste was rather bland. Later the Europeans adopted the recipe and added milk and butter to make it more flavourful.

We should really thank the Native Americans.


INGREDIENTS:
1/4 cup Butter
1 cup Milk
2 Eggs, large
1.25 cups Yellow Cornmeal
1 cup All Purpose Flour
1/2 cup Sugar
2 tablespoons Baking Powder
pinch of Sea Salt

做法:
1/4 杯  牛油
1 杯  牛奶
2 隻  雞蛋,大
1.25 杯  黃玉米粉
1 杯  多用途麵粉
1/2 杯  糖
2 湯匙  泡打粉
小撮  海鹽


DIRECTION:
1. Preheat the oven to 350F.  Melt butter in microwave; let it cool.

2. In a large bowl, whisk two eggs.  Add melted butter and milk; whisk again until it is combined.

3.  Add all the remaining ingredients.  Gently mix until it is incorporated.

4. Line a baking tray with parchment paper.  Pour the mixture into the tray and smooth the surface with the back of a spoon.

5. Bake it for about 15-20 minutes, or until the corn bread rises up and is firm.  Let it cool completely on a rack before slicing them.

做法:
1. 預熱焗爐至350F 。 用微波爐熱溶牛油;放涼。

2. 在大碗內打勻兩隻雞蛋。下牛油和牛奶;攪打至均勻。

3. 加入剩餘材料;拌勻成麵糊。

4. 焗盤上舖上焗紙,倒入麵糊,用匙背舖平。

5. 焗15-20分鐘。取出,置架放涼。

Thursday, November 23, 2017

Baked Coconut Cake | 焗椰子年糕


This coconut cake is actually a popular dessert in Hawaii, but somehow it also became a hit for the Chinese New Year in Toronto here.  Racks of racks of freshly baked cake were laying on the isles waiting for people to buy.  The glutinous flour gives a soft and chewy texture to the cake, with the very flaky topping.  It has the mix of custard and coconut flavour that you will find it is hard to stop eating.


Baked Coconut Cake | 焗椰子年糕

INGREDIENTS:
2 cups Glutinous Flour
1/4 cup Butter, melted
400 ml Coconut Milk
1/2 cup Milk, homogenized
2 Eggs, beaten
1 cup Sugar
1 tablespoon Vanilla Extract
1 teaspoon Baking Powder

材料:
2 杯  糯米粉
1/4 杯  牛油,熱溶
400 毫升  椰奶
1/2 杯 牛奶,全脂
2 隻  雞蛋,攪拌
1 杯  糖
1 湯匙  雲呢拿油
1 茶匙  泡打粉


DIRECTION 做法:
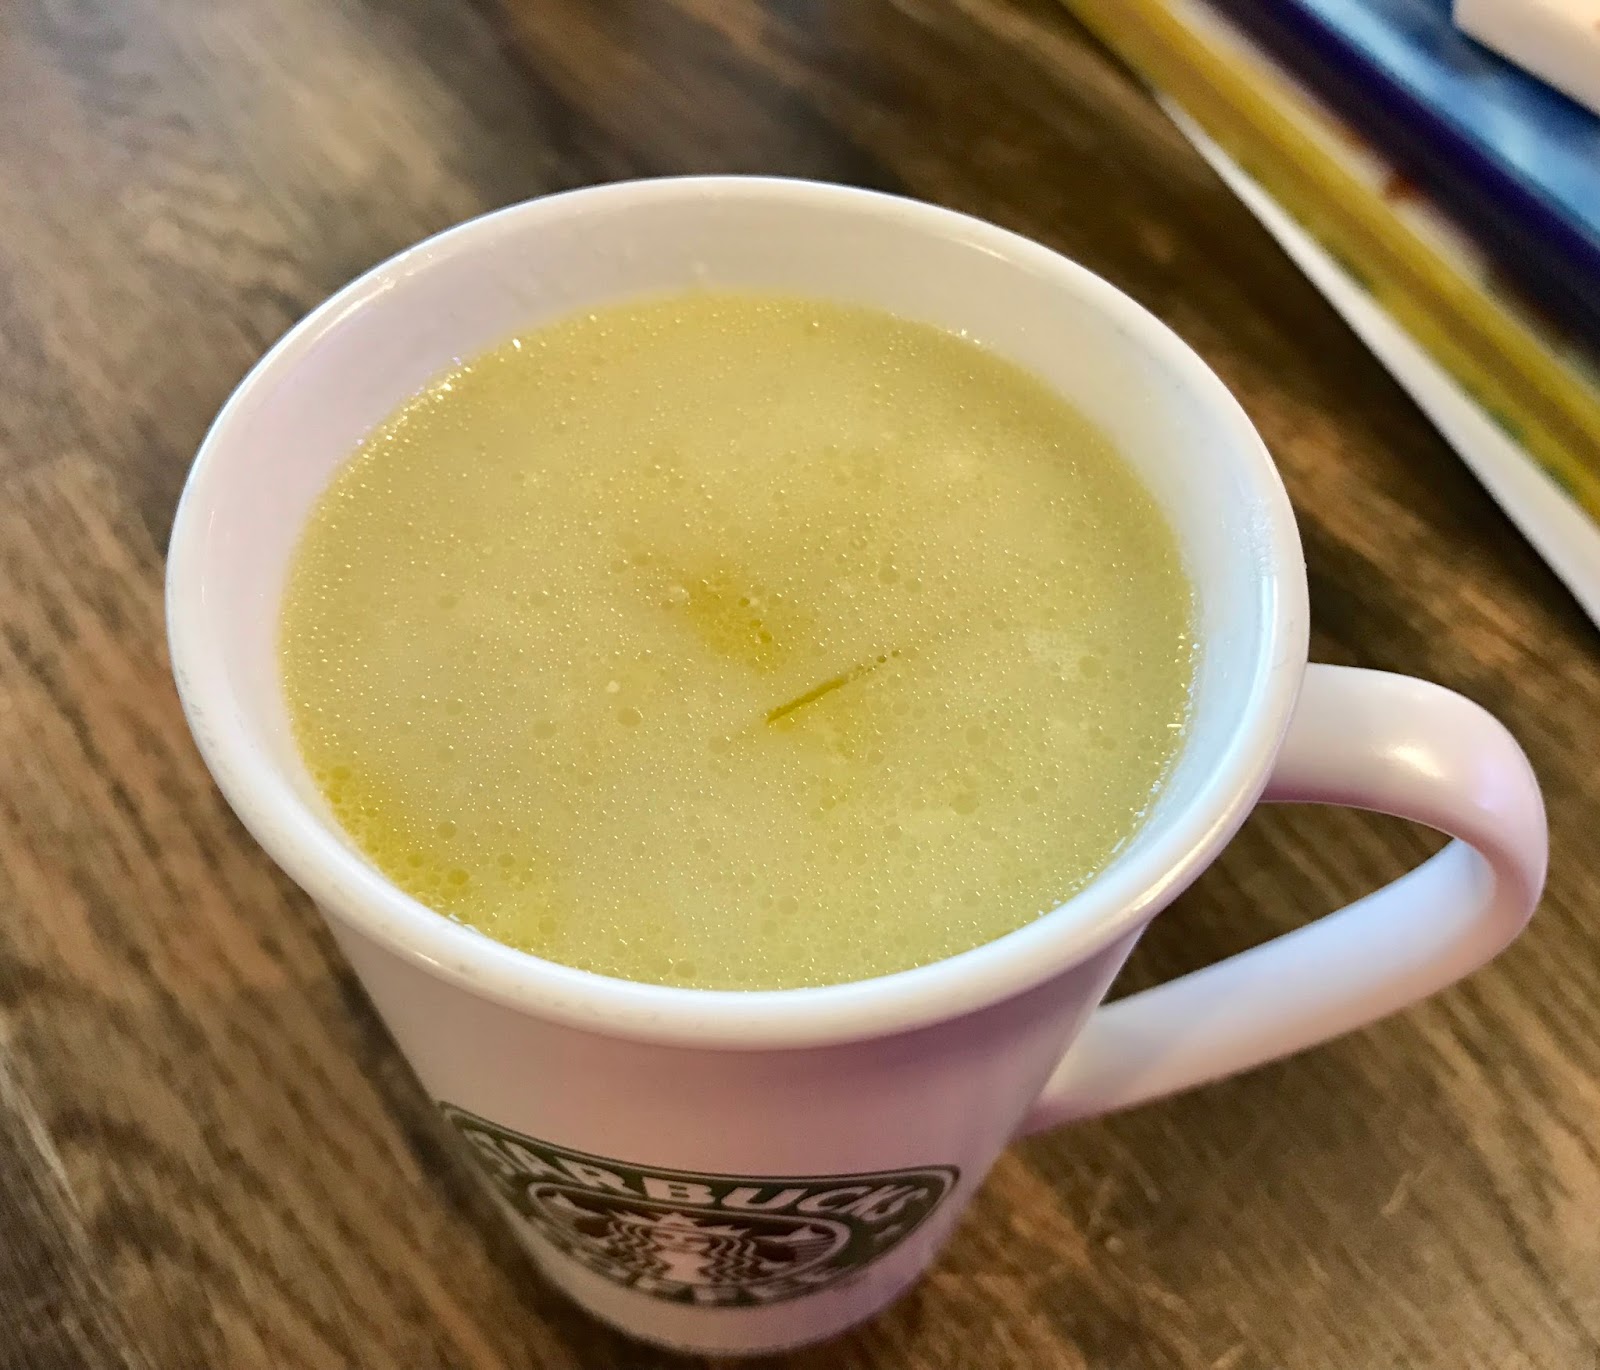
1 In a mixing bowl, combine coconut milk and milk.

1. 在一只碗內,加入椰奶和牛奶。


2. Add beaten eggs, butter, and vanilla extract; whisk it together.

2. 拌入雞蛋、牛油和雲呢拿油。


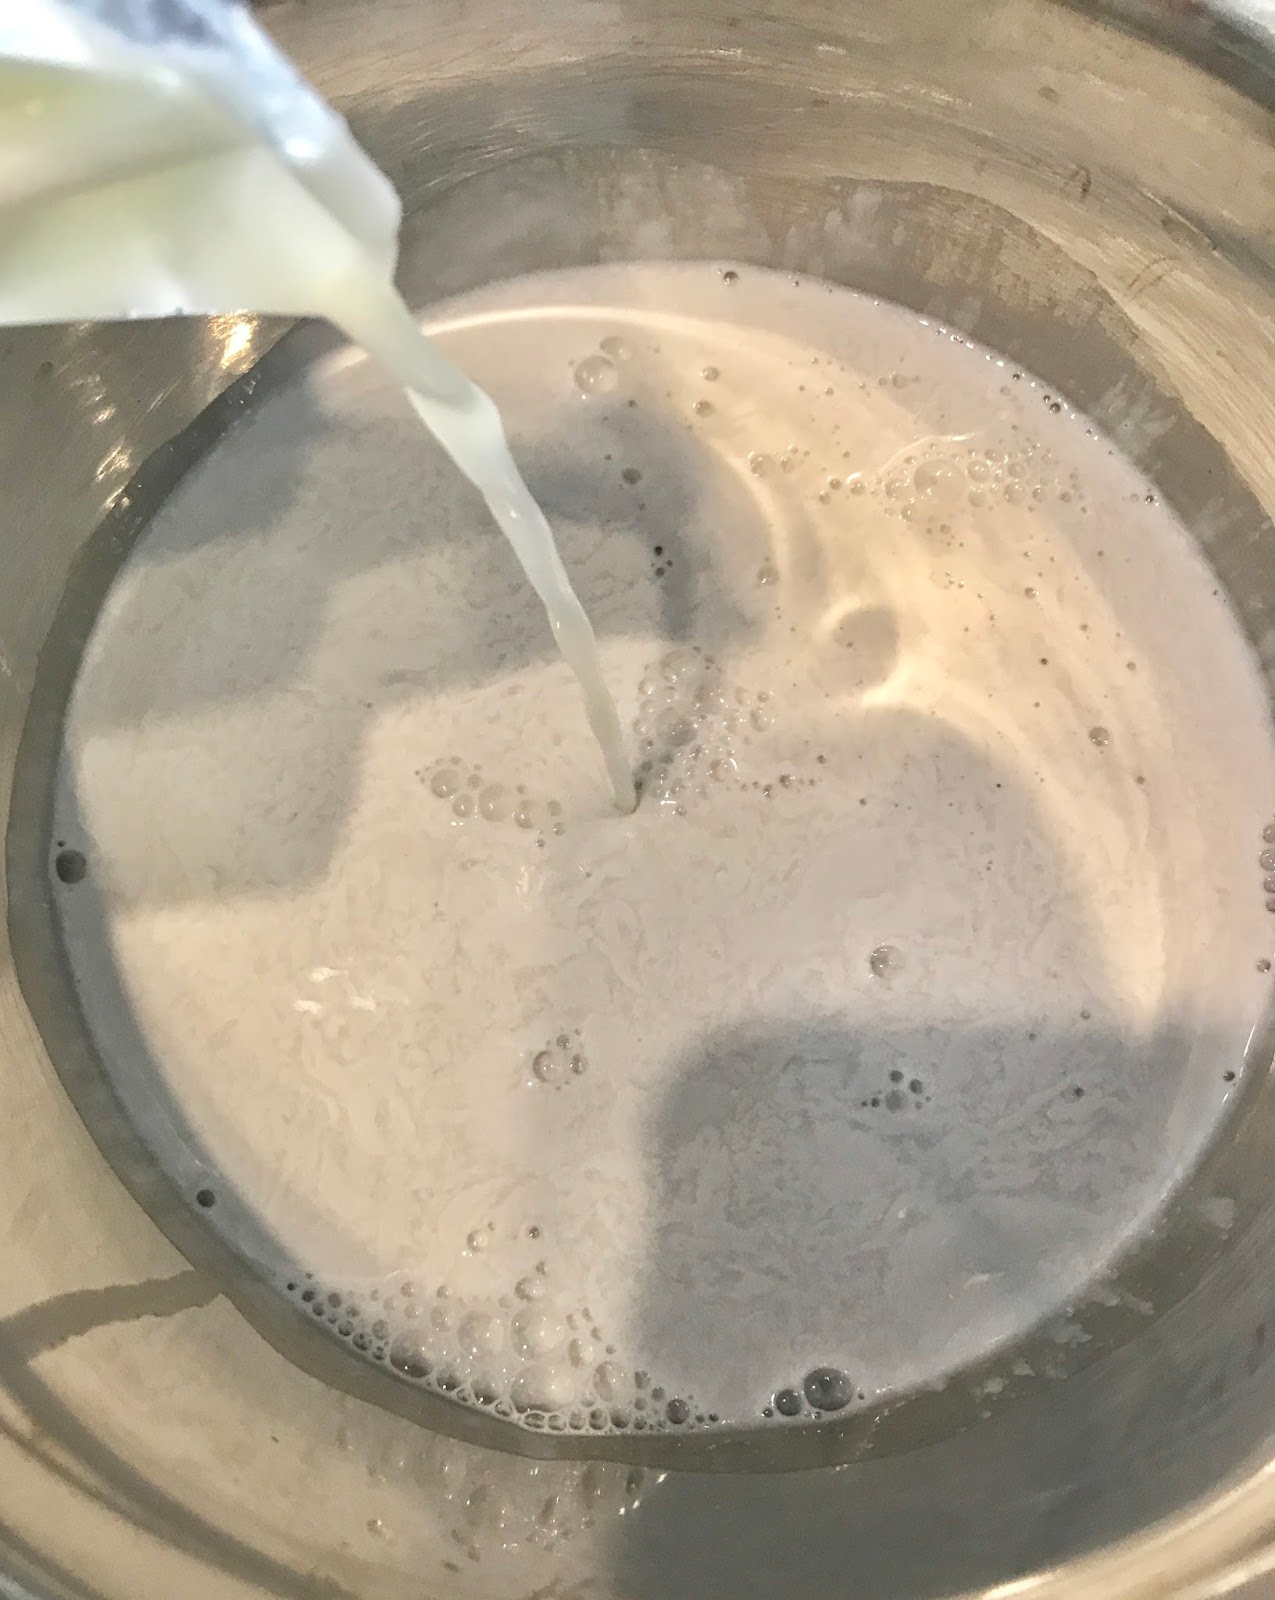
3. Add glutinous flour, baking powder, and sugar.

3. 加入糯米粉、泡打粉和糖。


4. Continuously mix until the mixture is well incorporated.

4. 繼續攪拌直至其完全均勻。


5. Pour the mixture in a container lined with parchment paper; about 1.5 cm deep.

5. 把混合物倒入已舖好焗紙的盤內;若1.5厘米深。


6. Bake it at a pre-heated oven at 360 F for 45-60 minutes, depends on the depth of the container.

6. 放入已預熱至360F 的焗爐內焗若45-60分鐘,似乎焗盤的深度而定。


7. Insert a toothpick into the cake and the cake is ready if the toothpick comes out clean.

7. 把一支牙簽插入取出,如牙簽沒糯米漿黏著便是焗好。


8. Allow the cake to cool slightly before slicing it.  It is totally normal if the cake collapses a little after cooling.

8. 待糕放涼便可切件;糕放涼後會稍為下陷。


Keep the remaining cake in an air-tight container and store it in the fridge.  Before serving it, reheat the cake in microwave for about 20 seconds.

把糕存放至密封盒內,再放到雪櫃。放到微波爐翻熱若20秒便可食用。

Thanks for stopping by.  I hope you enjoy this coconut treat.

謝謝收看,希望您會喜歡這個食譜。


Friday, November 17, 2017

Steamed Egg Custard with Milk | 鮮奶燉蛋


Steamed Egg Custard with Milk | 鮮奶燉蛋 

Ingredients: (yields 4 servings)
120 ml Hot Water
3 tbsps sugar
3 tbsps Brow Sugar
2 cups Whole Milk
1/4 tsp Vegetable Oil


材料:(4人份)
120 毫升   熱水
3 湯匙   糖
3 湯匙   黑糖
2 杯   全脂奶
1/4 茶匙   菜油


DIRECTION:


Wednesday, November 8, 2017

Purple Rice and Sago Dessert |紫米西米露


Purple Rice and Sago Dessert
紫米西米露


Ingredients:
1 cup Purple Rice, rinsed
1 cup Sago
6-8 cups Water
1.5 cups Brown Sugar
1.5 cups Coconut Milk


材料:
1 杯   紫米,洗淨
1 杯   西米
6-8 杯   水
1.5 杯   椰奶
1.5 杯   黑糖


DIRECTION:


Sunday, June 25, 2017

Mugwort Agar Agar - wild edible recipe | 艾草大菜糕


Mugwort is one of my favourite wild edible greens.  It has a unique herby flavour that goes really well with dairy, and it's rich in Vitamin K.

During May to early June, mugwort grows abundantly along road sides or in parks.  I've been foraging this beautiful herb and drying them to use in later months.


Dried mugwort


To dry mugwort is simple.  All you need to do is give it a very good soak and rinse, and then spread them loosely on a baking tray or any flat surface to be air dried.  Avoid overlapping the mugwort, which is key because it will result in a moldy smell that certainly reflects in the food.

When the mugwort is completely dried, crumble it up by hand and remove as many hard stems or pieces as you can.  The finished product should be soft and fibrous.  Keep it in an air-tight jar at room temperature.

I heard some people use a dehydrator to dry mugwort, but I haven't tried it.  So I am not sure if both method are equivalent or if one is better than the other.  However, dried mugwort has a more intense flavour than the fresh one.

I used dried mugwort in the recipe below, but you're always welcome to use fresh mugwort instead.  They all are delicious.


Thanks for stopping by.  I hope you will enjoy this recipe.


Mugwort Agar Agar
艾草大菜糕


Ingredients:
5 gram Dired Mugwort
2 cups Water
8 gram Agar Agar Block
5 tablespoons Sugar
Milk (to serve)
Grapes (for decoration)


How to make:
1. Combine the mugwort and water in a small pot.  Bring it to a boil, and then reduce the heat to medium-low.  Let it boil for 10 minutes and remove it from the heat.


From clockwise.

2. When the mixture cools slightly.  Blend it in a food processor until the mugwort is finely chopped.  Drain the juice through a tea strainer and discard the mugwort.

3. Pour the juice back to the pot.  Cut the agar agar into small pieces and add them to the pot, followed by sugar.  Bring the liquid to a boil and then simmer it on low heat until the agar agar is totally dissolved; stirring constantly.

4. Pour the mixture in a mould and allow it to cool slightly before transferring it to the fridge.  Chill the agar agar until it is set; about 15-20 minutes.  Serve with cream or milk, along with any fruits that are desired.


Roasted Butternut Squash Soup | 烤葫蘆南瓜湯

Compare to the non-roasted version, roasted butternut squash instead brings a tremendous different in the flavour.  The caramelized s...