Showing posts with label dinner. Show all posts

Tuesday, April 21, 2020

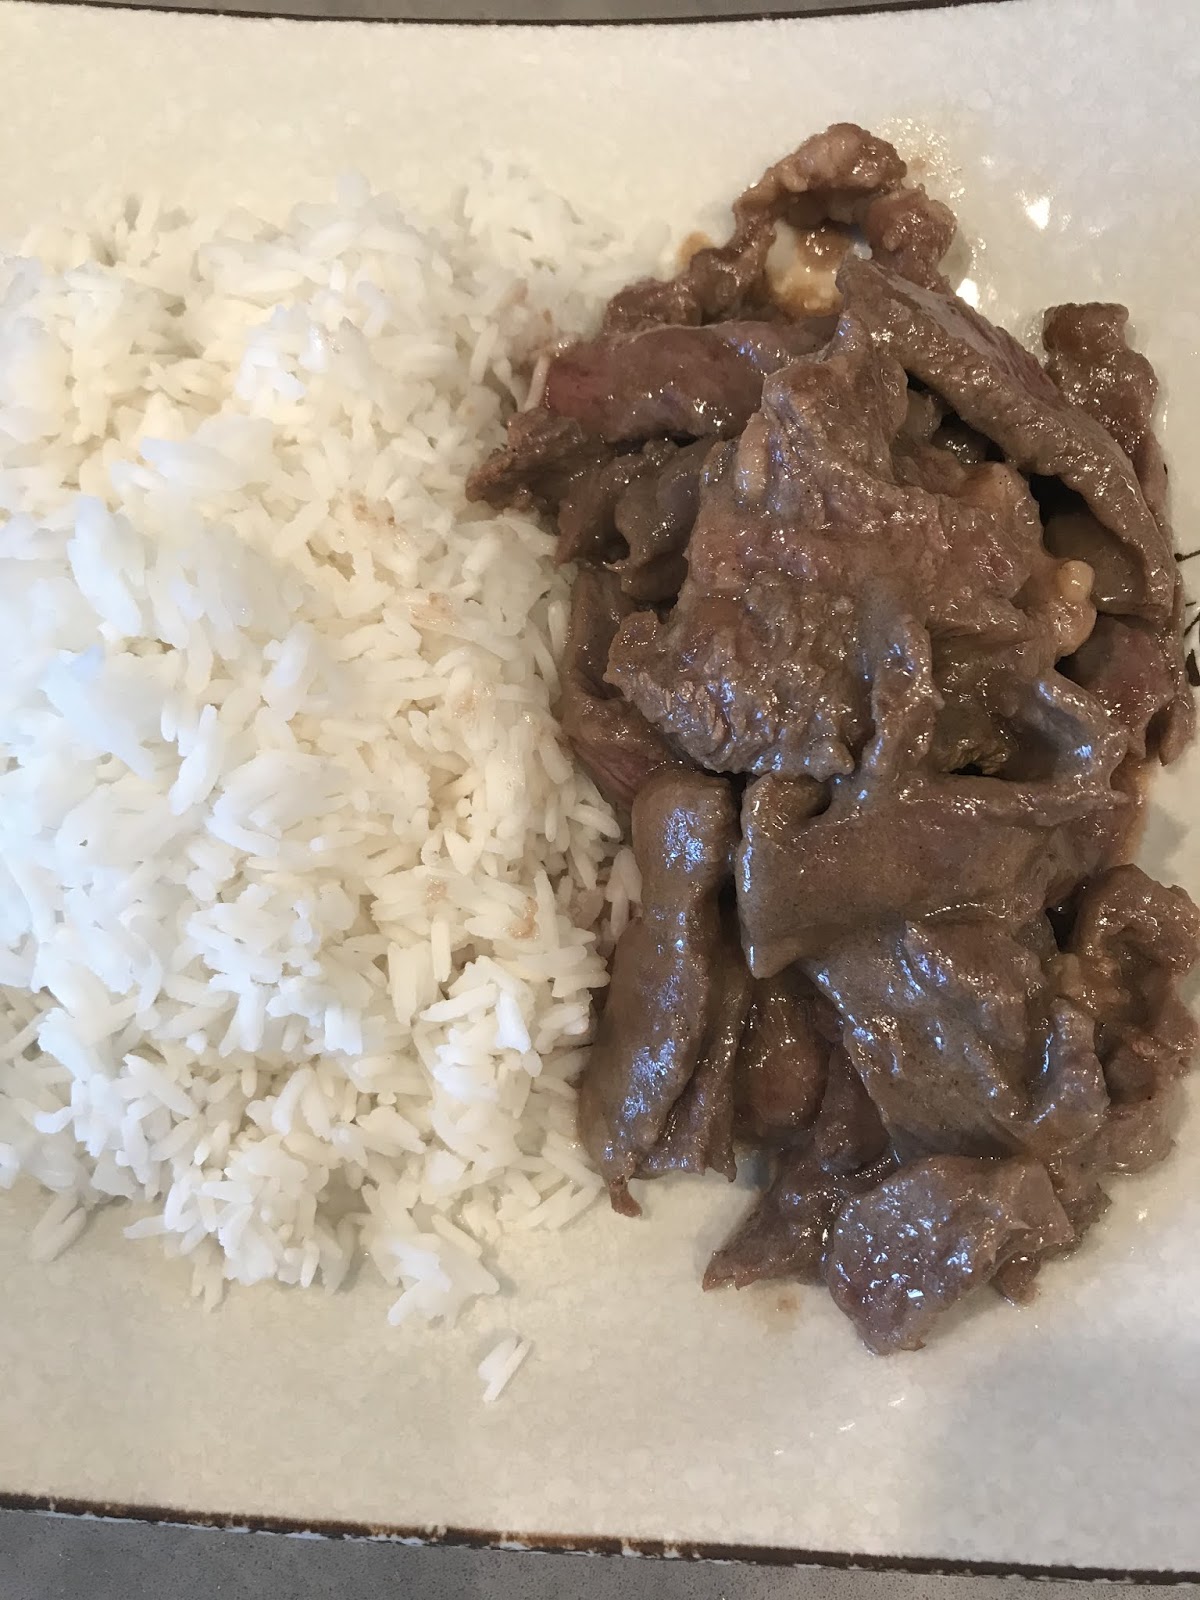
Smooth Scrambled Egg and Beef on Rice 滑蛋牛肉飯


INGREDIENTS:
250 gram Beef
8 Eggs
3 bowls Cooked Rice
6 tablespoons Vegetable Oil (for frying) 

MARINADE:
4 tablespoons Soy Sauce
1 tablespoon Sugar
1 teaspoon Corn Starch
1 tablespoon Chinese Cooking Rice Wine

DIRECTION:
1. Cut the beef into 1/2 cm thin slices across the grains.

2. In a mixing bowl, add the beef and the marinade. Mix well. Let it marinate for 30 minutes in the fridge. 


3. In another bowl, whisk the eggs.


4. Heat up 3 tablespoons of vegetable oil over high heat. Add beef and saute until it turns colour; about 5-7 minutes. (If you want the beef throughly cooked, saute for another 2-3 minutes)


5. Quickly transfer the beef onto the serving plate.


6. Rinse and dry the pan quickly. In the same pan, heat up the rest of the vegetable oil over medium heat. Add egg. Quickly scramble until the egg just starts to coagulate. Turn off the heat. Use the remaining heat to cook the egg until it is just cooked but still a little runny.


7. Pour the egg onto the beef. Serve with steamed rice.


Monday, April 20, 2020

Bocconcini, Basil, and Tomato Salad | 水牛芝士九層塔蕃茄沙律


An impressive and super easy salad to prepare.  The freshly chopped basil and tomato perfectly marinade to each other, bringing the classic summer salad flavour.  With the bouncy bocconcini, it is just the cheer in the cold month.


INGREDIENTS:
2/3 cups Bocconcini
1 cup Cherry Tomatoes, halved
10-15 Black Olives (Kalamata and Nicoise)
10 pcs Basil Leaves, roughly chopped
1/4 cup Flat Leaf Parsley, leaves only, roughly chopped
1 teaspoon White Vinegar
5 tablespoons tablespoons Extra Virgin Olive Oil
pinch of Salt

材料:
2/3 杯  水牛芝士
1 杯  車厘茄,切半
10-15 粒 黑橄欖
10-15 片  九層塔葉,切碎
1/4 杯  香芹,葉部份,切碎
1 茶匙  白醋
5 湯匙  初搾橄欖油
少撮  鹽

METHODS:
1. In a large mixing bowl, combine all the ingredients.  Toss to combine.  Chill for 15-20 minutes before serving, if desired.

做法:
1. 在一只大碗內加入所有材料;拌勻。可雪15-20分鐘再食用。


Friday, October 5, 2018

Lemon Spaghetti


Lemon and spaghetti are surprisingly tasty and refreshing.  This pasta is my family's favourite and we love to pair it with roasted chicken.  Good quality olive oil is highly recommended in this recipe because it can change the flavour dramatically.  If you are fond of a little spicy, sprinkle a generous amount of black pepper on top before serving it.

INGREDIENTS:
1 handful of Spaghetti
6 tablespoons Extra Virgin Olive Oil
1/2 Lemon of zest and juice
Sea Salt to taste
Freshly ground Black Pepper to taste

DIRECTION:
1. In a mixing bowl, combine olive oil, lemon juice and zest, salt and pepper; set aside.

2. Bring a big pot of water to a boil over high heat.  Add salt; the water should taste similar to sea water.

3. Add spaghetti and cook according to the package until it is el dente.  Turn off the heat.  Drain well and return the spaghetti back to the pot.  Add the olive oil mixture and gently mix to coat.  Serve with roasted chicken or steak.

Tuesday, January 23, 2018

Braised Shiitake Mushrooms in Oyster Sauce | 蠔油炆冬菇生菜


INGREDIENTS:
15-18 pcs Dried Shiitake Mushrooms
1 head Iceberg
3 Garlic Cloves
1/4 cup Vegan Oyster Sauce
Water

材料:
15-18 隻   冬菇
1 頭   生菜
3 瓣   蒜頭
1/4 杯   素蠔油
水

DIRECTION:

Saturday, November 18, 2017

Lemony Barley with Sautéed Swiss Chard and Roasted Golden Beet | 檸檬大麥配瑞士甜菜和金菜頭


This time of the year is the best time to hang around farmer's markets because there are always so many colourful root vegetables sitting on the shelves accompanying the seasonal greens.


At St. Lawrence farmer's market

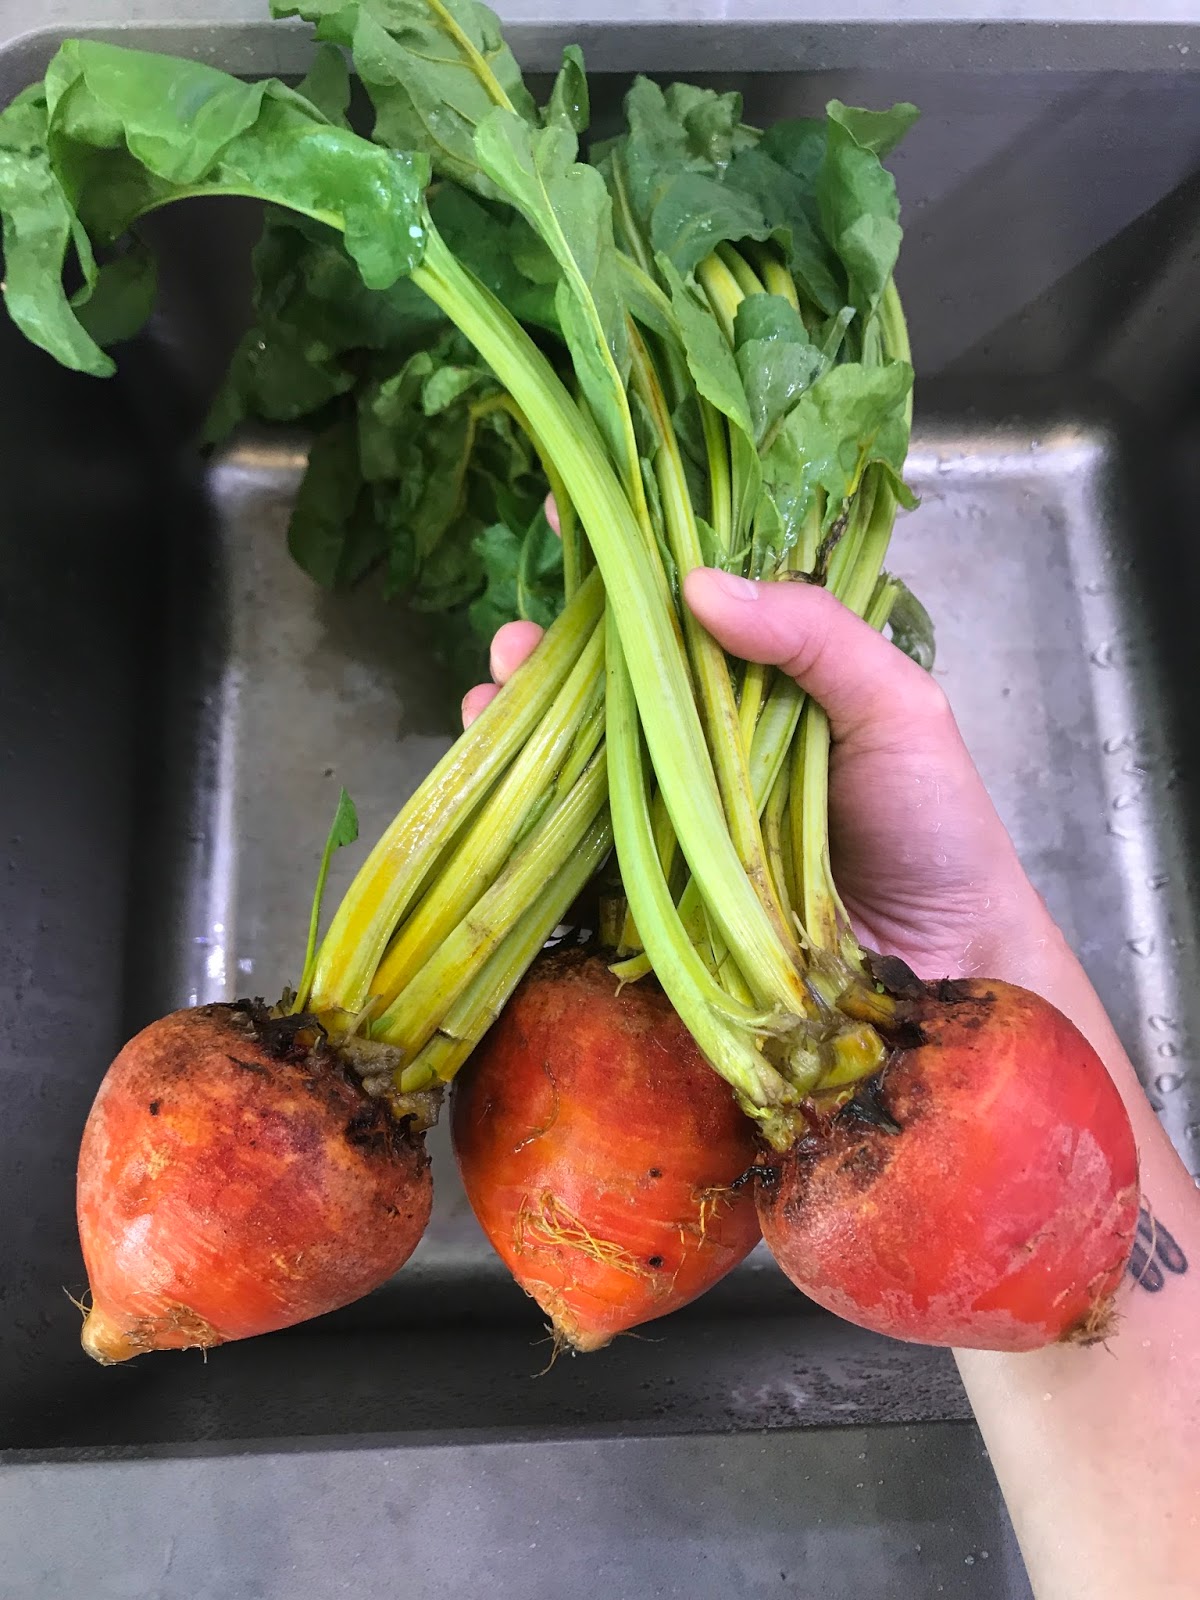
Today I went to look for golden beets.  Golden beets taste much less earthy than the common red beets, but they have the similar sweetness and jewelry looking beauty.  I just love them.  At the market, I also found some prime seasonal Swiss chard.  A whole bundle of Swiss chard sold only $1.99 and it looked amazingly fresh.  So it was how I pulled my healthy vegan dinner together tonight.


Lemony Barley with Sautéed Swiss Chard and Roasted Golden Beet
檸檬大麥配瑞士甜菜和金菜頭


(Ingredients for roasted beet):
3 Golden Beets (red beets are fine too)
Olive Oil
Sea Salt


(Ingredients for sautéed Swiss Chard):
1 bundle Swiss Chard
5-7 Garlic Cloves
5 tablespoons Vegetable Oil
2 tablespoons Chinese Rice Wine (optional)
1/2 teaspoon Sugar
1/2 teaspoon Salt


Ingredients for barley:
2 cups Barley
1.5 teaspoons Salt (for boiling barley)
1/3 cup Pine Nut
1/3 cup pumpkin Seeds
1/3 cup Cranberry, dried
4 tablespoons Olive Oil
1/3 Lemon of juice


 How to make it:
Roasting beets takes the longest time, so we can prepare them first.

I enjoy eating the beet greens so I bought the ones with a top.  I would sauté it with the Swiss chard later.  If you just want to use the beet roots, it is totally fine.


1. Remove the green tops from the beets and rinse off the dirt.


2. Place a beet on a piece of foil, and drizzle olive oil and sprinkle salt on it.  Repeat the process until you finish the beets.


3. Wrap the beets individually with the foil, and place them on a roasting pan.

4. Roast the beets in the oven at 400F for about 30 minutes.  (Cooking time may vary according to the size of the beets).


5. Remove the beets from the foil and allow to cool slightly.  Remove the skins and cut the beets until chunk size.  Set the beets aside for later use.


6. Rinse the beet greens thoroughly.  Tear the leaves into bite sizes.  Snap the stems into about 3 cm sticks and also peel off the hard fibre along the stems.  


7. Separate the stems and leaves for even cooking later.


8. If you use Swiss chard, repeat the process as you would do for the beet greens.


9. Heat up about 5 tablespoons of vegetable oil over high heat.  Add garlic; fry until it is fragrant and slightly brown.


10. Add the beet greens and Swiss chard stems.  Sauté until the stems slightly give in; about 2 minutes.


11. Add the leaves, and sauté for another 2 minutes.


12. Add rice wine and sugar.

(Wine is optional and you can skip it if you don't have it on hand.  The sugar is to mellow the bitterness of the dark greens; the amount of the sugar should not be tasted in the dish.)


13. Continuously sauté for another 30 seconds.  Remove it from the heat and set it aside until later use.


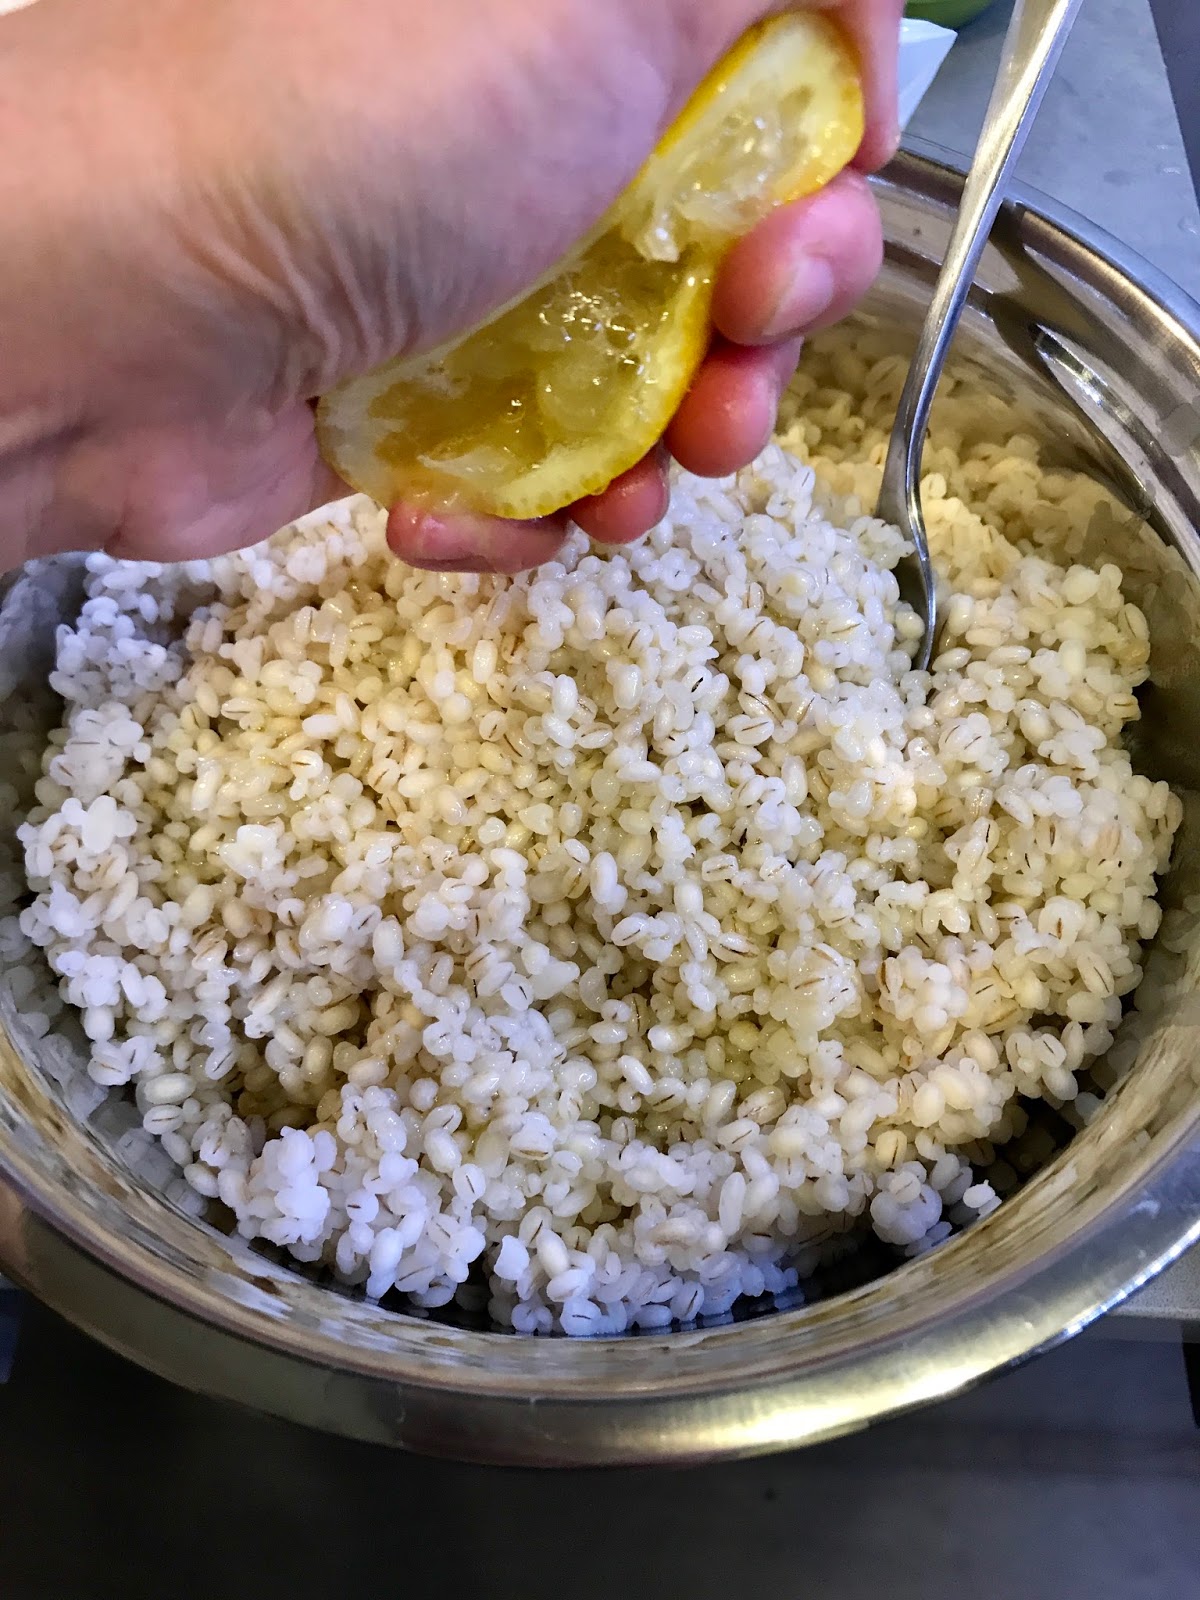
14. To cook barley, first rinse it in a few changes of water until the water is slightly clean; drain it.


15. Bring a pot of water to a boil.  Add salt and barley.


16. Cook the barley over medium-high heat until it is softened; drain it well.


17. Squeeze lemon juice and add olive oil.  Season it with salt if needed.


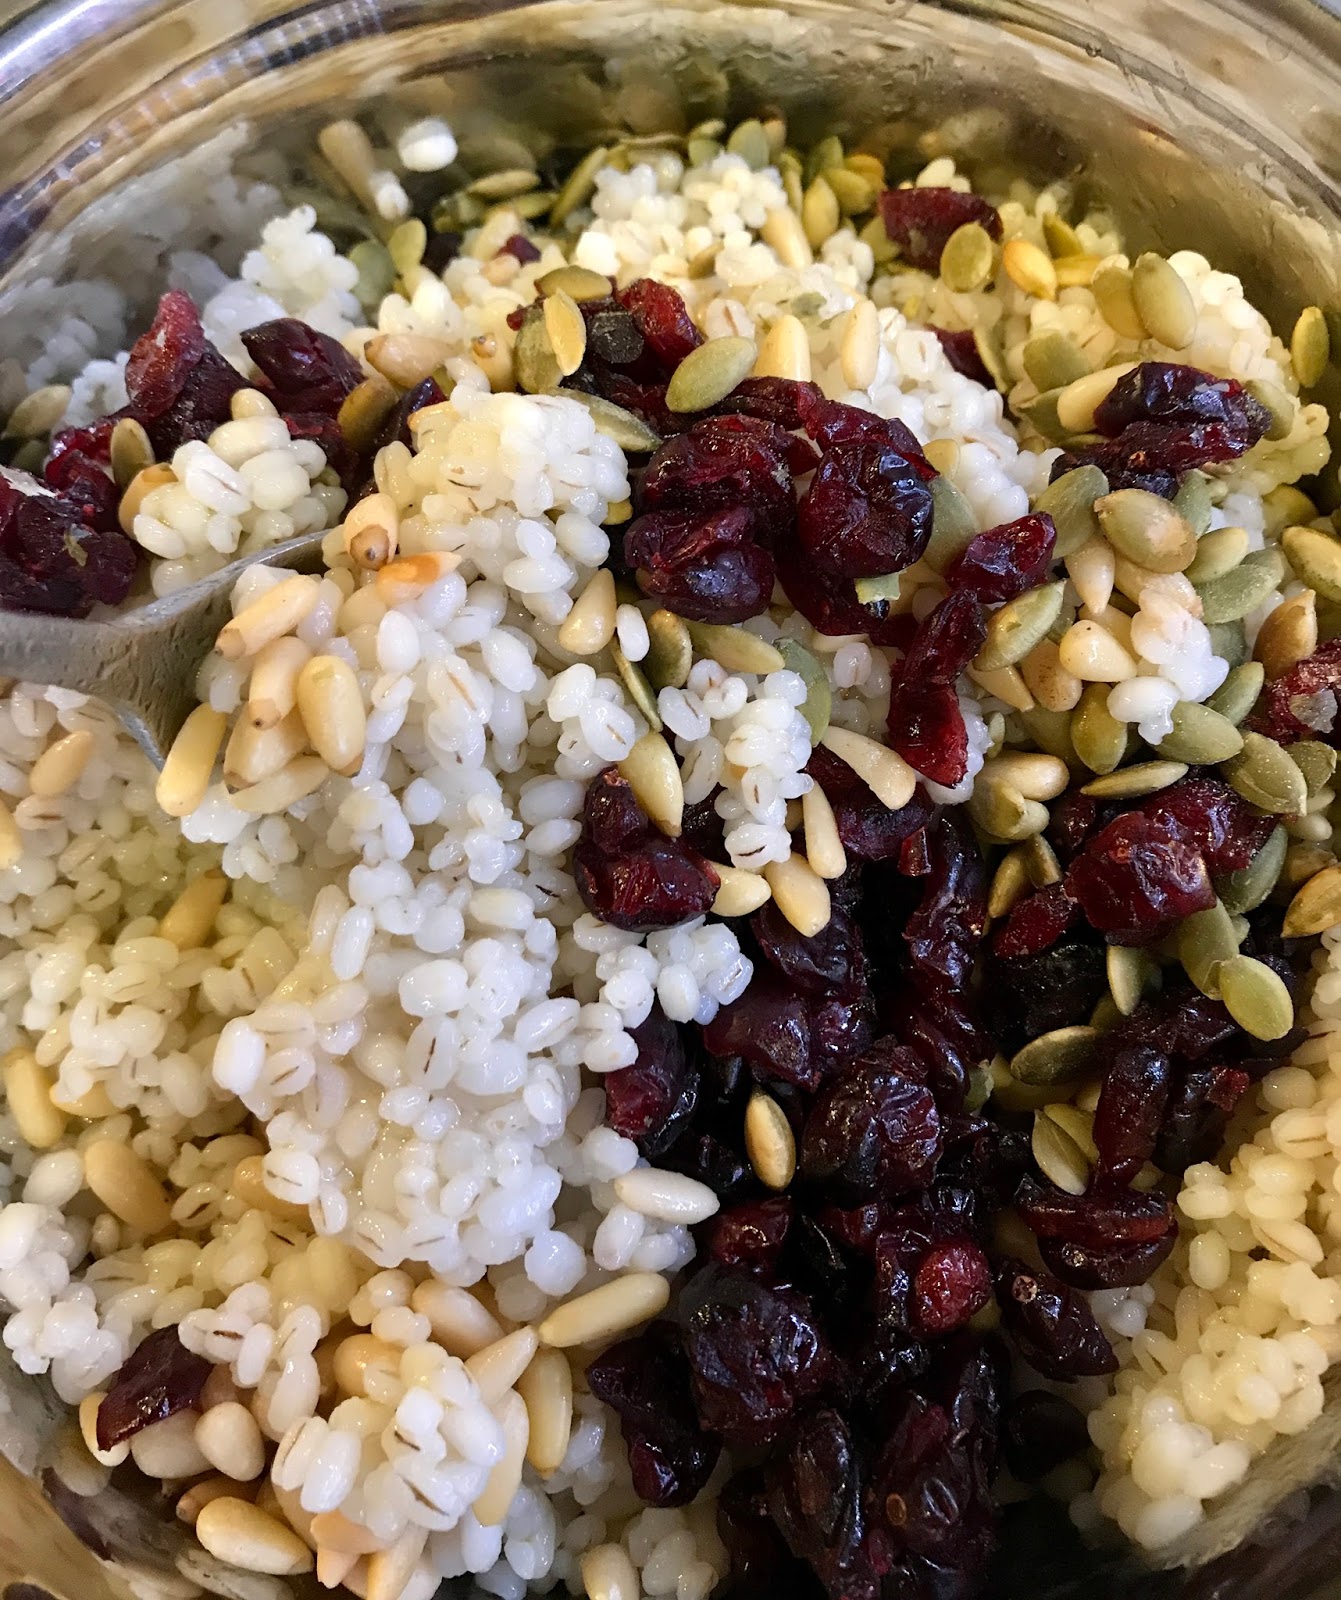
18. Add pine nuts, pumpkin seeds, and cranberries; mix well.


19. Place the food on a serving plate.  Then, the dinner is ready.

I hope you will like this recipe.  See you next time.


Baked Panko Pork Chop | 日式香脆焗豬扒


Crispy pork chop is irresistible enough, and cooking it without the need for deep-frying makes it even more amazing.

Setting a pot of oil to deep fry at home is never an issue for me.  I enjoy crispy food and deep-frying does indeed get food done quickly and deliciously.  However, if it is something I can do in the oven without using too much oil, I'd rather stick to the oven.

If you want to make the panko look golden after baking, stir-fry the panko with a few drops of oil over the stove top.  This also helps to bring out a more toasty flavour for the panko.  

My husband likes to eat pankoed food and he likes to eat this pork chop.  He can easily eat a couple of them and then eye the one on my son's plate.

Thanks for stopping by.  I hope you enjoy this recipe.


Baked Panko Pork Chop
日式香脆焗豬扒

INGREDIENTS:2-3 portions
4 pcs Pork Chops
2 cups Japanese Panko
1 pc Egg
1/2 cup Flour
1-2 tablespoons Oil
Salt to taste
Black Pepper to taste


材料:2-3人份
4 塊   豬扒
2 杯   日式麵包糠
1 隻   雞蛋
1/2 杯   麵粉
調味   黑胡椒
調味   鹽
1-2 湯匙   油


Direction:

Tuesday, November 14, 2017

Lemony Spaghetti and Grilled Chicken | 檸汁意麵配烤雞塊


The first time when I made spaghetti with lemon sauce was long ago when I was pregnant.  I still remember how much I craved this citrus flavoured spaghetti and roasted chicken.

We were living on a remote island back then, and button mushrooms and basil, and these types of exotic products somehow were often sold out very quickly due to the high demand.  It brought stress for a pregnant woman whose stomach only accepted lemony spaghetti and nothing else (It was funny when I look back now). 

So, everyday as soon as my husband got off the ferry, I would urge him to buy all the ingredients so that I could cook.   We ate this spaghetti literarily every day through my whole pregnancy, and my husband didn't even complain about it once (he is wonderful).  Years later, he told me he was actually terrified about seeing it served at the table at some point, but love blinded him.

Perhaps my son "ate" a lot of lemony spaghetti in my tummy too, so he also loves it so much.  He claims it is his favourite food ever.  And it is true.  He eats much more than usual whenever we serve him this dish.

For the chicken, I used skin-on chicken thighs.  Not sure about your preference, but we don't like chicken breast and skinless chicken as much as thighs.  There is too much compromise on the taste.  When you can, try to purchase some good quality chicken so that you will not need to load lots of seasoning or herbs to mask the flavour of the freezer taste.

You can slice the mushrooms, but I found chunky mushrooms bring more juice and flavour.  Add the mushrooms into the spaghetti after turning off the heat and allow the mushrooms to cook with the remaining heat.  In this way, the mushrooms won't release water while keeping their intense flavour.

Thanks for stopping by.  I hope you enjoy this recipe.     


 Lemony Spaghetti and Grilled Chicken | 檸汁意麵配烤雞塊
INGREDIENTS:
Spaghetti
Chicken Thighs
Sea Salt
Black Pepper
Chilli Pepper (optional)


DRESSING:
1 Lemon of zest
1 Lemon of juice
Olive Oil
Basil Leaves
Sea Salt
Black Pepper


材料:
意大利麵
雞腿肉
海鹽
黑胡椒
辣椒粉 (隨意)


意粉汁:
1 個   檸檬,刨皮和榨汁
橄欖油
九層塔葉
海鹽
黑胡椒


Direction:

Monday, October 30, 2017

Steamed Egg with Tofu Egg | 蒸玉子豆腐蛋


Steamed egg was one the most often seen dishes on our dining table since I was a child.  My mom needed to work, take care of us, and cook for the family.  So she always tried to look for some simple and healthy recipes, and steamed egg was just a perfect fit.

Steamed egg takes only 10-15 minutes to make from start to finish, and its texture is silky smooth and easy to be digested.  A children-friendly dish.

My son (and my husband too) loves steamed egg.  When we serve it with rice, my son puts it in his mouth spoonful by spoonful.


Adding egg tofu is a popular way to cook steam egg in Hong Kong.  Egg tofu, as the name describes, is the tofu made of soy and egg.  It brings extra texture and nutrients to the dish.


Steamed Egg with Tofu Egg | 蒸玉子豆腐蛋


Ingredients:
3 pcs Eggs, large size
1 tube Egg Tofu
Salt
White Pepper
Cooked Oil
Soy Sauce


  Direction:
Egg tofu can be easily found in Asian supermarket.


1. Cut the egg tofu into 2 cm rounds.  Place them in the dish.


2. In a bowl, crack the eggs.


3. Add 1.5 times water, salt, and white pepper.  Mix it well.


4. Scoop out the foam.


5. Pour the egg wash in a dish.


6. Cover the dish with a foil.


7. Place the dish in a pre-heated steamer and cook it over high heat for 10 minutes.


8. Before serving, drizzle some cooked oil and soy sauce.  Serve it with rice.


Thursday, October 26, 2017

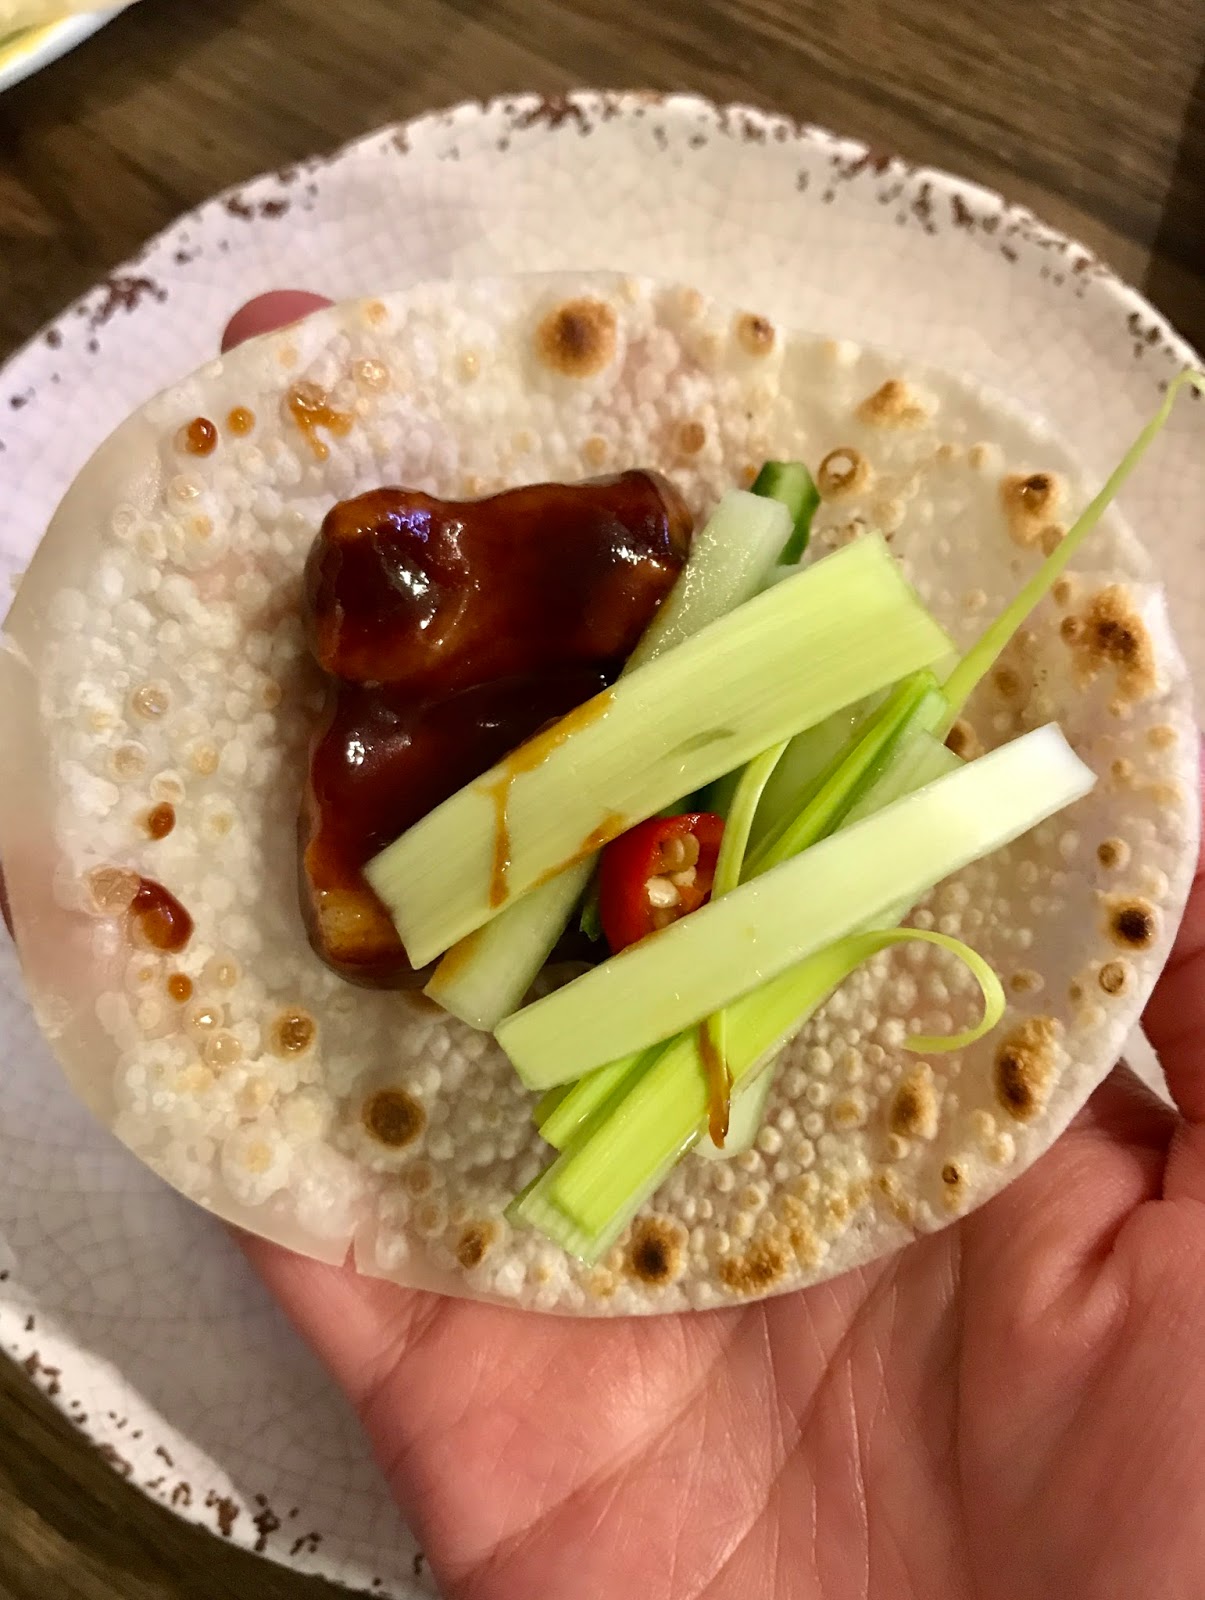
Pork Belly Wraps | 豬腩肉夾


This recipe is the pork belly version of Peking duck (barbecue duck) and I came up with it after dreaming about Peking duck the night before.

When I was a child, I would be so excited whenever my family was invited to a wedding.  Other than being able to play with my cousins, I was able to eat Peking duck, my favourite Chinese cuisine.

A server would push a cart in front of the table of guests.  On the cart, there were two ducks, a stack of bamboo steamers with many wrappers insiders, finely sliced scallion and leeks, chillies, and hoi sin sauce.  The staff then skillfully skinned around the duck, removed any extra fat that was attached to the skin while arranging the slices of skin on a plate piece by piece.  Finally, the staff will place the plate in the centre of the big table and put the rest of the condiments down for the guests to serve.  Usually each adult will share two servings and each child has one serving.  It is considered unthoughtful if you eat more than this portion.  So, you can see why I crave for Peking duck, right?

I know very well about the difference between duck and pork.  However, if you don't want to marinate and roast your own duck, pork belly is a very convenient ingredient to serve the purpose and I found fatty pork pairs with hoi sin sauce very well.

To wrap the meat, I chose wonton wrappers and perilla leaves.  One brings you substantial feeling and the other brings the fresh herby flavour.

Thanks for stopping by.  I hope you like this recipe.


Pork Belly Wraps | 豬腩肉夾


Ingredients:
1 lbs Pork Belly, skin on
10-15 pcs Perilla Leaves (can be found in Korean supermarket)
10-15 pcs Wonton Wrappers
1 Leek, white part only
1/2 Cucumber
1-2 Red Chill
1 bowl of Cooked Rice (optional)
1/3 cup Hoi Sin Sauce
White Pepper


How to make it:
1. Place the wonton wrappers on a dry pan.  Heat both sides on low heat until slightly brown.  Cover them and set them aside.


2. Rinse of the leek.  Cut the white part into slices and soak them in the water for about 5 minutes; drain well.

3. Cut the cucumber in half and remove the seeds.  Cut the cucumber into sticks.

4. Slice the red chilli; deseed it if desired.


5. Slice the pork belly into about 1/2 cm pieces.

6.  Bring a small pot of water to a boil over high heat.  Add the pork and white pepper.  Let it come to a boil again and cook for another 5 minutes.  Scoop out the foam on the top.  Drain the pork.


7. To serve, dip the pork belly in the hoi sin sauce and place it in the centre of the wonton wrap, followed with leeks and red chilli.


8. Or, you can add some rice with a perilla leaf.


Roasted Butternut Squash Soup | 烤葫蘆南瓜湯

Compare to the non-roasted version, roasted butternut squash instead brings a tremendous different in the flavour.  The caramelized s...