Showing posts with label beverages. Show all posts

Monday, April 20, 2020

Homemade Soy Milk from scratch (without soy milk maker) 自製豆漿 (無需豆漿機)


It seems like everyone is staying at home because of pandemic. Other than plating seeds, cooking dinner, and doing homework with my son, I added making dessert and snacks to my to do list. I need to keep myself busy and occupied. Making homemade soy milk is one of the best activity. Actually, it is very easy to make. The soy milk tastes much more flavourful than the store bought.

The soy pulp is the side produce of this soy milk. I attached a link here to give some idea of how to use it in different recipes. I also use it as fertilizer for my plants. Nothing goes to waste. 

INGREDIENTS:
 6 cups Soy Beans (dried)
Water *(see the note in step 2)
Small pinch of Salt
Sugar to taste (optional)

INGREDIENTS:
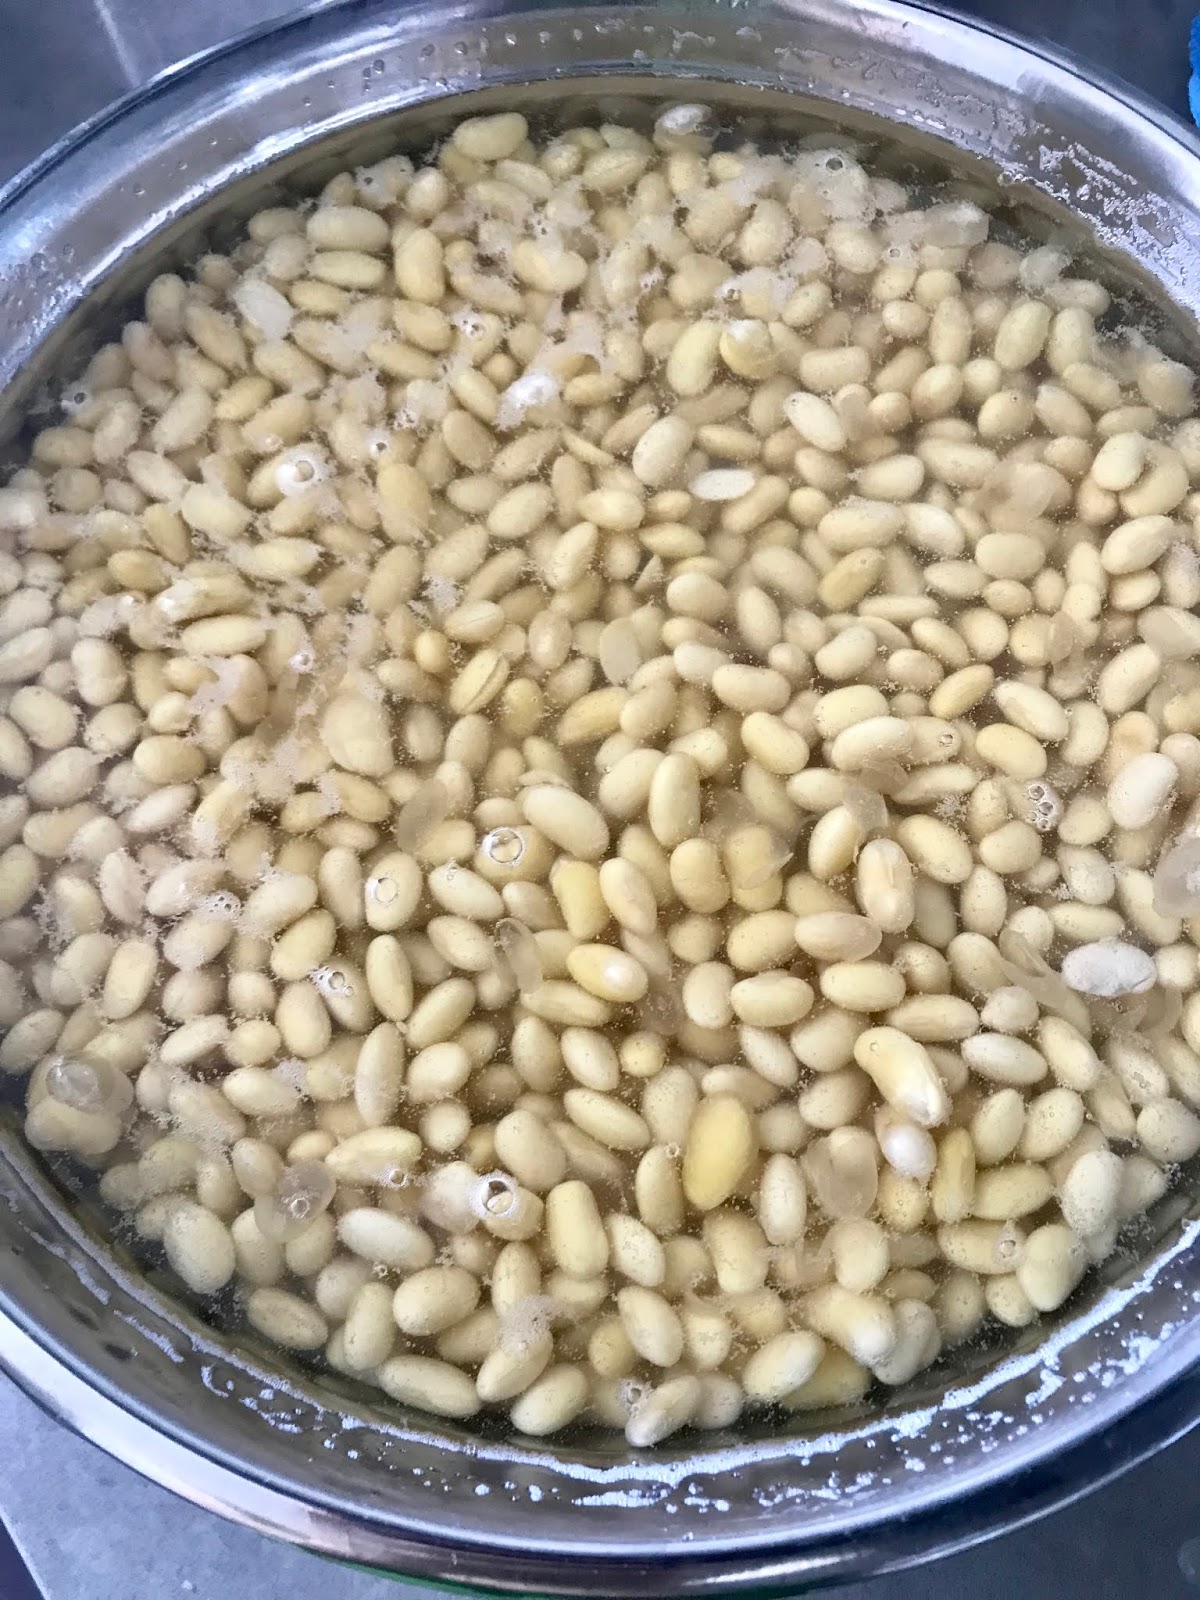
1. Soak the beans in water over the night or at least 10 hours.  Drain the water and rinse the beans; drain again.


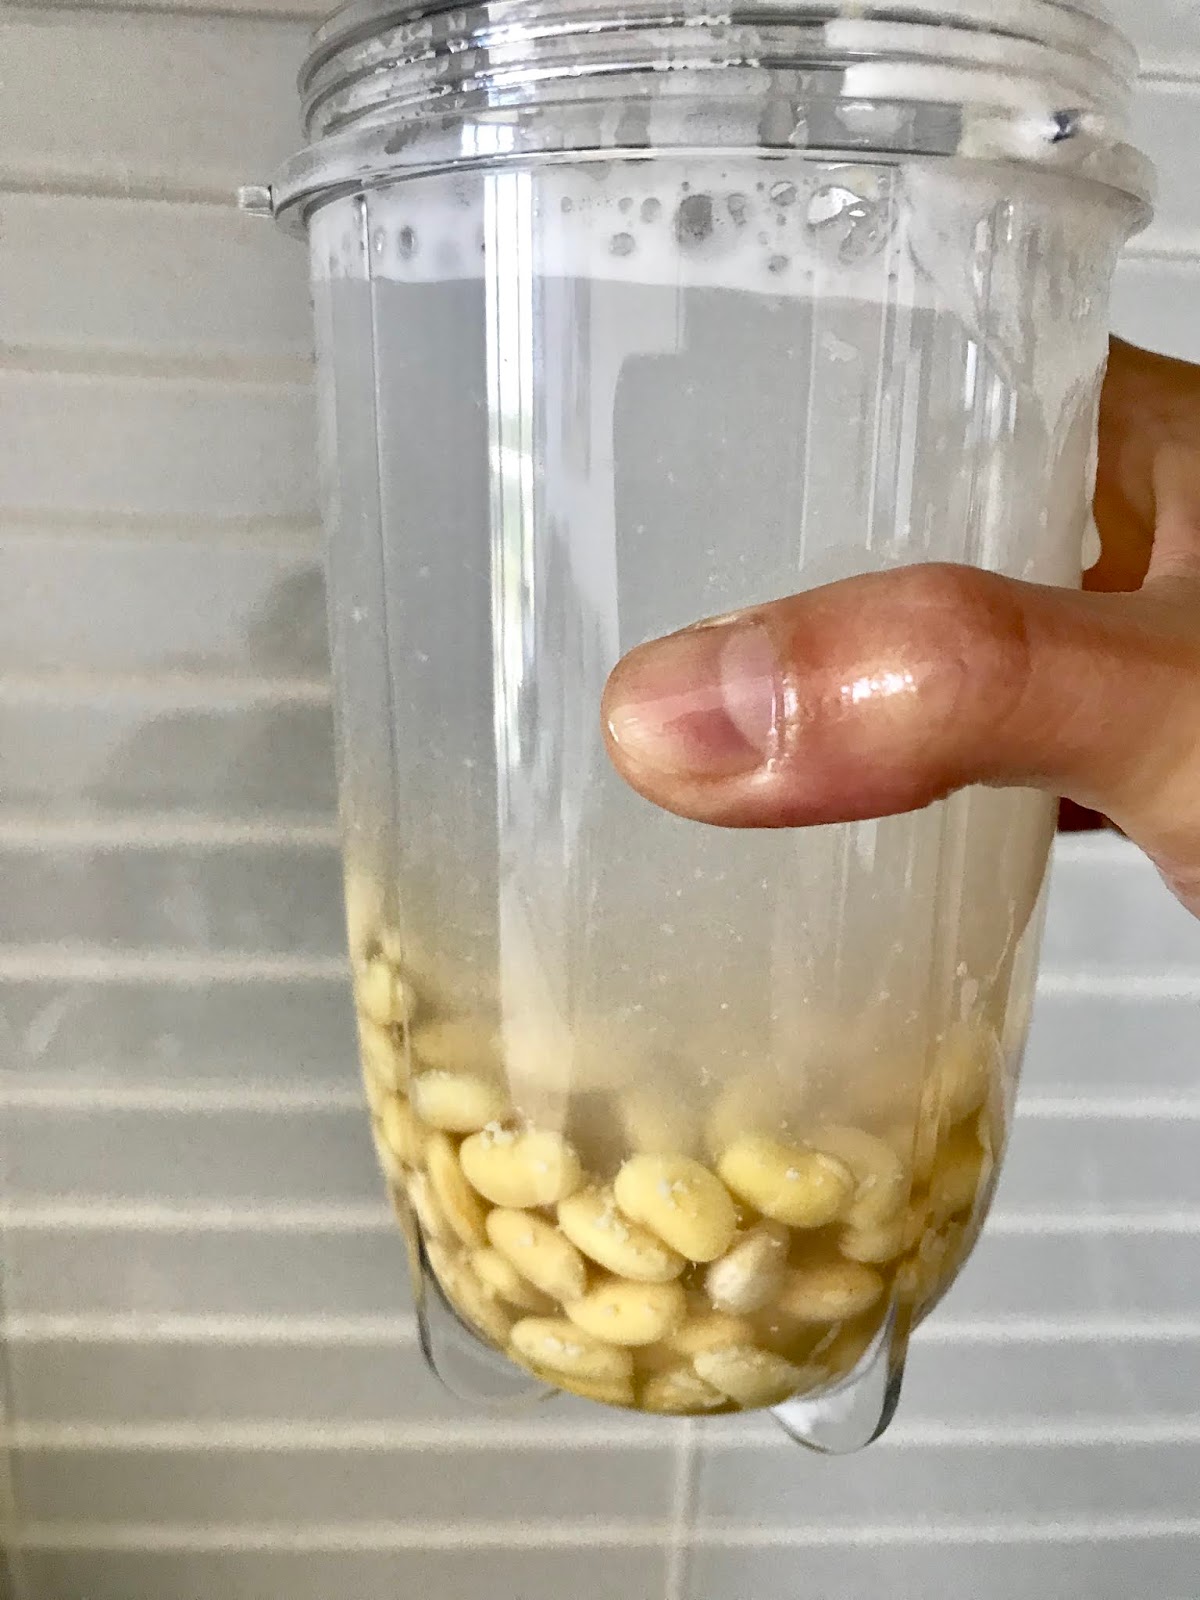
2. With the ratio of 1 part of beans to 3 parts of water, process the soaked beans until smooth puree.


3. I used a magic bullet, but a food processor is much more efficient.


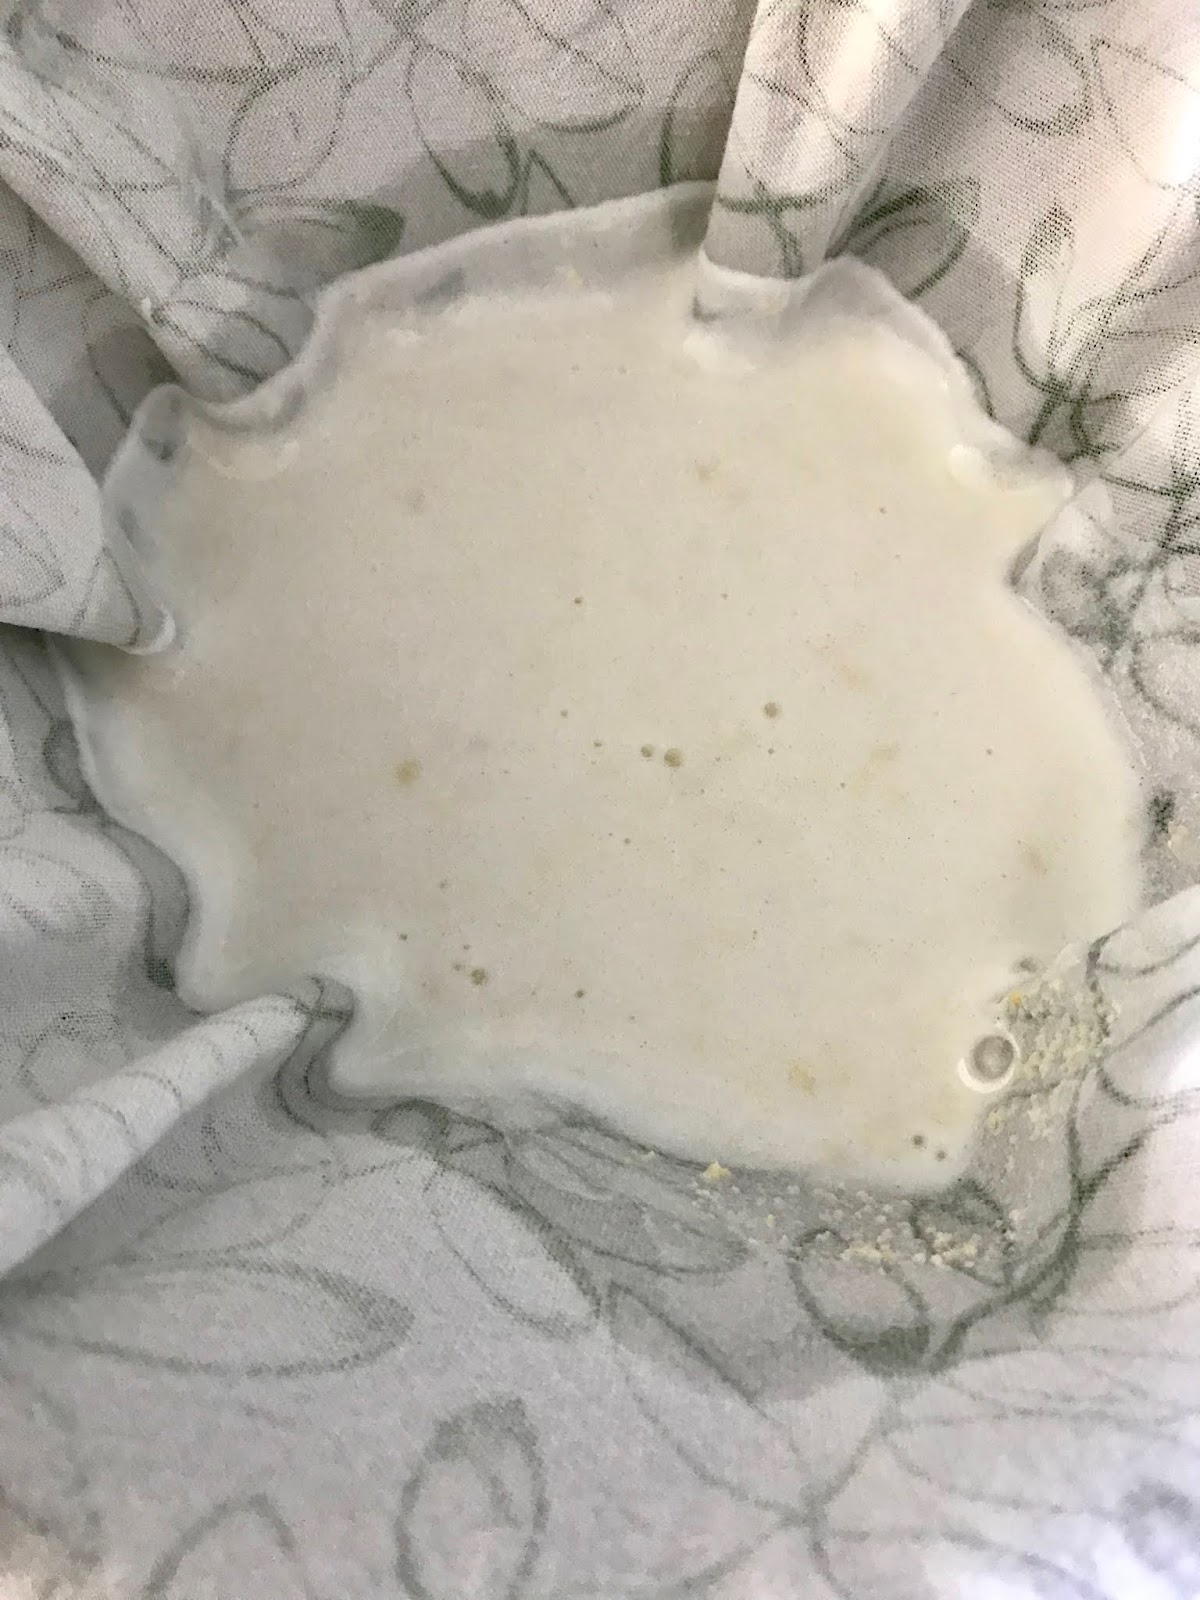
4. Set a tea towel over a strainer, and then place a big pot underneath.  The setting should be like the picture above.


5. Then pour the soy puree over the towel batch by batch and allow the soy milk filter through the towel.


6. Gently twist to squeeze out the soy milk.  Save the soy pulp for other recipes.  The pulp is very healthy and absolutely delicious.  You can check this link to see how to utilize the soy pulp (okara).


7. Skim off the foam on the surface.  Heat up the soy milk over medium heat; stirring constantly.


8. When the 'green odour' of the soy milk is gone, and the soy milk is thoroughly heat up for at least 10 minutes.  The soy milk is ready.


9. Enjoy it with a little bit sugar or plain, or even make it into savoury dish with scallion and Chinese doughnut.


Tuesday, February 25, 2020

Cider Tea


Cider contains vitamin C, good for boosting immune system or treating a cold, my husband and I always like to grab a handful of it and make a pot of cider tea beside a campfire whenever we go on a hike in winter.


INGREDIENTS:
Cider Leaves, fresh
Honey (optional)

DIRECTION:
1. Bring a pot of water to a boil. Put the cider in a tea cup. When the water comes to a rolling boil pour it over the cider. Let it steep for 10 minutes before enjoying it.


Monday, September 23, 2019

Saturday, May 4, 2019

Strawberry Banana Almond Milkshake


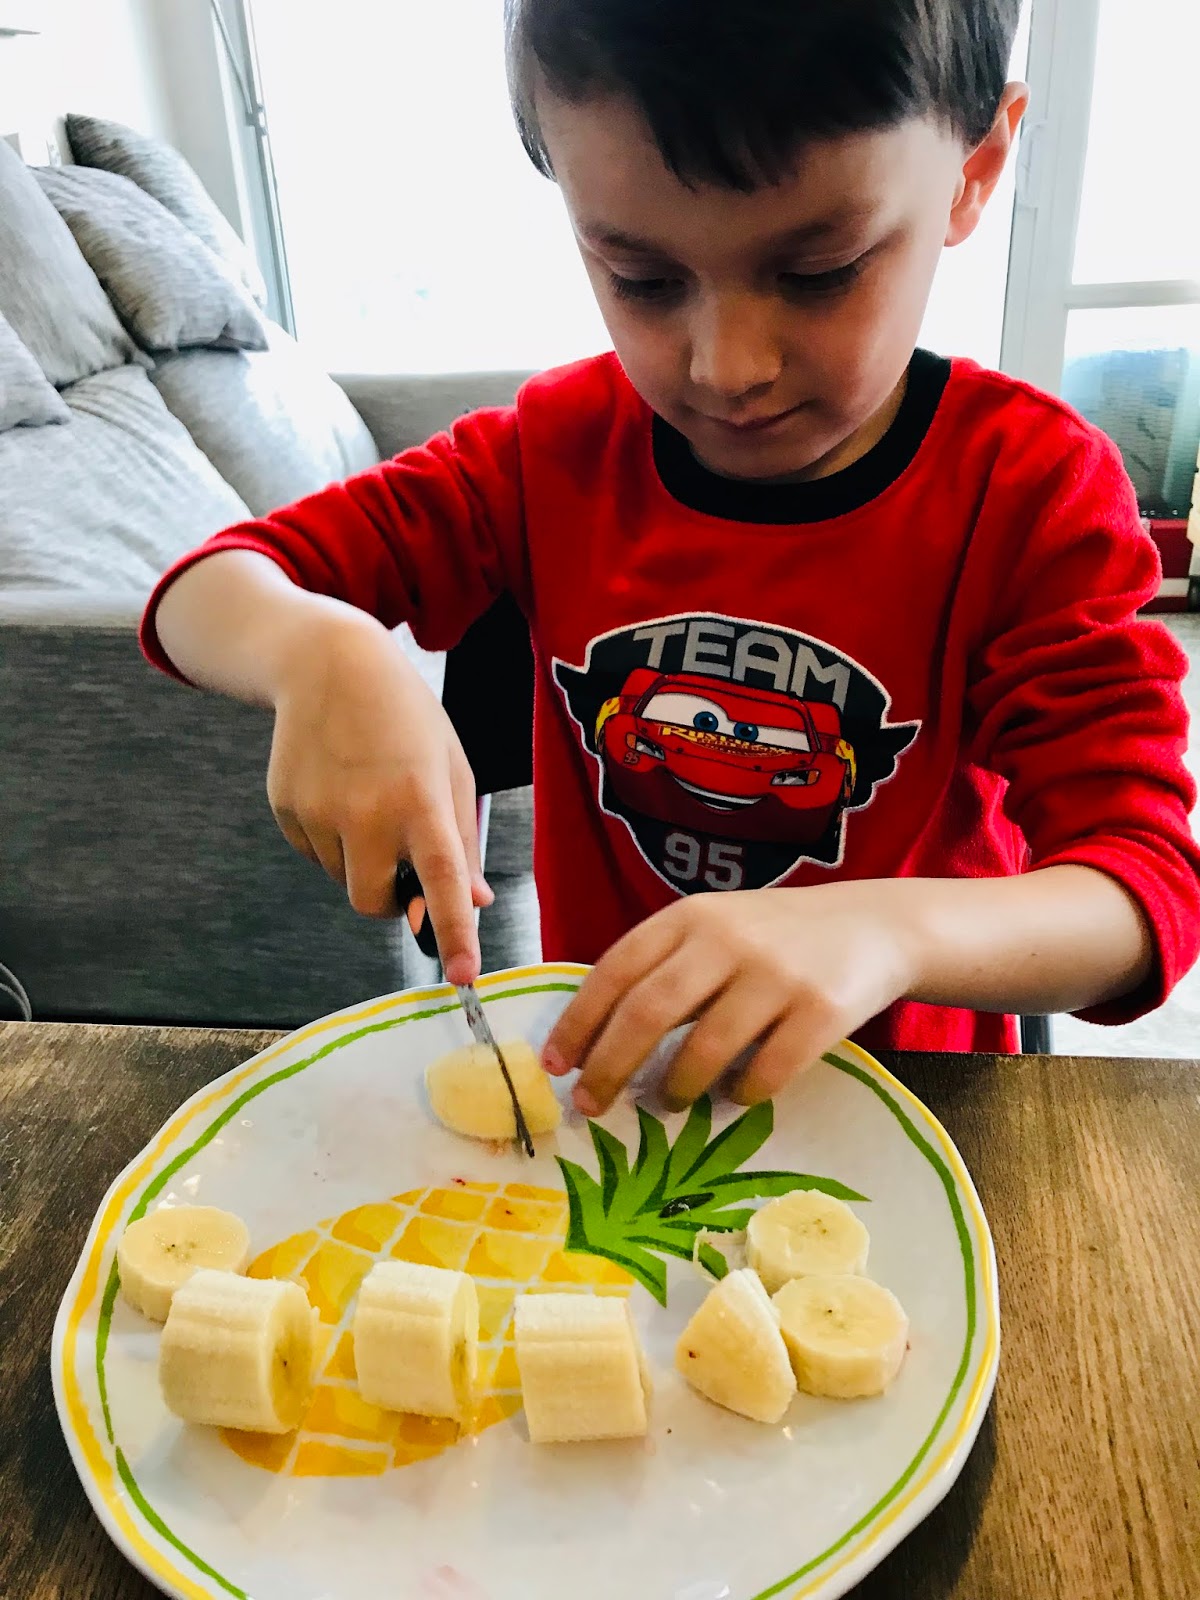
My son often mentions he wants to cook with me, and he said he is ready for more challenging work other than just spooning and mixing.  So last week, I bought a dog knife for him so that he can start to cut fruits and vegetables.


The Dog Knife literally took its name from its look. The blade is designed for young children so it's sharp enough to cut vegetables and fruits but not sharp enough to cut their fingers easily.  It still needs full supervision to be used.

My son was so excited to be able to have his own knife.  After learning how to handle a knife, he decided to make a milkshake with the fresh fruits we have.  He was so excited that he made this milkshake two days in a row.  His proud smile says everything.


INGREDIEMTS: (3 servings)
2 Bananas, peeled
8 Strawberries, hulled
2.5 cups Almond Milk, unsweetened
2 teaspoons Sugar (optional)

DIRECTION:
1. Cut the strawberries in half.


2. Cut the bananas into chunks.


3. Add sugar if desired.


4. Pour in almond milk.


5. With a wand blender, process until the mixture is smooth.


Friday, October 12, 2018

Matcha Latte


Although it is called matcha latte, it doesn't really contain any coffee.  It is the hot beverage composed of foamy hot milk with fragrant matcha powder.


INGREDIENTS:
1 cup Hot Milk, 2%
1/3 teaspoon Matcha Powder
1 tablespoon Sugar

DIRECTION:
1. Combine sugar and milk in a glass bowl.  Heat it in a microwave for about a minute; stir until the sugar is melted.

2. In a tall cup, combine matcha powder and 1/4 cup of the milk.


3. Whisk it together with an electric milk frother wand until foamy.


4. Slowly add in the rest of the milk in the cup.


5. Serve immediately.


Friday, February 23, 2018

How to make our homemade Strawberry Wine in a jar | 如何釀造我們的草莓酒


INGREDIENTS A:
1 kg Strawberries, cubed (please do use good quality ones)
1.5 cups Sugar
2 litre Water

INGREDIENTS B: 
1 Sachet of Wine Yeast EC-1118 (about 5 gram)
3/4 teaspoon Sugar
1/2 cup Warm Water

材料 A:
1 公斤   新鮮草莓 (切粒後計算)
1.5 杯   糖
2 公升   水

材料B:
1 包   釀酒酵母 EC-1118 (約5克)
3/4 茶匙   糖
1/2 杯   暖水


DIRECTION 做法:


Saturday, November 18, 2017

Mama's Fermented Sweet Rice Wine | 媽媽自家甜酒釀做法


This summer when my parents came to visit, I asked my mom to teach me how to make sweet rice wine.  The fermented sweet rice wine sold in stores can never be as good as the one mom makes at home.

There are so many different ways to make fermented sweet rice wine out there, but they all sounded so complicated or vague.  This time, when my mom came and we did two batches from start to finish.  Both batches were a success.  I saved one batch for drinking as it is and saved the other one to make tang yuan.

All the ingredients listed should be possible to find in old style Asian stores.


Mama's Fermented Sweet Rice Wine
媽媽自家甜酒釀做法
My mom was showing the first batch of our successful  rice wine.


Ingredients:
2 cups White Glutinous Rice
4 Wine Yeast Balls


How to make it:
1. Blend the yeast into powder; set it aside.


If you don't have a processor, using the back of the knife to smack the yeast balls until they become granulate.


2. Rinse the glutinous rice in two changes of water; drain well.  Pour the rice in a dish evenly and then sprinkle about 4 tablespoons of water over it.


3. Cook the rice in a pre-heated steamer over high heat for 30 minutes, or until the rice is totally soften and cooked.

4. Remove the rice from the steamer; allow it to cool until luke warm.  (yeast needs the warmness to ferment, but hot rice can kill the yeast).


5. Sprinkle the yeast over the rice a few times while stirring the rice.  Make sure they incorporate very well.


6. In a sterilized jar, add the rice to fill half of the container.  Cover the bottle with a kitchen paper towel and close the lid. 

(I used spaghetti container to ferment my wine and they came out just fine)


7. Leave the bottles in a dark place.


8. After about three days, you will see some wine starting to form on the bottom.


9. Stir the rice once, and continue to allow it ferment for at least three weeks before drinking it. 

Both the wine and rice residue are edible.  You can use the rice to make sweet soup or steamed chicken.


The wine after three weeks.
10. To store the wine, remove the paper towel and close the lid tight. Store it at room temperature for up to a year.


Monday, November 6, 2017

How to make Lemonade | 簡易檸檬水


How to make Lemonade | 簡易檸檬水  

Ingredients: (3 servings)
1 Lemon of zest
1 Lemon of Juice
3 tablespoons of Agave Syrup
4 cups Water


材料: (3人份)
1 個   檸檬 (皮和汁)
3 湯匙   龍舌蘭蜜
4 杯   水


DIRECTION:


Wednesday, November 1, 2017

How to make Ginger Honey | 潤喉薑蜜


How to make Ginger Honey | 潤喉薑蜜

Ingredients:
1.5 cups Honey
1 Ginger Root, medium size


材料:
1.5 杯   蜂蜜
1 塊   薑


DIRECTION:


Friday, July 14, 2017

Basic Steamed Rice|煮白米飯。甜米茶


A rice cooker is a very essential kitchen appliance for Hong Hong households.  I'd actually never known anyone who didn't have a rice cooker at home if they would ever cook at home.

My mom has always cooked rice in a rice cooker as long as I can remember, but she told me her family used to cook rice in a pot over a wood fire.

"People needed to squat in front of the stove while fanning the fire.  They needed to be very careful not to let the rice burn.  But of course, it happened sometimes," Mom laughed.

Mom grew up in China with my grandparents who I've never met.  They were farmers.  Like many others, they worked a small plot of land from the government to grow rice, sugarcane, and many sorts of vegetables.  After their harvest, they needed to pay a certain portion of rice back to the government as the rent.  "Farming was not a choice.  The government asked you to do it, then you had to do it!" she said.

"We didn't get white rice to eat often.  It was fancy, a luxury,"  She continued.  She explained that the crops often did not grow as well as they expected and they could barely meet their quota.    
"We were not starving like many unlucky people in the street, but yes, we never felt full.  To fill our stomach without eating too much rice, we added sweet potato into the rice and make congee.  It was cheap and filling.  Perhaps I ate sweet potato too much back then and now I rarely want it." Mom said with a light smile.

"So you never had normal white rice until you came to Hong Kong?" I asked.

"I did.  Your grandma would cook white rice during Chinese New Year.  Everyone would have a small bowl.  We would just hold the bowl in our hands, admiring the fluffy white rice and not really wanting to eat it.  When we ate it, we really savoured every grain of it," Mom said.

"Wow, it's not easy," I said, feeling myself very lucky.

"At home, your grandma and your aunt were responsible for cooking, and they didn't like me to hover around the kitchen while they worked so they would ask me to go outside to play with the neighbours.  I didn't need to cook until I met your dad and had you three," Mom continued.

"So you didn't learn how to cook rice the traditional way?" I asked.

"No. Honestly who will still use a pot to cook rice nowadays?  The rice cooker is clean and convenient, and you can forget about it after pressing the start button," Mom said, and started rinsing her rice for the dinner.

For years, I thought my mom was right about the evolution of the rice cooking method.  It wasn't until I went on a camping trip with my husband and my son years later, that I couldn't bring my rice cooker.  It was then that I discovered cooking rice in a pot is a true art.

We were making steamed rice for the sushi at the camp.  Funny to see we didn't even have a table and we needed to prepare food on a cooler.
I know many Canadian campers enjoy bringing hotdogs, burgers, or steaks on their camping trips.  Because these foods are convenient to cook and store.  But for Hongkongers, camping means a pot of instant noodles, a pot of rice with lap cheong (Chinese sausage) or even sushi.  My husband and I didn't want to eat any hot soup during the hot days, so we decided to make sushi.  Sushi needs rice, so I must cook the rice over the flame.

After reading many recipes, I came to the conclusion that a cup of rice to two and a half cups of water was the best recipe.  However, the rice was mushy on the outside and still hard in the core.  We had very unusual sushi for the camping supper that night.

The second time I tried to cook rice in a pot was learning to make pilaf with an Italian chef at culinary school.  I followed all the instructions carefully and was told that the pilaf looked fluffy and tasted great by my classmates.  But the chef disapproved of it.  "You Chinese only know how to cook rice in a rice cooker.  That's why your rice tastes awful, " he said.  Of course, I disagree with his generalization about Chinese and his manner toward me.  But this incident brought up the spark inside me that I wanted to prove him wrong.

A few weeks ago, my rice cooker broke down.  In that moment, not knowing what to do, I recalled a traditional Chinese recipe.  It is different than the many English versions of rice making and I found it is easier to work with.

Also, keep practicing is one of the keys.  I remember for the first few days, my husband and my son seriously complained about the rice.  "They are just not consistent.  Some part is mushy, and some part is hard.  How about I just get a new rice cooker?  Just take it easy." My husband even tried to lure me away from my rice experiments.  I insisted on using the pot.  I really wanted to master this traditional skill.

After a full week of practice, I finally learned the key to making fluffy rice.  Now I can proudly say to my husband that we don't need a new rice cooker.

Thanks for stopping by and reading my lengthy story.  I hope you find this recipe useful.


Basic Steamed Rice
1. Add the desired amount of rice in a pot. The pot should be deep enough that the water will not spill easily.

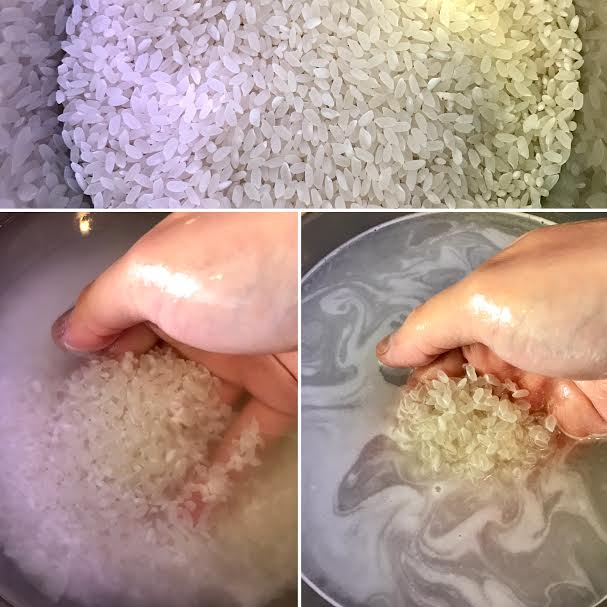
2. Rinse the rice a few times with a few changes of water until the water is clear.  The water won't be totally clear, but it should be clear enough to see through to the rice.

I was watering the radishes with the rinsed water.The first two changes of rinse water is actually packed with nutrition.  You can pour it over plants as extra plant food.


3. Stand a finger in the middle of the pot and fill the pot with water.  The level of the water should be double the level of the rice.


4. Bring the rice to a boil over high heat, uncovered, until the liquid is nearly absorbed; about 4-5 minutes. Stir it once during the process gently to prevent it from sticking.

5. Reduce the heat to low and cover the pot.  Continuously cook the rice for exactly 8 minutes.


6. Remove the rice from the heat and leave it for about 5-10 minutes without opening the lid.  The remaining heat and steam will help the rice prevent from sticking the bottom of the pot. Gently fluff the rice and the rice is ready.

You may find some crispy rice on the bottom (when you didn;t keep it aside for extra 5-10 minutes after it is done).  Don't waste it!  That crisp and hard rice is actually a wonderful ingredient for making a sweet rice tea that is commonly served in Korean restaurants.


Sweet Rice Tea


Ingredients:
Crispy cooked rice in the pot
1.5 cups of water
Sugar to taste


How to make:
1. Burn the rice without water over high heat until the rice turns lightly brown.  Don't over do it or the tea will be too bitter and it's unhealthy for consumption.


2. Add 1-2 cups of water to the pot.  Scrub the rice vigorously with a spoon.  Let the tea boil for another 30 seconds and then remove it from the heat.  Season the tea with sugar to taste.


Roasted Butternut Squash Soup | 烤葫蘆南瓜湯

Compare to the non-roasted version, roasted butternut squash instead brings a tremendous different in the flavour.  The caramelized s...