Monday, June 26, 2017

Cubed Daikon Radish Kimchi | 香辣蘿蔔泡菜粒


People say kimchi is a rice stealer, I agree.  The crunchy vegetables that combine spicy, sour, and a hint of sweet flavour make you always crave more.

Whenever I go to a Korean restaurant, the thing that excites me most are those colourful side dishes.  Some of them are pickled, some are a quick mix of salad, and some are fresh or fermented kimchi.  And fresh and slightly fermented kimchi catches my heart the most.  They aren't as strong as the long-feremted kimchi, but they have the probiotic tangy flavour and the juice from the fresh vegetables, which refreshes your palate.

I personally prefer the fresh and crunchy style of kimchi so I usually skip the rice flour in my kimchi making.  Rice flour works as a thickening agent so that the product will be more presentable and also holds the sauce better.  But I find it is too gooey for my taste no matter how little I use.  Therefore, you will find the kimchi recipe below has a rather thin sauce.

I like to add the kimchi juice in noodles, or use it to pickle perilla leaves.  That way I can use up this delicious juice while eliminating the waste.


Cubed Daikon Radish Kimchi
香辣蘿蔔泡菜粒

After three days of fermentation.


Ingredients:
2 cups Daikon cubes, peeled
6 stalks Scallion
4 cloves Garlic, peeled and grated
15 gram Ginger, peeled and grated
3 tablespoons Salt
1 tablespoon Sugar


Marinate Ingredients:
2 tablespoons Brown Sugar
2 tablespoons Fish Sauce
1 tablespoon Red Chilli Flakes


How to make:
1. Peel the daikon, cut it into half of the ice cube size.

      2. Rub the daikon with salt until the daikon skins start to
slightly give in;  let it rest for about 30 minutes for the juice to come out.

3. Discard the juice except 3 tablespoons of it.


4. Cut the scallion diagonally; set it aside.  Grate the ginger and garlic.


5. In a mixing bowl, combine all the ingredients.  With hands, mix everything thoroughly.

6. Place the mixture in a jar.  Cover with a lid.  Keep it at room temperature to ferment until the juice starts to bubble, after about 3 days.  Serve it with hot rice.


The kimchi just filled in the jar.

If you are not using the kimchi right away, transfer the kimchi to the fridge to slow down the fermentation.

Thanks for stopping by, I hope you enjoy the recipe.


Sunday, June 25, 2017

Healthy Beancurd Rolls with Daylily and Black Fungus | 素腐皮卷


My mom is a very good cook, and her beancurd rolls are one of her signature dishes that my family and our relatives love.  "They are the best rolls ever!" My sixth Uncle used to say between mouthfuls.  My mom was shy.  She would just smile and shake her hands in the air as if she was trying to shake off the unfamiliar feeling of being appreciated.  "I'm glad you like this humble dish. Help yourself and eat more," she said courteously, and moved the dish closer to my uncle.

Making beancurd rolls need three steps: cutting, wrapping, and frying.  Sometimes, mom will even do one step further - to make the oyster sauce glaze on top to moisten the rolls.   "It is not difficult to make beancurd rolls as long as you have patience," Mom said.

Mom uses whatever vegetables are in season to make rolls.  Though, I noticed she's never used meat or seafood, and she would put many dried shiitake mushrooms and carrots along with other vegetables.  "Beancurd rolls are close to vegetarian, and meat and seafood will overpower the taste of soy while adding lots of grease and stuffing your stomach.  Not good." she said.  And she also explained that the intense flavour from the dried shiitakes gives a great flavour close to concentrated broth, and the natural sweetness from the carrots helps balance the saltiness of the seasoning.  Both ingredients are essential and can't be skipped.

Although vegetables and beancurd sheets aren't expensive to buy, shiitake mushrooms are always a little pricy. So my mom will only make these rolls a few times a year, and it's usually on my brother's birthday or at my dad's request.  Mom will pull out a big glass jar of dried shiitake mushrooms that she dries under the hot sun once in awhile, and she will pick the mushrooms that are smaller or oddly shaped and saves the big and perfect ones for new years dishes when relatives come.

When I was a young teen, my most enjoyable time was watching Mom cooking in the kitchen.  She could speedily descale fish, skin squid, julienne vegetables, or chop the chicken up and then assemble the pieces back into a chicken shape.  And I was always amazed by her ability to hold a big feast for my whole family on Chinese New year or Dongzhi Festival, with a full course of eight elaborate dishes, soup, and dessert.

I started to really learn these beautiful dishes since I went back to Hong Kong.  During those three years, I would hang around the kitchen with my mom whenever I came to visit her.  Mom would buy the freshest ingredients at the market twice a day.  Often I wanted to tag along just to learn how to choose the best ingredients and also help her to carry stuff; however, my mom would always refuse with the same reason, "the wet market is wet, dirty, and crowded with people.  If you go, I will need to take care of you upon my handful of food." My loving mom sees me as a little child no matter how old I am.

Now I also make the same dish for my own family and it also earns their thumbs up.  And I would like to share this healthy recipe with you.  You can substitute the oyster sauce with "Vegan oyster sauce" that commonly available in Asian supermarkets.  Vegan oyster sauce is made of shiitake mushroom, dark soy sauce, and sugar.

Thanks for stopping by.  I hope you enjoy this recipe.


Vegetarian Bean Curd Spring Roll


Ingredients: (make about 30 spring rolls)
4 Bean Curd Sheets
Vegetable Oil (for frying)


Ingredients for Filling:
12-15 pcs Dried Shiitake Mushrooms
1/2 cup Dried Lilies
2 Carrots, skin on
1 head Cabbage, small size
15 gram Dried Vermicelli
8-10 clove Garlic, peeled
35 gram Ginger, peeled


Seasoning:
5 tablespoons Oyster Sauce
3 tablespoons Light Soy sauce
3 tablespoons Sugar
1/4 teaspoon Salt
4 tablespoons Shaoxing Cooking Wine
1/2 teaspoon White Pepper
1 tablespoon Sesame Oil


DIRECTION:

Step 1: prepare the ingredients
1. At least 6-8 hours prior to cooking, soak the shiitake mushrooms in water until they are rehydrated.  Drain the liquid.  Cut off the stems and thinly slice the mushrooms.

*The soaking liquid fills with flavour and it's considered mushroom stock.  Just filter it with a paper towel and store in the fridge for other recipes, like noodle soup or flavoured rice.

The shiitake stems are also edible.  You can always preserve them and braise it with soy sauce or oyster sauce to make rice topping, or add them into soup to enhance flavour.*

2. Rehydrate the black fungus and day lilies in water until soft.  It takes about 20 minutes.  Cut off and discard the hard stems of the black fungus and the hard ends of the day lilies.  Roughly chop both ingredients into bite size.


Bean curd sheets.  You can easily find them in Asian supermarkets and they are usually folded and packed in plastic bags.

3. Rinse the cabbage and cut it into thin slices.  Cut the carrot with its skin on into sticks.   Finely chop the garlic and ginger.  Soak the vermicelli in water until soft and then cut it into 6 small portions.  Also, combine the seasoning ingredients; set it aside.

4. Open each bean curd sheet.  With a dry cloth, gently wipe to clean both sides of each.  Then, cut them into 8 equal triangles. The bean curd sheets in the picture above were still too big for a normal spring roll size.  You will want yours at least half of their size.


Step 2: Cooking the filling
5. In a wok or a large pan, heat up the oil.  Add garlic and ginger.  Let them fry over medium heat until they are fragrant and slightly turn colour; about 2 minutes.

6. Add mushrooms and stir fry until cooked; about 10 minutes.  Then, add day lilies and black fungus; continuously fry for two more minutes.

7. Add seasoning mixture.  Let it absorb or evaporate half way and then add the cabbage.  Continuously stir fry until the cabbage starts to get soft.  Turn off the heat and mix in the vermicelli.  Transfer the vegetables to a bowl and allow it to cool to room temperature before using it.  Don't overcook the vegetables; otherwise the cabbage and carrot will leave too much juice and turn mushy.


Step 3: Assemble and cook the spring rolls
Star from top left and clockwise.


8. Place a triangular bean curd sheet on a flat surface, with the pointy part facing away from you.  Place about two tablespoons of filling on the bottom, roll up two sides to cover the filling, and then tightly hold up the filling and roll up the bean curd.  Wet the end to help it stick to the spring roll.


9. In a large pan, heat up 1/4 cup of vegetable oil.  Gently place the spring rolls into the pan.  Fry the spring roll over medium heat until the bean curd turns slightly brown and crispy.  Flip the spring rolls over, and fry until coloured and crispy again.  Serve immediately.


Video:


Mugwort Agar Agar - wild edible recipe | 艾草大菜糕


Mugwort is one of my favourite wild edible greens.  It has a unique herby flavour that goes really well with dairy, and it's rich in Vitamin K.

During May to early June, mugwort grows abundantly along road sides or in parks.  I've been foraging this beautiful herb and drying them to use in later months.


Dried mugwort


To dry mugwort is simple.  All you need to do is give it a very good soak and rinse, and then spread them loosely on a baking tray or any flat surface to be air dried.  Avoid overlapping the mugwort, which is key because it will result in a moldy smell that certainly reflects in the food.

When the mugwort is completely dried, crumble it up by hand and remove as many hard stems or pieces as you can.  The finished product should be soft and fibrous.  Keep it in an air-tight jar at room temperature.

I heard some people use a dehydrator to dry mugwort, but I haven't tried it.  So I am not sure if both method are equivalent or if one is better than the other.  However, dried mugwort has a more intense flavour than the fresh one.

I used dried mugwort in the recipe below, but you're always welcome to use fresh mugwort instead.  They all are delicious.


Thanks for stopping by.  I hope you will enjoy this recipe.


Mugwort Agar Agar
艾草大菜糕


Ingredients:
5 gram Dired Mugwort
2 cups Water
8 gram Agar Agar Block
5 tablespoons Sugar
Milk (to serve)
Grapes (for decoration)


How to make:
1. Combine the mugwort and water in a small pot.  Bring it to a boil, and then reduce the heat to medium-low.  Let it boil for 10 minutes and remove it from the heat.


From clockwise.

2. When the mixture cools slightly.  Blend it in a food processor until the mugwort is finely chopped.  Drain the juice through a tea strainer and discard the mugwort.

3. Pour the juice back to the pot.  Cut the agar agar into small pieces and add them to the pot, followed by sugar.  Bring the liquid to a boil and then simmer it on low heat until the agar agar is totally dissolved; stirring constantly.

4. Pour the mixture in a mould and allow it to cool slightly before transferring it to the fridge.  Chill the agar agar until it is set; about 15-20 minutes.  Serve with cream or milk, along with any fruits that are desired.


Friday, June 16, 2017

Chocolate and Banana Muffin | 巧克力香蕉小蛋糕


One way to teach a child to value food is to involve them in cooking.  Perhaps I'm a cooking enthusiast, my son more or less inherits some of my genes in this way.  He loves to help around the kitchen, from breakfast to dinner.  If the television isn't on to distract him, he will often peek in to the kitchen and ask if he can help when I am cooking.  I've seen his interest in cooking grow through time.

I still remember my son used to love to smack things around the house with his toy hammer when he was so little.  He would crawl around the house and smack the floor, walls, or cupboard.  So on his 2nd birthday, I decided to make a non-baked chocolate cake for him and assigned him to smash the cookies crumbs for the ingredients.  He happily did his job for a good 10 minutes with lots of laugher with me in the kitchen.  It was the first time we became a team.

Now my son is five years old.  He is capable of a lot more cooking skills that he could actually cook a simple meal for himself, and making pancakes and muffins are two of the things he enjoys most, including his pleas to lick the bowl (by the way, I never let him to lick the batter since I am very conscious of salmonella or other similar risks).

The recipe below was made by my son and the muffins came out beautifully.  I hope you will also enjoy the recipe.


Chocolate and Banana Muffin

Ingredients:
1 Banana, ripe
2.5 cups Whole Wheat Flour
60 gram Semi-sweet Chocolate Chips
A handful of Oats
1/3 cup Milk
1/2 cup Sugar
2 tablespoons Baking Powder
1/8 teaspoon Sea Salt
1/3 cup Brown Butter
1 tablespoon Vanilla Extract
3 Eggs

DIRECTION:
1. In a mixing bowl, mash the banana with a fork until the banana is fine.

2. Whisk in eggs, milk, vanilla, and butter.  Then mix in the rest of the ingredients except chocolate.


3. Fill each muffin paper 1/4 full of batter.  Place a piece of chocolate onto the centre, and the fill up the muffin paper to eighty percent full.


4. Sprinkle the top with oats.  Bake them in a pre-heated oven at 350F for 12 minutes.


Elm Samara - wild edible in the city


                  Foraging sometimes doesn't need to be far.  


Slippery Elm is a type of ornamental tree that is commonly planted along road sides or in parks in the cities.  Starting from mid spring, elm trees will be loaded with clusters of samaras, the papery green fruits.


To harvest the samaras, you just need to gently hold down the branches and slide the fruits towards the end of the branch.  The papery fruits usually have a brown tip at the end.  If you bother to remove them for a better texture, just like I do, please go ahead.  Otherwise, they taste the same with or without the brown tips.


The papery looking skin has a texture similar to white potato skin.


Elm samaras can be eaten raw, and they taste like raw sweet peas.  I use them for salad a lot, since I can get them just outside my building.  On the way home from work, I usually get a handful of them to sprinkle on my creamy corn salad, that I name "April elm salad"


April Elm Salad


(Ingredients):

1 handful of Elm Samaras
1 cup Fresh Sweet Corn kernels
2 Crab Sticks
2 tablespoons Japanese Mayo
Salt to taste


How to make:

1. Rinse the elm samaras; remove the brown tips if you want.

2. Blanch crab sticks in boiling water for two minutes; drain.  Cut it into bite size.  Set aside.

3. Add the corn kernels in the boiling water and boil them until cooked; it's about 4-5 minutes.  Drain the corn well.

4. In a mixing bowl, mix together all ingredients including the elm samaras.  Season with salt.  Serve.


The young elm leaves are also edible raw and are delicious to add into sushi with other vegetables.


Elm Vegetarian Sushi


Ingredients:
1 pc Nori Sheet
1 bowl Cooked Rice, warm
A hand of elm samara and young leaves
Carrot, cut in long sticks
Japanese Mayonnaise


How to make:


1. On one end of the nori, add a half portion of rice.  Place carrot, elm, and mayonnaise on top of the rice.  Roll up the nori, then firmly squeeze to shape into a solid round roll.  Cut it into equal size pieces and serve.

Saturday, June 10, 2017

Garlic Mustard - the four season wild edible green and recipes


Garlic mustard is well known for being one of the most invasive and destructive species in Ontario.  Meanwhile, it is also one of the pungent herbs earns many foragers' hearts.


Garlic mustard is a non-native plant that originates from Europe and was introduced to the United States more than a century ago for its edible and medicinal qualities.  However, this species has spread aggressively with its incredible cold tolerance ability and large production of seeds.  Its high population has been affecting the balance of the local species and now it is one of the top ten unwanted species in Canada.


Garlic mustard may sound a little obnoxious; though this herb provides a high amount of Vitamin A and C, and it's always abundant and available all year around.


Endless sea of garlic mustard on the side of a trail.  I always say the amount of the garlic mustard growing in Canada is actually enough to feed the whole population in Canada.


I remember the first wild edible I tried was garlic mustard and I didn't like it.  It was very spicy and bitter.  It was not like the good bitterness in rapini, arugula, or bitter melon, but rather tasted like some horrible herbal medicine concentration.  Anyways, I pretended it was tasty to my husband and spit it right out when he wasn't looking.  My husband also tried a small leaf.  He carefully chewed it and said, "Oh yeah, it does taste like garlic."  But then he spit it out.  "What's wrong?" I asked him, knowing the reason well.  I was hoping he would tell me his garlic mustard was tastier than mine.  I wanted to gather our first wild foraging plants so badly, but I need a good reason, right?


"It was garlicky, but it is too bitter to swallow." he said, while spitting a few more times.

"Are you sure you are finding the right plant?" he looked at me.
"Yes, but I don't know why it is so bitter." I said.


After, I tried garlic mustard a few more times and each time just leaded to more disappointment.  They were far too bitter for anything.  Eventually, I gave this plant up... until this spring.  This time, I did a lot of reading and observation.  Finally, I got a clue to look for some "good bitter garlic mustard".


I learnt that although garlic mustard can be eaten all year round in its two year growing cycle, you have to harvest only certain parts in different seasons and stages of the plant if you want the less bitter garlic mustard.


The first year garlic mustard found in January (on the left); The second year garlic found in March (on the right).


  Garlic mustard is a biennial plant, with means it needs two years to be fully mature.  Around February or March, the first year plants start to grow and form into a rosette, with dark green leaves that look like scallop-edged heart shapes.  These plants will continuously photosynthesize through the snow and ice in winter and wait for the next spring to arrive.  First year growth tends to be more bitter due to the higher concentration of a compound that the plants needs for defence.  I am not a fan of bitterness, so I usually pass on this stage of garlic mustard.


The bitterness in garlic mustard comes from the cyanide compound that can be toxic in high doses, but this compound is also naturally found in spinach, rapini, soy, and apricot seeds.  Our body can handle a small amount of cyanide.  So, by soaking the vegetables prior to cooking, cooking them thoroughly, and eating the food containing cyanide in reasonable amounts, it lowers the the toxicity to a safe level.


Flower buds of the second year plant.


The plants that survive the winter will continuously grow up to 2 meters in height.  They will produce lighter and rounder green leaves, white flowers and seeds through out the whole second year of their life-cycle.


The flower buds start in early May, and the buds are best collected before they flower.  This year I missed the opportunity to collect enough garlic mustard buds for anything, so I will have to try this next year.


Using a snap test to find the young plants.


In mid to late May, the plants will produce white flowers with four petals.  The flowers and the tip of the plants have a mild garlic flavour with a little bitter taste; they are my favourite parts of the whole garlic mustard plant.


In order to find the tender stems, you can do a little "bend test" near the top of each plant just like you would do for snap peas.  The tender part should snap right off.


The garlic mustard almost as tall as my five-year old boy.


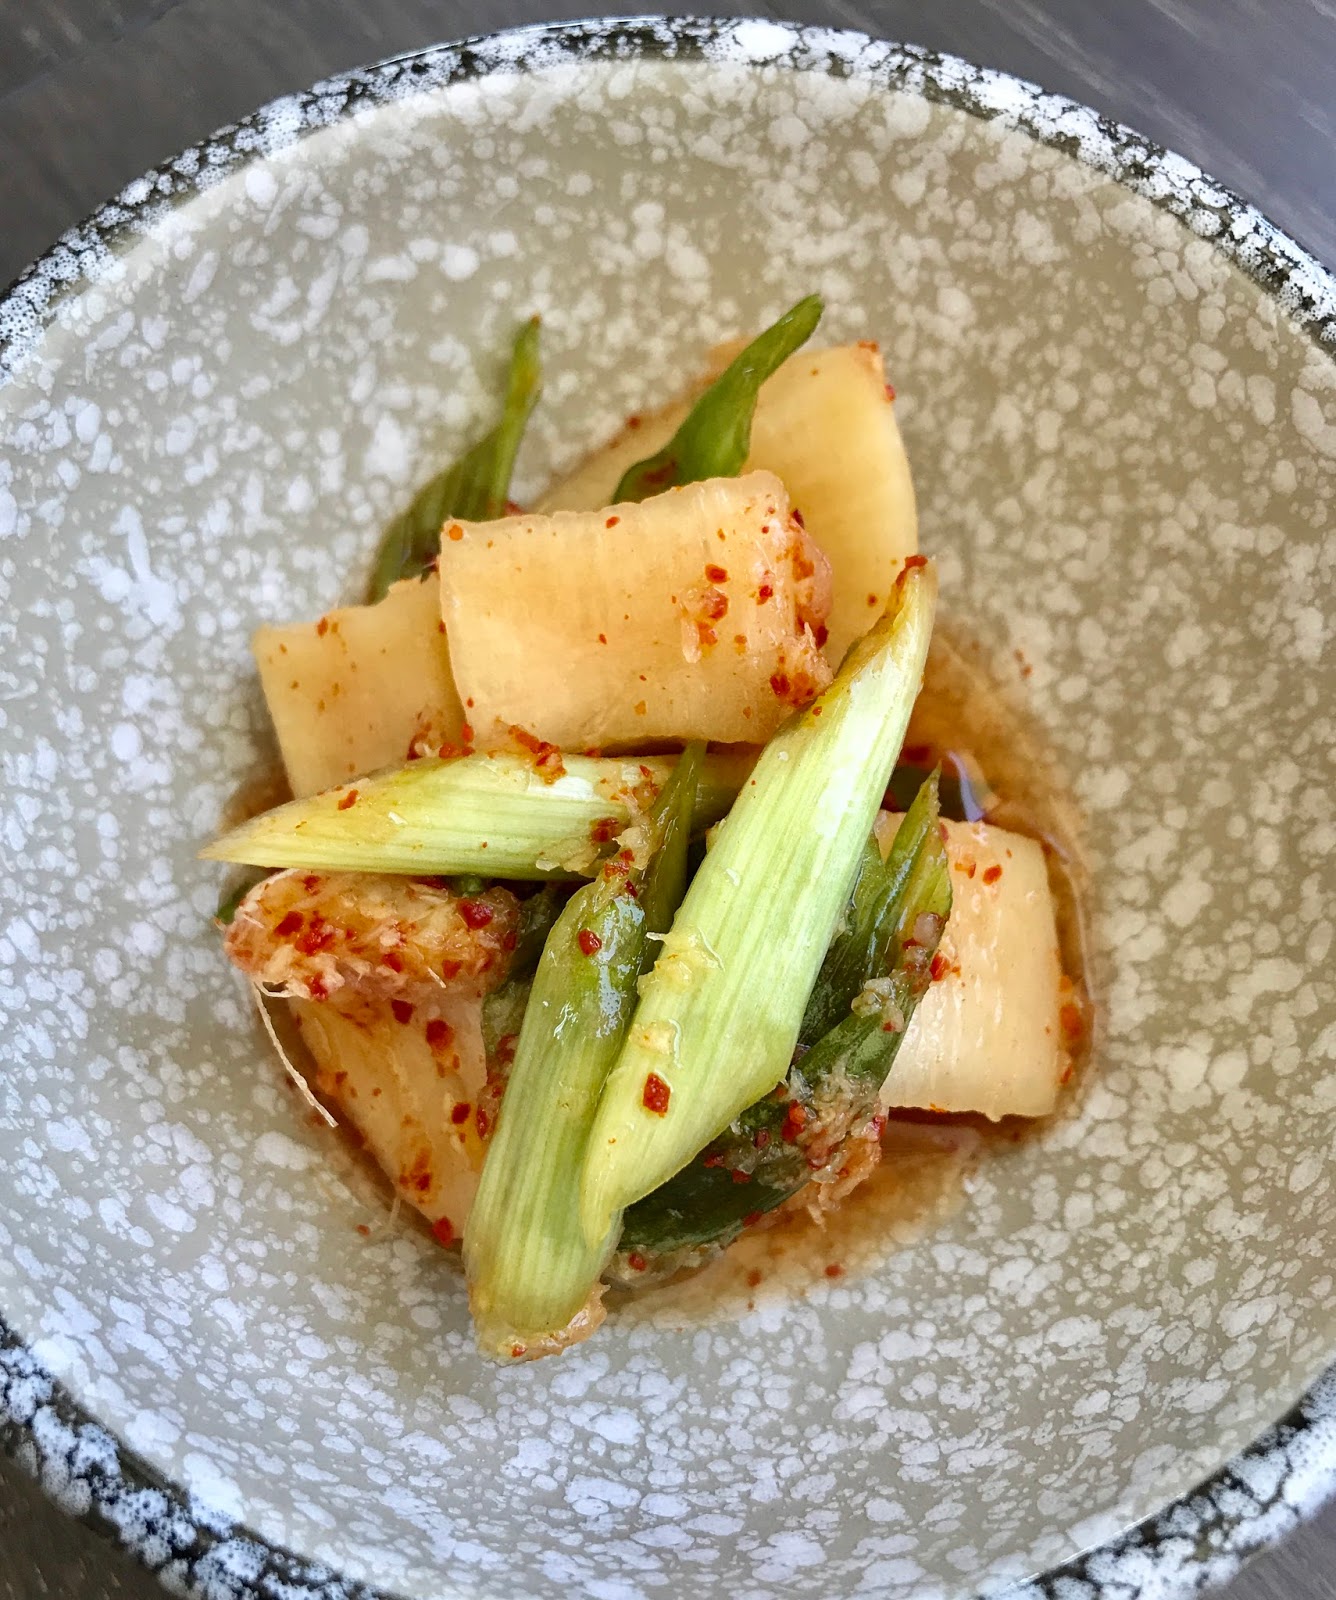
In late May, the narrow seed pods will start to grow on the top of each plant and they will start to seed in early summer.   Each plant can produce 2 dozen seed pods and 600 seeds on average.  And the seeds can stay underground for 30 years and germinate again.  Garlic mustard is a vigorous plant.  If you want to eat this invasive species, eat their seed pods.


Seed pods can be stir fried with shallot, and the seeds can also be used in any recipes that will call for poppy seeds.


Below are some recipes I tried with my family and we all approved and recommend.


Garlic Mustard and Almond Pesto Pasta


Ingredients:

1 cup Garlic Mustard, flowers and young stems only
1/3 cup Almond, toasted
3 cloves Garlic
3 tablespoons Lemon Juice
1/2 cup Olive Oil
Sea Salt to taste
Black Pepper to taste, freshly ground
1.5 handful of Pasta


How to make:


1. Soak the garlic mustard in water for 15 minutes; rinse and dry.

2. In a food processor, combine all the ingredients.  Blend it until the mixture is smooth.  Set it aside.

3. Cook the pasta as usual.  When the pasta is cooked, drain the water.  Pour the pesto sauce over the cooked pasta.  Turn on the heat to medium, stir and warm up the pasta for 5 minutes before serving.


I enjoy this pasta so much.  It is yummy, and it also brings a signature dish that recipe spring and nature (especially on the busy days I need to trap myself indoor). 


Feta and Garlic Mustard Pizza


Ingredients:

(Pizza dough):
2.5 cups All Purpose Flour
1 cup Warm Water
1 package Instant Yeast
2 tablespoons Oil


(Pesto spread):
1/2 cup Garlic Mustard, flowers and young stems only
3 cloves Garlic Mustard
1/3 cup Almond, toasted
1/2 cup Feta Cheese
1/3 cup Olive Oil
Black Pepper to taste, freshly ground


(Topping):
1 Tomato, sliced
1/3 cup Feta cheese, cubed


How to make:

Photos from clockwise


1. Mix the yeast and warm water together; let it sit for 5 minutes.


2. Then in a large bowl, combine the rest of the dough ingredients and the yeast water.  Mix it together and form it in a dough with your hands.  Knead the dough for another 5 minutes to create more gluten.  The dough should be smooth and not sticky.  Adjust the flour and water if it's needed.


3. Cover the dough with a damp towel.  Place the bowl in a warm place and let it rest for about 15 minutes.


After 15 minutes, you can roll out the dough and use it right away.  Or, you can wrap it with parchment paper and keep it in the fridge, like mine, for later use.  (I went out to forage garlic mustard).


4. Place the dough between two pieces of parchment paper.  Roll out the dough 1.5 cm thick.  Set it aside.


My son was enjoying his privilege of using the blender.


5. To make the pesto spread, combine all the pesto spread ingredients in a food processor.  Blend it until the mixture is smooth.


6. Place the pizza dough on a oiled baking tray.  Then, spread the pesto evenly on the dough.  Add tomato, feta, or any toppings you find you enjoy.


7. Bake it in the pre-heated oven at 400 F for 20 minutes, or until the crust is crispy.


Roasted Butternut Squash Soup | 烤葫蘆南瓜湯

Compare to the non-roasted version, roasted butternut squash instead brings a tremendous different in the flavour.  The caramelized s...