Showing posts with label kimchi. Show all posts

Tuesday, February 25, 2020

Chinese Chive Kimchi


My husbands and I love Kimchi, adore the sour and slightly frizzy flavour. This is type of quick kimchi you can prepare in a short period of time, yet flavourful.  


INGREDIENTS:
1 bundle Chinese Chives, cut into 2 inch long
2 cups Water
10 Dried Anchovies
4 Garlic Cloves, peeled
1-inch Ginger, peeled
1/3 Onion, peeled and chunked
2 tablespoons Korean Chilli Flakes
1.5 tablespoons Salted Shrimp
2-3 tablespoons Fish Sauce
1 tablespoon Sugar

DIRECTION:
1. Combine dried anchovies with the water in a small pan.  Bring it to a boil over medium-high heat for about 10 minutes, or until the fish tender.  Allow it cool to room temperature.

2. Pour the boiled anchovies and the liquid in the blender.  Add ginger, garlic cloves, and onion.  Processor until everything becomes puree.

3. In a large mixing bowl, add the Chinese chives.  Pour in the anchovies puree.  Add chilli flakes, salted shrimp, fish sauce and sugar.  Gently toss everything with hand until the Chinese chives are evenly coated.

4. Transfer the Chinese chives in an air-tight glass container.  Store it at room temperature for 2 days, and then store it in the fridge for another 2 days before serving it with steamed rice.


Sunday, February 23, 2020

Baby Bok Choy Kimchi


INGREDIENTS:
15 Baby Shanghai Bok Choy
1/2 White Onion
4 stalks Green Onion
1 tablespoon Salted Shrimp (can be found in Korean supermarket)

MARINADE:
2 tablespoons Korean Red Chili Flakes
4 Garlic Cloves, minced
2 teaspoons Ginger, grated
2 tablespoons Fish Sauce
1 tablespoon Sugar
2 teaspoons Sesame Oil
2 tablespoons White Sesame Seeds, roasted

DIRECTION:
1. Separate each leaf of the bok choy.  Soak them in water for about 15 minutes to remove the sand and dirt.  Rinse and drain well.


2. Place the bok choy in a large bowl.  Add about 2 tablespoons of sea salt.  Gently mix the salt with the bok choy with hands until each leaf is coated with salt.


3. Let the bok choy sit for about 45 minutes.  The leaves should be given in and the bok choy should releases some liquid.


4. Rinse the bok choy under running water to remove the excessive salt.  Gently squeeze out the liquid.  Set the bok choy in a mixing bowl.


5. Cut green onion diagonally and thinly slice the onion.


6. Finely chop the salted shrimp.


7. Combine all marinade, salted shrimp, onion and green onion with the bok choy.  Mix well.


8. Let it marinate for about 30 minutes to allow the flavour to develop before serving.


Saturday, October 14, 2017

Perilla Leaf Kimchi |紫蘇葉泡菜


If you have ever visited a Korean supermarket, you probably have seen perilla leaves.  They are usually sold in bundles or in packages.  Perilla leaf is a common vegetable that belongs to the mint family, with a mild herby flavour somewhat similar to anise and basil; it is widely used in Korean cuisine as vegetable, kimchi, flavouring, or wrap.

Perilla leaf isn't usually found in Hong Kong cuisine, so I learnt this wonderful leaf late after I moved to downtown Toronto, where Korean cuisine is broadly embraced. 

Funny is that my first experience of perilla leaf wasn't a nice one.  I always noticed the herby note of these vivid green leaves, but I'd never realized how strong it could taste when putting the whole piece of leaf in the mouth, along with the hot rice or spicy marinade.  I remember I swallowed it down hard, followed by a full glass of water and a few bites of other side dishes.

After that, I tried to stay away from perilla leaves, but I still bought them whenever I go to the Korean supermarket, just because I was attracted to their beautiful look.  Once I have them, I have to cook them, right?  Through time, I learned to enjoy its distinct flavour and perilla leaf kimchi has become the Korean recipe I make most often and enjoy most by far.

Thanks for stopping by.  I hope you enjoy this recipe.


You can buy perilla leaves at Korean supermarkets.

Perilla leaves are available all year around, but their have much better leaves in summer.


Perilla Leaf Kimchi 
紫蘇葉泡菜
Kimchi


Ingredients:
15-20 pcs Perilla Leaves
2 tablespoons Glutinous Flour
1/2 cup Water
4 tablespoons Fish Sauce
2 tablespoons Red Chile Flakes
1 tablespoon Garlic, peeled and minced
1 tablespoon Ginger, peeled and minced


How to make it:
1. Rinse the perilla leaves under cold running water.  Drain and set them aside.


2. In a glass bowl, combine the glutinous rice with 1/2 cup of water.  Mix it well.  Microwave the mixture for about 30 seconds; stir well.  Then return it back to the microwave to heat it for another 25-30 seconds, or until the mixture become gluey.

Don't over heat it, otherwise the mixture will turn lumpy or harden and it will have to start over again.


3. Combine the rest of the ingredients except the perilla leaves into the glutinous mixture.  Stir it until it becomes chilli paste.

4. Spread 1-2 teaspoons of the chilli paste on a perilla leaf.  Then, place another perilla leaf on top, and spread the chilli paste on it again.  Repeat this process until you finish all the perilla leaves.

5. Store the perilla leaves in an air-tight container.  Leave it at room temperature for two days before serving it.  Transfer the rest to the fridge and it can keep up to 4 days.

6. To serve, wrap a small bite of rice with a perilla leaf, and then put the whole thing in the mouth.


Monday, July 17, 2017

Young Napa Kimchi | 自醃簡易泡菜


Perhaps the weather is so hot, I crave the flavour of kimchi a lot.  I'm always amazed by the fact that spicy food helps our body sweat to regulate our body temperature.  So back during the summer days in Hong Kong, I often joined the crowds to eat sour and spicy vermicelli.  The excellent vermicelli shops were always humble and were located in alleys of our small streets; however, patrons always found their way in and long queues would always form out into the streets.


My teenage years were filled with memories of squeezing together at a tiny table with my friends or sometimes among strangers, slurping the boiling hot and spicy vermicelli.


Eating kimchi gives me a somewhat similar comfort.  When I miss that sour and spicy flavour, I make kimchi and serve it with some very hot rice.


Young napa kimchi is one of my favourite kimchi.  It is easy to make at home and it doesn't require a lengthy list of ingredients or a long fermentation period.  After I finish the batch, I can eat it as it is or use it to make soup.  I just love it.


Thanks for stopping by.  I hope you will enjoy this recipe.


Young Napa Kimchi


Ingredients:
5 heads Young Napa Cabbage
2 tablespoons Salt


Marinade:
3 tablespoons Korean Red Chili Flakes
4 tablespoon Fish Sauce
2 teaspoons Garlic, minced
2 teaspoons Ginger, minced
1 teaspoon Sugar
1 tablespoon Glutinous Rice Flour


How to make it:
1. Peel off the napa leaves.  Keep the big leaves and save the smaller leaves for some other recipes.  Rinse them a few times to clean off the dirt.  Drain.

2. Rub both sides of each napa leaf with some salt.  Let them stand for 30 minutes.  This process helps to draw out the juice from the napa.


3. Drain the juice.  Rinse off the excess salt with cold water.  Gently squeeze out the excess water.  Set aside.


4. In a small bowl, stir together the glutinous flour with about 1/4 cup of water.  Microwave the mixture for 30 seconds and stir it again.  Return the bowl to the microwave and heat it for another 20-30 seconds.  Stir it again.  The mixture should be gluey.


Pay close attention when microwaving it and try not to overheat it.  Once the mixture turns hard, you need to start over again.  Yet you can always add more time for the mixture to make it more gluey.


5. Combine the marinade with the glutinous rice paste; mix well.  Pour the mixture onto the napa cabbage.  With a hand, gently mix everything together until the napa is evenly coated with the marinade.

6. Place the napa to a glass container and cover it.  Keep it at room temperature for two days for fermentation.  Transfer it to refrigerator and finish it within a week.


Monday, June 26, 2017

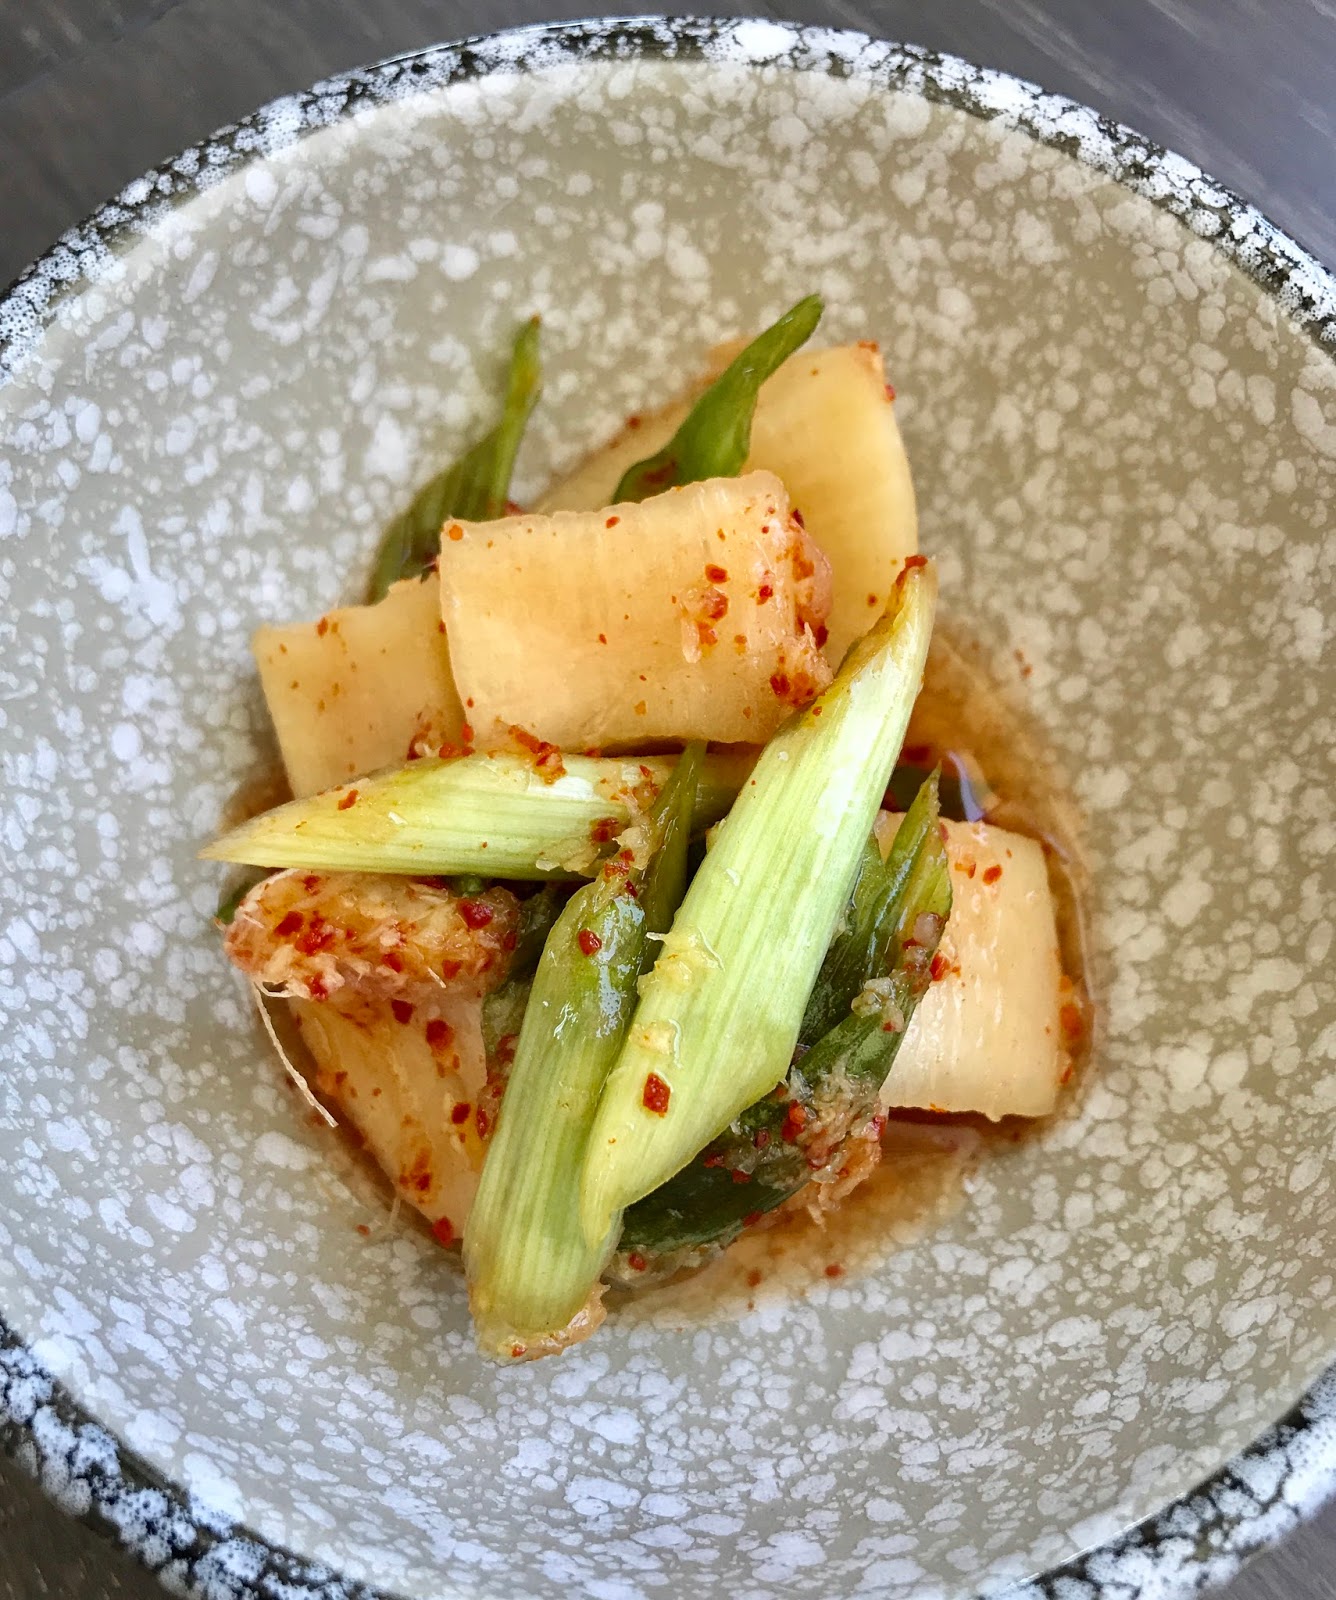
Cubed Daikon Radish Kimchi | 香辣蘿蔔泡菜粒


People say kimchi is a rice stealer, I agree.  The crunchy vegetables that combine spicy, sour, and a hint of sweet flavour make you always crave more.

Whenever I go to a Korean restaurant, the thing that excites me most are those colourful side dishes.  Some of them are pickled, some are a quick mix of salad, and some are fresh or fermented kimchi.  And fresh and slightly fermented kimchi catches my heart the most.  They aren't as strong as the long-feremted kimchi, but they have the probiotic tangy flavour and the juice from the fresh vegetables, which refreshes your palate.

I personally prefer the fresh and crunchy style of kimchi so I usually skip the rice flour in my kimchi making.  Rice flour works as a thickening agent so that the product will be more presentable and also holds the sauce better.  But I find it is too gooey for my taste no matter how little I use.  Therefore, you will find the kimchi recipe below has a rather thin sauce.

I like to add the kimchi juice in noodles, or use it to pickle perilla leaves.  That way I can use up this delicious juice while eliminating the waste.


Cubed Daikon Radish Kimchi
香辣蘿蔔泡菜粒

After three days of fermentation.


Ingredients:
2 cups Daikon cubes, peeled
6 stalks Scallion
4 cloves Garlic, peeled and grated
15 gram Ginger, peeled and grated
3 tablespoons Salt
1 tablespoon Sugar


Marinate Ingredients:
2 tablespoons Brown Sugar
2 tablespoons Fish Sauce
1 tablespoon Red Chilli Flakes


How to make:
1. Peel the daikon, cut it into half of the ice cube size.

      2. Rub the daikon with salt until the daikon skins start to
slightly give in;  let it rest for about 30 minutes for the juice to come out.

3. Discard the juice except 3 tablespoons of it.


4. Cut the scallion diagonally; set it aside.  Grate the ginger and garlic.


5. In a mixing bowl, combine all the ingredients.  With hands, mix everything thoroughly.

6. Place the mixture in a jar.  Cover with a lid.  Keep it at room temperature to ferment until the juice starts to bubble, after about 3 days.  Serve it with hot rice.


The kimchi just filled in the jar.

If you are not using the kimchi right away, transfer the kimchi to the fridge to slow down the fermentation.

Thanks for stopping by, I hope you enjoy the recipe.


Monday, April 24, 2017

Dandelions are finally back (with dandelion recipes) | 蒲公英咖啡。蒲公英醃菜

 I’ve been waiting for dandelions to come back since the middle of last winter. The whole plant is delicious, but it was the roots I was longing for. Dandelion roots can be used to make tea that is nutritious and cafferine-free.

Dandelions start coming up around mid April and flower until early summer, but the best time to harvest the roots is in April when the young leaves are just starting to develop, before the plant blossoms. At that time, most of the nutrients that have been stored up for the winter are still in the plants. Finding a day after the rain to dig up the roots will lead to an easier harvesting since the soil is loosened.

At Easter, I spent nearly two hours in my in-law’s garden to dig out these “teasures” and they were both very happy that I cleaned up their “weeds”.
After separating the roots and the leaves, I cleaned them under running water a few times and made sure there was no dirt, debris, or other plants like moss mixed inside them.

      To make the tea is very simple:
  1. 1. Cut the roots into pea size. Place them on parchment paper. Roast them at 360F until they are totally dried out.
  2. 2. Grind the roasted roots into finer powder with a stone grinder (which was what I used) or a food processor. Keep the powder in an air-tight container and it can keep in good condition for up to six months.
  3. 3. Whenever you want to enjoy this beneficial drink, just brew it like the normal tea you would drink. My preference is 2 flat teaspoons to 1 cup of water. Bring the water to a rolling boil and then pour it into the root powder. Let it steep for about 8–10 minutes and it is ready. I like mine with a splash of milk and some sugar.

Dandelion Tea:


I also used the dandelion greens to make a kimchi dish. I used the young leaves here because they are less bitter and much more tender. For people like my family and I who have little tolerance for bitterness in food, mature dandelion leaves are just too much to handle.

Kimchi Dandelion:

Ingredients:
20 stalks Young Dandelions, green part only
2 teaspoons Salt
Seasoning:
2 teaspoons White Vinegar
1 tablespoon Sesame Oil
1 tablespoon White Sesame, toasted
¼ teaspoon Ginger, ground
1 teaspoon Red Chili Flakes
DIRECTION:
1. Combine salt and dandelion in a bowl; rib it evenly. Leave it for 2o minutes for the bitter water to come out.

2. Squeeze out as much water as you can. Then rinse the dandelion under running water. Squeeze out the excess water from the dandelion again.

3. Add the seasoning to the dandelion. Mix well and taste it. Adjust the seasoning if it is needed. Let it marinate for at least 30 minutes before serving. For the best flavour, leave it in the fridge overnight before use.

I enjoy eating this kimchi with a bowl of very warm rice.

Roasted Butternut Squash Soup | 烤葫蘆南瓜湯

Compare to the non-roasted version, roasted butternut squash instead brings a tremendous different in the flavour.  The caramelized s...