
Japanese knotweed comes out from late April to early May. The freshly sprouted stems are tender and juicy. However, the stems will soon become too fibery and woody, and no longer suitable for consumption. Look for knotweed that is less than a foot long when picking. They generally like to grow near water, but I have seen them growing at roadsides.

Knotweed has a tangy flavour, and it break down easily after boiling. It makes a very pleasant sweet and sour sauce with chocolate. To give it some texture, I thickened the sauce with some cornstarch. However, it can be omitted if you are using more chocolate instead.
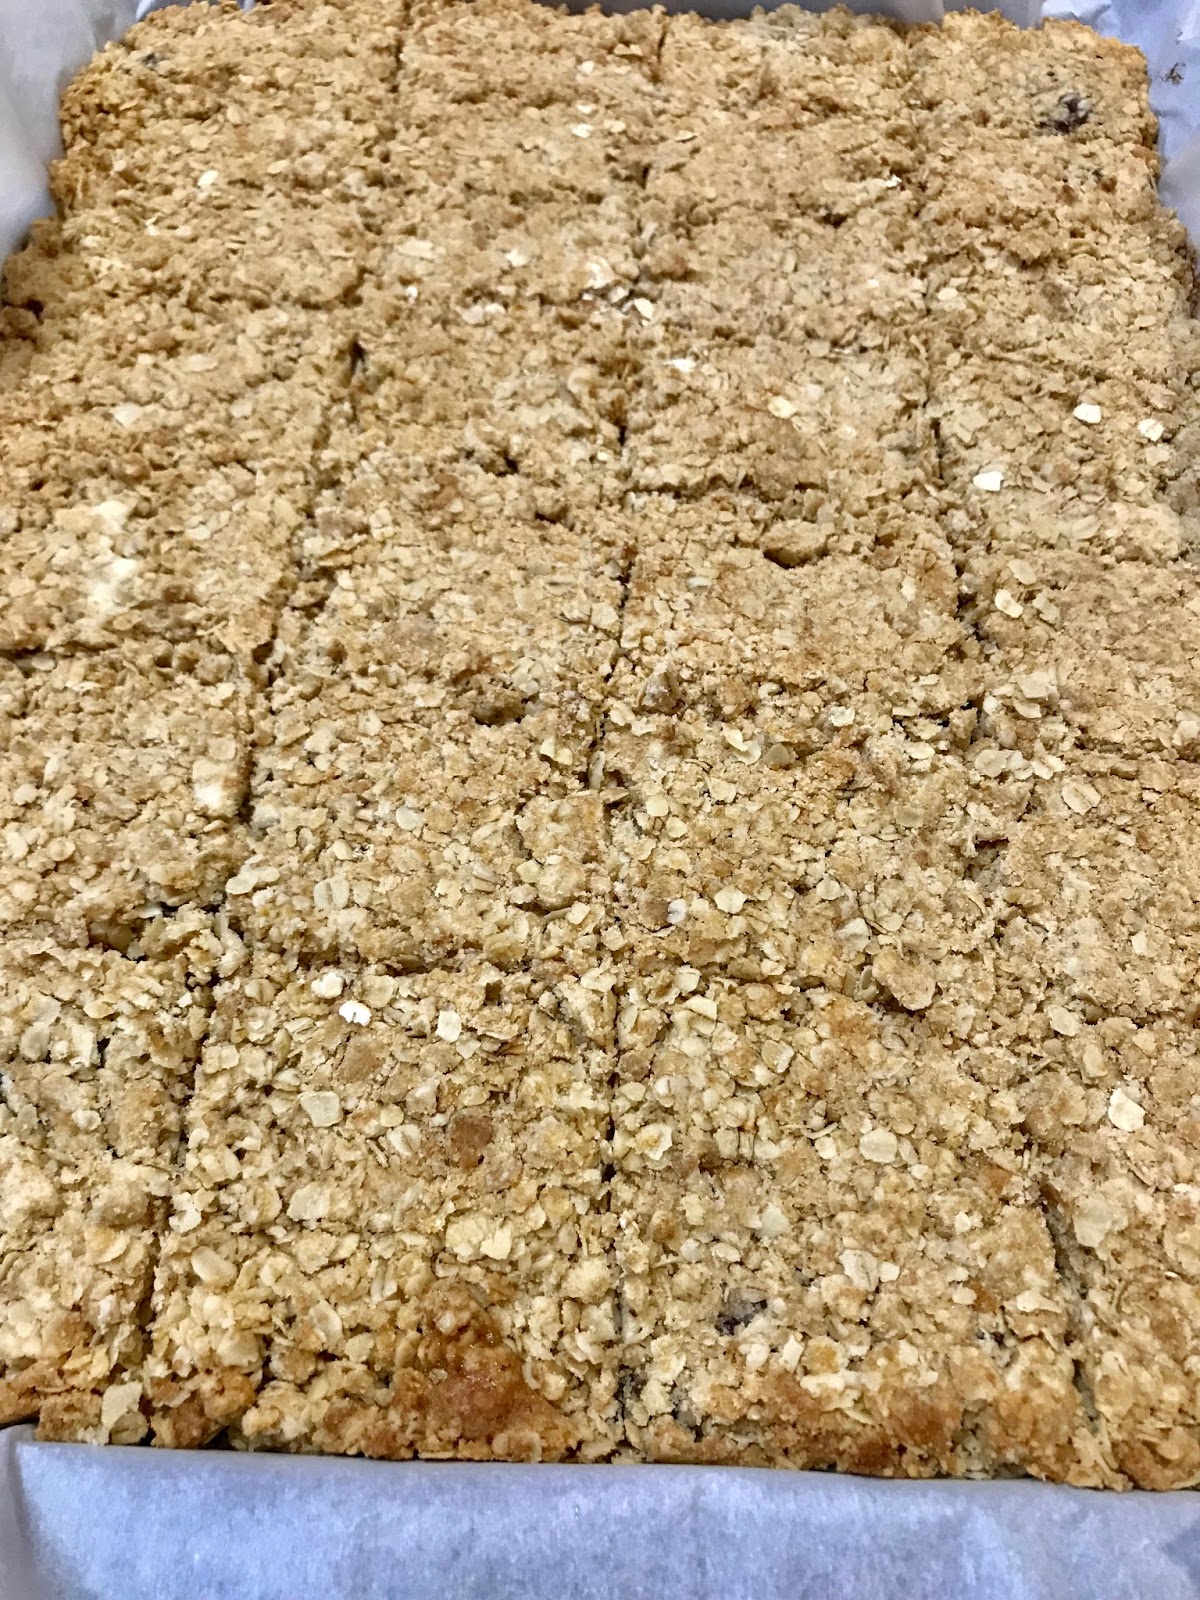
Japanese Knotweed Oatmeal Squares
日本虎杖麥皮方塊
Knotweed Filling Ingredients:
5-6 pcs Japanese Knotweed, about 1.5 cups
100 gram Chocolate Bar, semi-sweet
1 cup Brown Sugar
1 cup Water
pinch of Sea Salt
Cornstarch Slurry (2 tablespoons Cornstarch + 2 tablespoons Water)
Oatmeal Ingredients:
3 cups Whole Oats
1.5 cups All Purpose Flour
2 cups Butter
1.5 cups Brown Sugar
pinch of Salt
虎杖餡材料:
5-6 支 虎杖,若1.5杯
100 克 巧克力,半甜
1 杯 啡糖
1 杯 水
少撮 海鹽
粟米粉 (2湯匙 粟米粉 +2 湯匙 水)
麥皮材料:
3 杯 麥皮
1.5 杯 麵粉
2 杯 牛油
1.5 杯 啡糖
少撮 鹽
DIRECTION 做法:

1. Cut the knotweed into small rounds and add them into a small pot. Add brown sugar, water, and salt from the filling ingredients. Bring it to a boil, and continue to boil until the knotweed has totally softened and can be broken apart easily.
1. 虎杖切小粒並放入小鍋內。鍋內加入餡料材料的啡糖、水和鹽。把虎杖煮至完全軟身。

2. Reduce the heat to medium. Add the chocolate and stir until it is totally melted. Add cornstarch slurry; consistently stir until the filling thickens. It will take only about 10 seconds. Quickly remove the pan from the heat; set it aside.
2. 把火調低至中火。加入巧克力並攪拌至完全溶掉。下粟粉水,不停攪動直至餡料變杰身;若10秒。迅速離火。

3. In a large bowl, combine all the oatmeal ingredients. Mix together by hand until the mixture becomes crumbly.
3. 在一只大碗內,加入所有麥皮材料;用手拌勻。

4. Line a deep baking tray with parchment paper. Add half the amount of the oatmeal and spread it evenly. Then, add and spread the knotweed filling. Cover the filling with the rest of the oatmeal filling. Gently press down the top with hand.
4. 焗盤內舖上焗紙,倒入一半麥皮材料,填平。平均倒入虎杖餡料,再舖上剩餘麥皮材料。用手把其稍為壓平。
5. Bake it in the pre-heated oven at 360F for 25 minutes and until the oatmeal is golden.
5. 放入已預熱至360F焗爐,焗若25分鐘和至麥皮表面至金黃。

6. Remove it from the oven. Cut it into equal portions when hot.
6. 從焗爐取出,趁熱分件。


