Friday, April 20, 2018

Curly Dock Seed Bannock - Wild Edible Flour Substitute | 皺葉酸模薄餅 - 野外採食篇

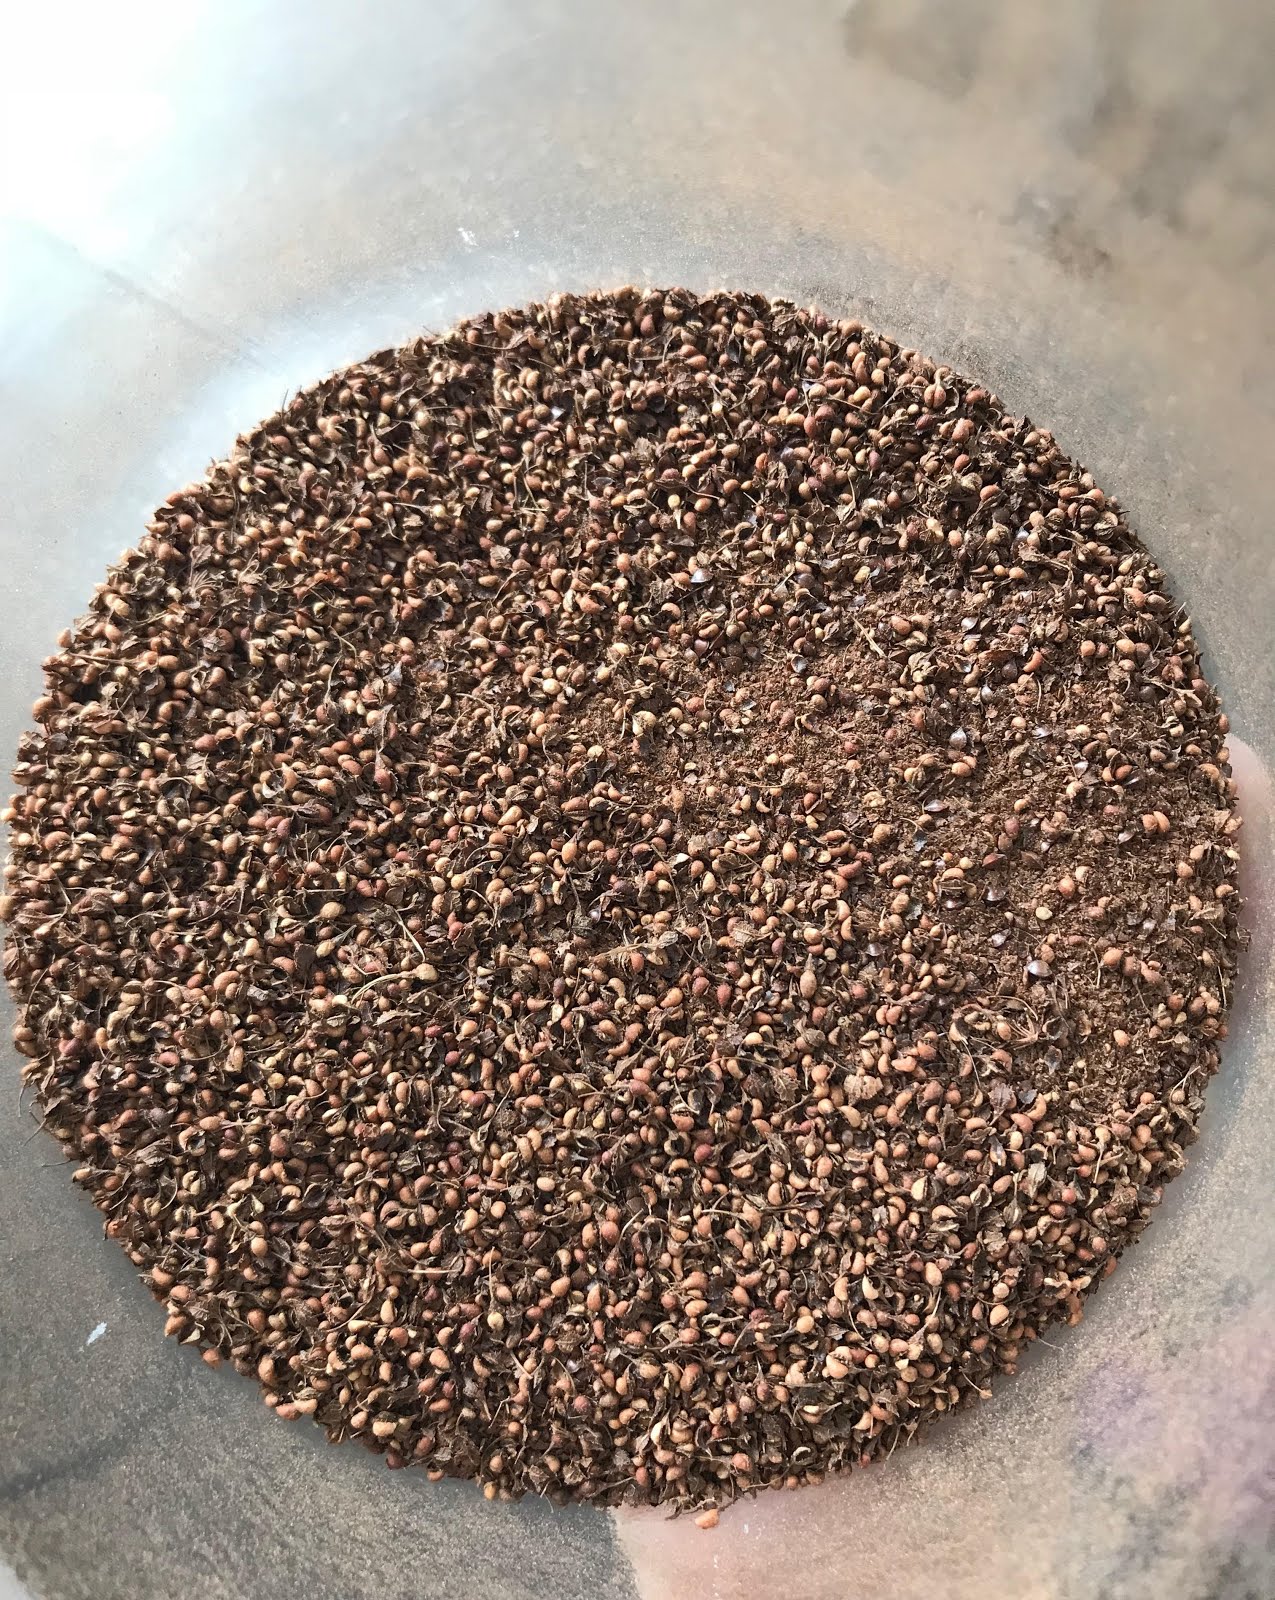
Mature dock seeds in both photos.

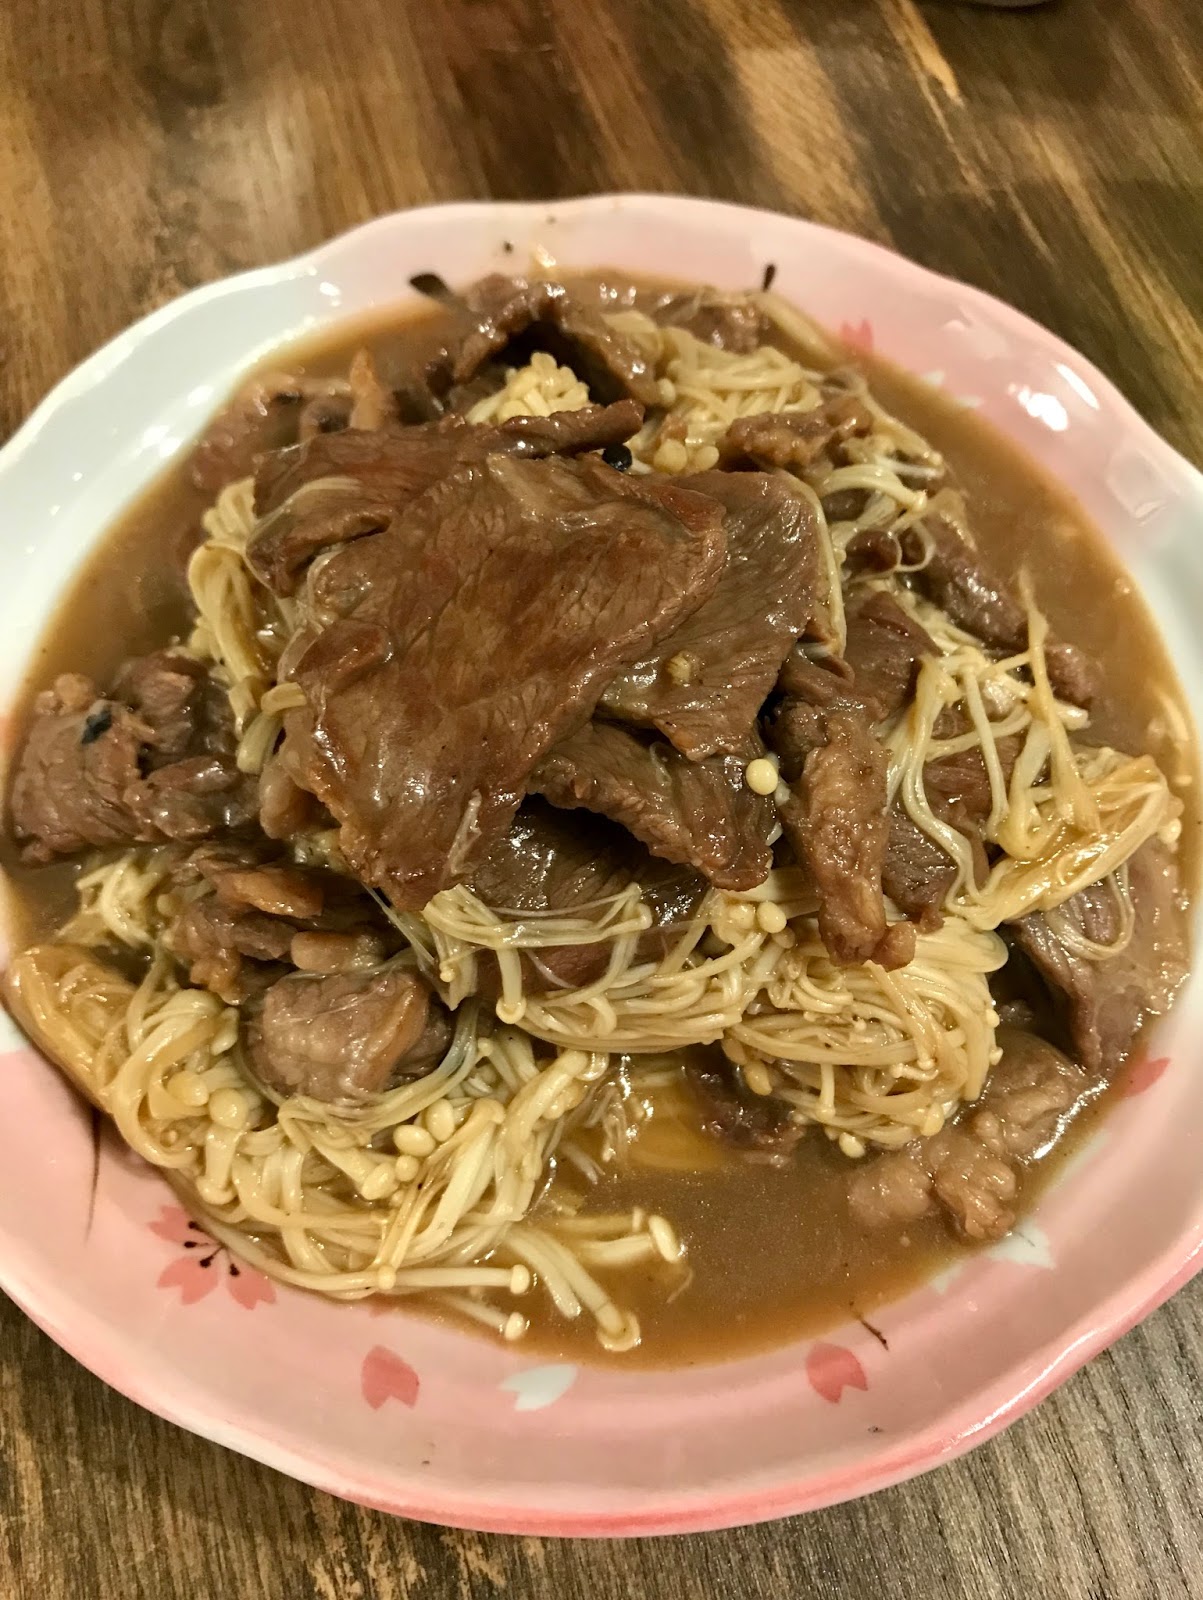
Curly dock is a well known wild edible plant and it is also one of the early perennial plants that comes in spring.  The rosette of this plant has a subtle citrus flavour that I love to add in tofu soup. As the plant matures, usually when the stem starts to grow from the middle, the leaves will be too tough to eat.  Then, my attention will drift to their seeds.

The immature seeds are green in colour and start to form around early July.  The mature seeds are reddish-brown colour. 


Immature dock seeds in both photos

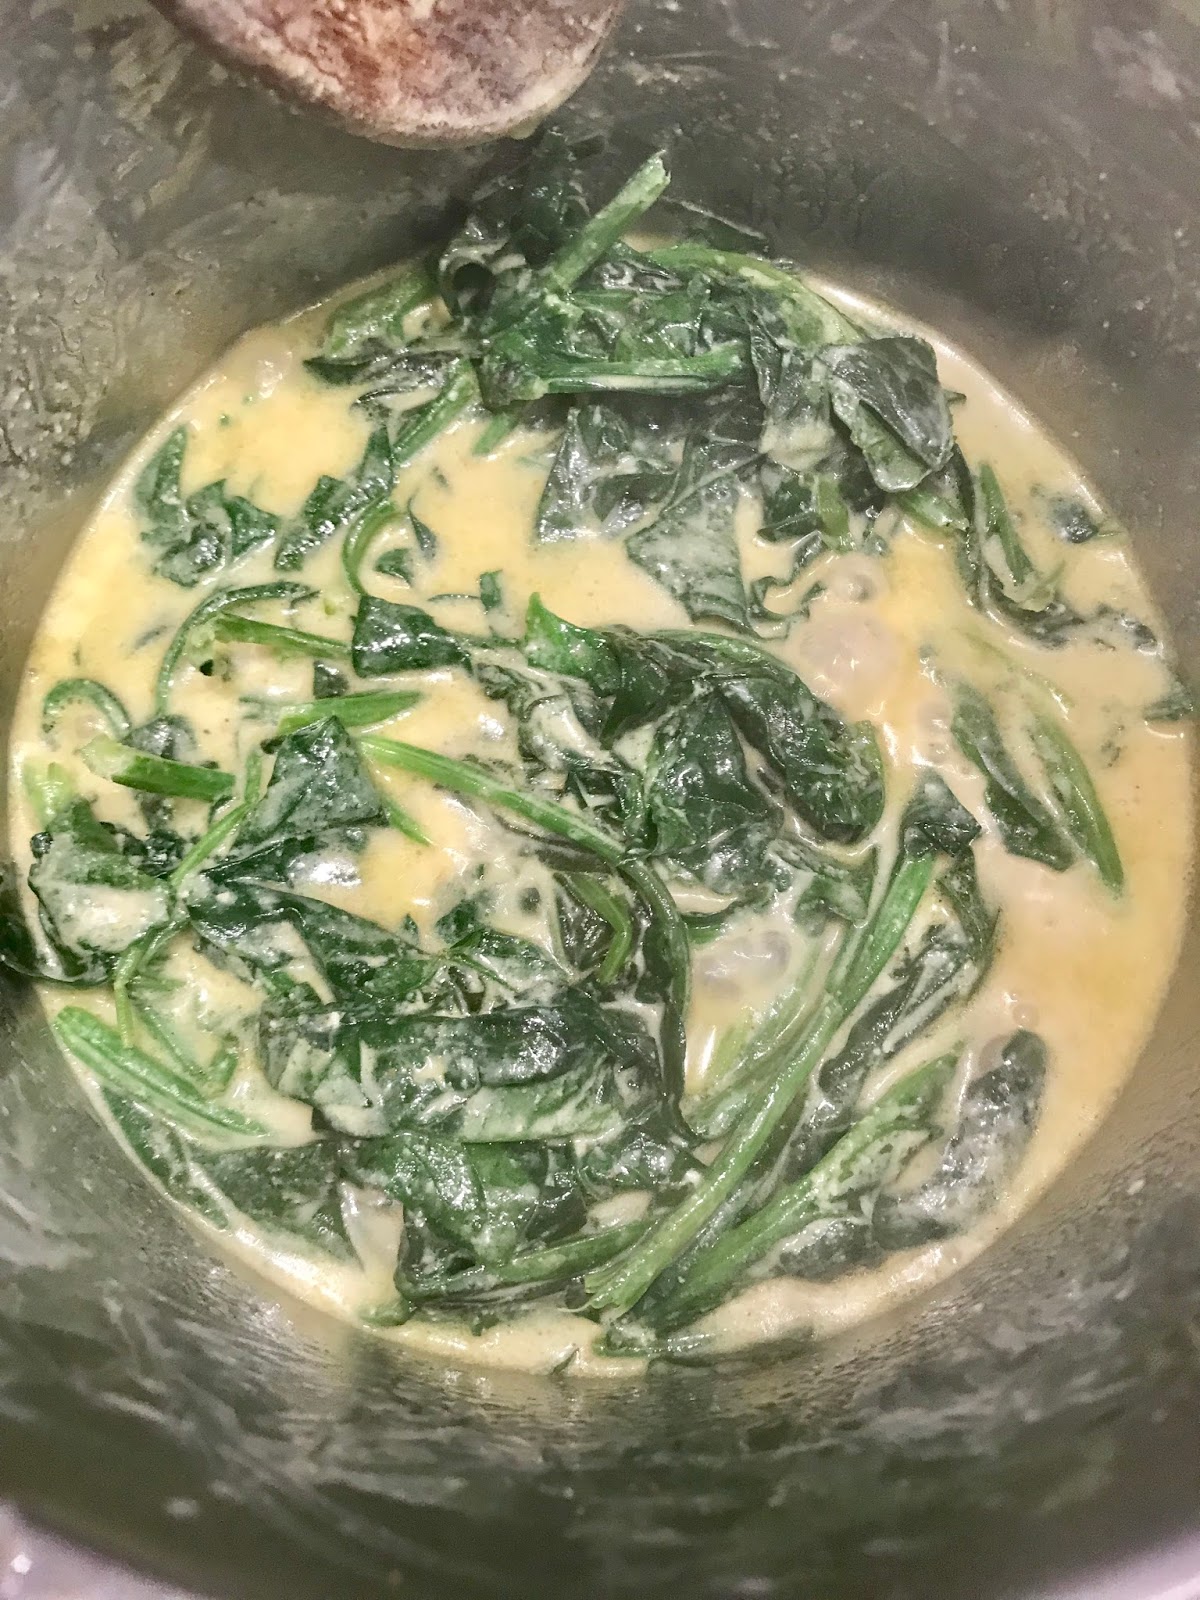
Although curly dock seeds belong to the buckwheat family, their taste is nothing similar to buckwheat at all.  In fact, dock seeds have little taste.  To me, I prize their fibre content and their abundance in nature.

I like to use grounded dock seed powder to make bannock; it brings a crunchiness and also gives a very nice colour to it.  However, I will not call it a flour substitute as many others refer to it for.  Because dock seeds actually don't have any binding agent and you will really need to combine them with flour to form a dough. 


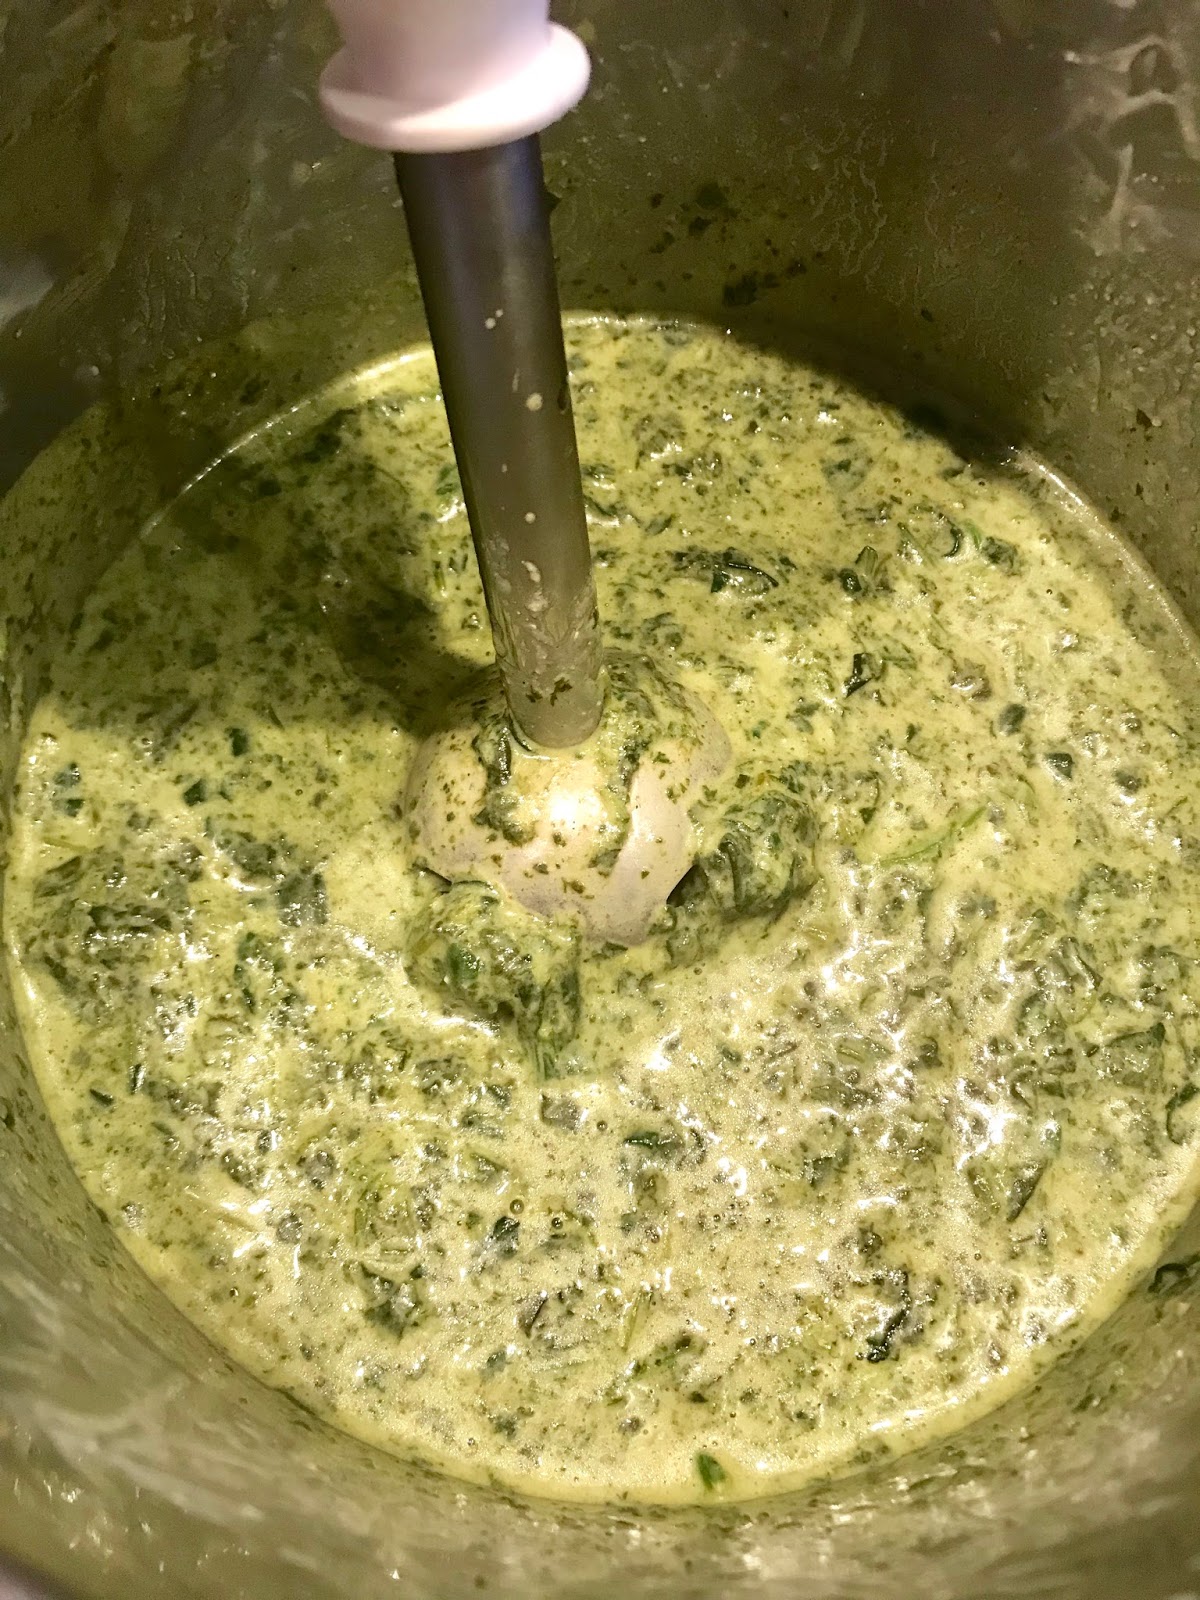
There are many insects, especially spiders, that like to hide among curly dock seeds.  Prior to grounding, I highly recommend you strip the seeds, rinse them under running water, and let them to air dry.


Air drying the curly dock seeds

After the seeds are dried, you can process them into powder.  My blender is not a powerful one, so it couldn't process the tiny seeds into powder.  You can always achieve a finer texture by using a mortar though.


Curly Dock Seed Bannock | 皺葉酸模薄餅


INGREDIENTS:
1.25 cups All Purpose Flour
1/4 cup Curly Dock Seeds,grounded
1/4 cup Butter, melted
1/4 cups Water
1 tablespoons Baking Powder
1/3 teaspoon Salt

材料:
1.25 杯 麵粉
1/4 杯  皺葉酸籽,磨碎
1/4 杯  牛油,熱溶
1/4 杯  水
1 湯匙  泡打粉
1/3 茶匙  鹽

METHODS 做法:
1. In a mixing bowl, combine all the ingredients.  Roll it into a dough; the dough should be moist but not sticky.

1. 在一只大碗內加入所有材料。拌勻並揉成麵團;麵糰應該稍為濕潤,但不黏手。


3. Reheat a non-stick pan over medium heat.  Roll a small portion of dough into a flat circle and place it in the pre-heated pan.  Cook each side until slight brown; about 3-5 minutes each side.  repeat it until all the dough is finished.

3. 預熱一只易潔平底鍋。取一小份麵糰,然後揉成塊狀。把並放上預熱了的平底鍋中。兩邊各烤約3-5分鐘。重覆步驟直至完成麵糰。


Stir-fried Beef and Enoki Mushroom | 金菇炒牛肉


This stir-fried beef and enoki is a quick and simple recipe.  Except the marinade time, it takes only 10 minutes to cook.  You can always marinade the beef ahead and store it in the fridge and cook it the next day when you come back from work.

Note that I used light soy sauce to marinade the beef instead of salt here.  Salt makes the beef become tough after the marination.

Hope you enjoy this recipe.


Stir-fried Beef and Enoki Mushroom
金菇炒牛肉

INGREDIENTS:
300 gram Beef
2 packs Enoki Mushrooms, divided into small portions
2 Garlic Cloves, peels
4 tablespoons Oyster Sauce
3 tablespoons Vegetable Oil (for frying)
1 tablespoon Cornstarch + 1/4 cup Water

材料:
300 克  牛肉
2 包  金菇,分成小撮
2 瓣  蒜頭,去皮
4 湯匙  蠔油
3 湯匙  菜油
1 湯匙 粟粉 +1/4 杯水


MARINADE:
4 tablespoons Light Soy Sauce
2 tablespoons Chinese Cooking Rice Wine
1 teaspoon Cornstarch
1 tablespoon Sugar

醃料:
4 湯匙  豉油
2 湯匙  米酒
1 茶匙  粟粉
1 湯匙  糖


DIRECTION 做法:
1. Slice the beef into 1/2 cm thick pieces.

1. 牛肉切成1/2cm 厚片。


2. In a mixing bowl, add beef and marinade; mix well.  Let it stand for 20 minutes.

2. 在一只碗內,加入牛肉片和醃料;拌勻。醃約20分鐘。


3. Add vegetable oil and garlic in a pan.  Heat it up over high heat until the garlic is fragrant and turns slightly brown.

3. 在鑊內下油和蒜頭;用大火爆香。


4. Add beef slices.  Quickly stir fry them until they start to turn colour.

4. 下牛肉片;快炒至其開始變色。


5. Add enoki mushroom and oyster sauce and stir fry for about 30 seconds, or until the enoki starts to wilt.

5. 下金菇和蠔油;快炒約30秒,或至金針開始變軟。


6. Stir in the cornstarch water. 

6. 下粟粉水。


7. Continuously stir fry until the enoki is just soft to touch.  Turn off the heat and transfer the beef and enoki to a serving plate immediately.

7. 繼續炒至金針軟身;離火,上碟。

If the sauce is not thicken enough at this point, transfer the beef and enoki to the serving plate first, and then continue to cook the sauce until it reaches the desired consistency.

如汁不夠濃稠,可先把牛肉和金針排盤,再把汁繼續煮至稠身然後淋上面。


8. Delicious to serve with rice or noodles.

8. 配白飯和淨麵一流。

Thanks for stopping by.  I hope you enjoy this recipe.


Honey Oatmeal Quick Bread | 蜂蜜燕麥無酵母麵包


I often make a big batch of pancakes, muffins, or granola for our breakfast that is enough to last for the whole week.  Since I was so busy, I didn't continue this practice for quite awhile.  My son began to complain about it.  Well, he sounds a little spoiled here, but I am glad at the same time that he likes my cooking so much.

Usually my son doesn't pay much attention on what flavour of quick bread I make because I just bake often enough that he has the rotation.  But this time, after months of just munching on the store-bought cheerios, he said he had something to say.  "I want cinnamon and pumpkin," he suggested.  We negotiated and talked about the flavour of four seasons, and finally we both settled on the honey and cinnamon flavour for spring.

It is only a little piece of our funny story.  I hope you enjoy the recipe.


Honey Oatmeal Quick Bread
蜂蜜燕麥無酵母麵包

WET  INGREDIENTS:
3 Eggs, large, beaten
1/3 cup Milk
1/4 cup Butter, melted
1/4 cup Vegetable Oil
1/2 cup Raw Honey

DRY  INGREDIENTS:
2.75 cups Whole Wheat Flour
1 tablespoon Cinnamon, ground
1.5 tablespoons Baking Powder
pinch of Salt

濕材料:
3 隻  大雞蛋,打勻
1/3 杯  牛奶
1/4 杯  牛油,熱溶
1/4 杯  菜油
1/2 杯  蜂蜜

乾材料:
2.75 杯  全麥麵粉
1 湯匙  肉桂粉
1.5 湯匙  泡發粉
少撮  鹽


METHODS:
1. Preheat the oven to 360F.

2. In a large mixing bowl, add all the wet ingredients; mix well.

3. Add the dry ingredients. With a spatula, gently mix until it is totally incorporated and becomes a sticky batter.

4. Pour the batter in a baking tray that is lined with parchment paper.  Transfer it to the oven.  Bake it for about 30-40 minutes, depending on the thickness of the batter.

5. To test the doneness insert a toothpick into the bread.  It is ready if the toothpick comes out not sticky.  Allow the quick bread to totally cool before slicing it to prevent it from breaking apart.

做法
1. 預熱焗爐至360F。

2. 在一只大碗內,加入所有濕材料;拌勻。

3. 倒入所有乾材料;拌勻至濃稠麵糊。

4. 焗盤舖上焗熱;倒上麵糊。 放入焗爐;焗約30-40 分鐘,在乎麵糊厚度而定。

5. 要看麵包焗好沒有,把一支牙簽插入麵包。如取出牙簽沒有麵糊黏任做成。把麵包完全放涼後才切件,避免散開。


Creamy Spinach with Tofu on Rice | 忌廉菠菜豆腐飯


This flavourful vegetarian dish is inspired by the Indian dish "saag paneer".  Instead of saag cheese, I used firm tofu here.  It is the healthiest and simplest plate for dinner on a weekday.


INGREDIENTS:
1 package Extra Firm Tofu
8 cups Spinach (not baby spinach), rinsed
4 Garlic Cloves, roughly chopped
1/2 cup Greek Yogurt, plain
3 tablespoons Curry Powder
2 teaspoon Turmeric
1 tablespoon Cumin Powder
1 teaspoon Ground Ginger Powder
3 tablespoons Water
3/4 teaspoon Salt
5 tablespoons Vegetable Oil

材料:
1 磚  硬豆腐
8 杯  菠菜,洗淨
4 瓣  蒜頭,切粒
1/2 杯  希臘乳酪,純味
3 湯匙  咖哩粉
2 茶匙 薑黃粉
1 湯匙  小茴香粉
1 茶匙  薑粉
3 湯匙  水
3/4 茶匙  鹽
5 湯匙  菜油


DIRECTION:
1. Put firm tofu between two plates.  Place a heavy object on top for about 20 minutes; discard the excess water and dry the tofu with paper towel.  Cut the tofu into big cubes.

1. 置豆腐於兩只碟中間;放上重物把多餘水份壓出。若20分鐘。用廚紙印乾豆腐,把其切成方塊。


2. Heat up 2 tablespoons of oil in a non-stick pan over medium heat.  Add chopped garlic and tofu cubes.  Patiently fry until all sides of the tofu turn a golden colour.  Remove the garlic from the pan if it starts to burn; reserve the garlic.  Set tofu aside.

2. 在易潔鑊中倒入兩湯匙油;用中火燒熱。下蒜蓉和豆腐粒;慢慢將豆腐煎至金黃。如蒜粒開如變焦,將其上鑊留起備用。煎好豆腐離火備用。


3. In a clean pot, combine yogurt, turmeric, curry powder, cumin, ginger powder, salt, and 3 tablespoons of water.  Stir well.  

3. 在一只深鍋內,倒入乳酪、薑黃粉、咖哩粉、小茴香粉、薑粉、鹽和好湯匙水。拌勻。


4.Add spinach.  Turn on the heat to medium-high and cook until the spinach is cooked through and becomes totally soft.  Turn off the heat.

4. 下菠菜;把火調至中大火,繼續煮至菠菜變軟。關火。


5. Process the mixture with a processor or a blender.  You will want to be easy on the processing time; otherwise, it will result in creamy spinach soup.

5. 用攪拌器把菠菜打至稍為爛身。切勿攪拌過度成了菠菜湯啊!


6. Turn the heat back on to medium.  Add the tofu and fried garlic to the spinach mixture; mix it gently.  Remove the pot from the heat.

6. 把火重開至中火;豆腐回鍋。輕輕拌勻,煮至豆腐回暖便可上桌。


7. Serve it immediately over a plate of steamed rice.
Yummy~

7. 趁熱碗上白飯便是美味~


Steamed Spare Ribs with Fermented Black Bean and Garlic |豉汁蒸排骨


Whenever I make this dish, it reminds me how my mom worked around the kitchen when I was a child.  My mom is tiny, but she used to own a big cleaver and a chopping block that you can find at the traditional butcher shop.  She would show me how to smash the garlic with the cleaver to remove its skin, and how she minced the garlic and fermented black beans with the big cleaver with a lightning fast motion.  It was just so entertaining to watch her.  The whole family loves her ribs and we would even drizzle the sauce over our bowl of steamed rice to enjoy the flavour.

In this recipe, I didn't add any salt or soy sauce since the fermented black beans are salty.


INGREDIENTS:
2 long Spare Ribs, about 2 pounds
2 tablespoons Fermented Black Bean
6-8 Garlic Cloves, peeled
2 tablespoons Chinese Cooking Rice Wine
1 tablespoon Sugar
1 teaspoon Corn Starch
1 tablespoon Vegetable Oil

材料:
2 條  腓排骨,若2磅
2 湯匙  豆豉
6-8 粒  蒜頭
2 湯匙  米酒
1 湯匙  糖
1 茶匙  粟粉
1 湯匙  菜油

METHODS:
1. Preheat the steamer on high heat.

2. Rinse the spare ribs; pat dry.  Place them in a dish that is for steaming.

3. Rinse the black beans a few times; drain.  Finely dice them with the garlic.  Add the mixture into the ribs.

4. Add the rest of the ingredients into the ribs; mix it until well combined.  Cover the dish with foil.

5. Place the dish in the steamer.  Steam it over high heat for about 20 minutes.  Best served with steamed rice.

做法:
1. 預熱蒸鍋。

2. 排骨洗淨,抹乾,放在蒸煮用的碟上。

3. 沖洗豆豉數次;將其與蒜頭一同剁碎。加入排骨內。

4. 加入剩餘所有材料到排骨中;拌勻。用錫紙把碟包好。

5. 放進蒸鍋內,以大火蒸約20 分鐘。


Naturally Fermented Purple Cabbage | 天然酵母醃酸椰菜


A couple weeks ago, I bought a purple cabbage to make a salad for a family event.  Although I already chose the smallest size of the purple cabbage, it was still as large as a basketball.  I tried my best to use the cabbage to make a salad with twenty servings, but there was no way for me to use the whole thing.  So I saved the rest for this recipe.

This recipe is almost identical to the the Fermented Cabbage I posted a long time ago.  You can skip the carrots in this recipe, but the taste will be different, because the carrots bring extra sweetness to the cabbage, which I found balances it very well.  This fermented cabbage can be served with grilled meat, on hot dogs, tacos, or even sushi.

I hope you will enjoy the recipe.


INGREDIENTS:
1/2 head Purple Cabbage, small
4 Carrots, peeled and cut into large sticks
1/2 tablespoon All Purpose Flour
Water
Salt

材料:
1/2 頭  紫椰菜
4 條  甘筍,切粗條
1/2 湯匙  麵粉


METHODS 做法:
1. Cut the cabbage into thin strips.  Place the cabbage in a large bowl and add in 1 heap teaspoon of salt.   Rub until it is well combined; let it sit for 20 minutes.

2. While waiting for the cabbage, bring a pot of water to a rolling boil.  Then, let it cool to lukewarm temperature.  Stir in the flour; set it aside.

1. 椰菜切幼條;放到大碗中。加入1大菜匙鹽;揉至混合。讓其靜置20分鐘。

2. 等待期間,把大鍋水燒滾。待放暖後,加入麵粉;拌勻。


3. Drain out the released juice from the cabbage.  Rinse the cabbage two times under running water to remove the excess salt; drain well.

4. In a large glass container, toss the carrots and cabbage together.  Pour in the flour water.  The flour will be the natural food source for the bacteria during the fermenting process.

3. 倒掉椰菜洗出來的水,再用清水洗椰菜兩次,沖走多餘鹽份。

4. 在一大只玻璃器皿內,混合甘筍和椰菜。注入麵粉水。麵粉水會在發酵期間用作酵母的天然食糧。


5. Place a dish upside down on top of the cabbage mixture.  Make sure the vegetables are totally submerged in the water.  Otherwise, it will result in mold.

6. Then, Cover the pot with a piece of plastic wrap to prevent air or other moisture to go in.

5. 用碟子蓋上椰菜面;麵粉水要完全浸過椰菜和甘筍,以防發霉。

6. 在玻璃器皿上再蓋上一層保鮮膜;以防水氣進入。


7. Let it sit in a corner without direct sunlight for 14 days, while waiting for the sour flavour to develop.

One thing to mind is that the liquid may smell unpleasant in the first couple days for some noses due to the sulphur contained in the cabbage.  It is kind of like rotten eggs if I have to say it; however, the smell should go away when it comes to the second week.  Check the pot (without opening the lid) to see if any mold developed.  If so, the batch is bad and should be discarded.  No messing with mold. 

7. 放到陽光不能直射的地方發酵14天。

頭一星期,椰菜的特殊氣味會明顯較大,似壞了的雞蛋。但進入第八天,氣味會大減。檢查 (不開封) 液體周邊是否有霉。如發現,便不能食用,要把椰菜倒掉。


Roasted Butternut Squash Soup | 烤葫蘆南瓜湯

Compare to the non-roasted version, roasted butternut squash instead brings a tremendous different in the flavour.  The caramelized s...